


SPECIAL MODES
5-32
■
■■
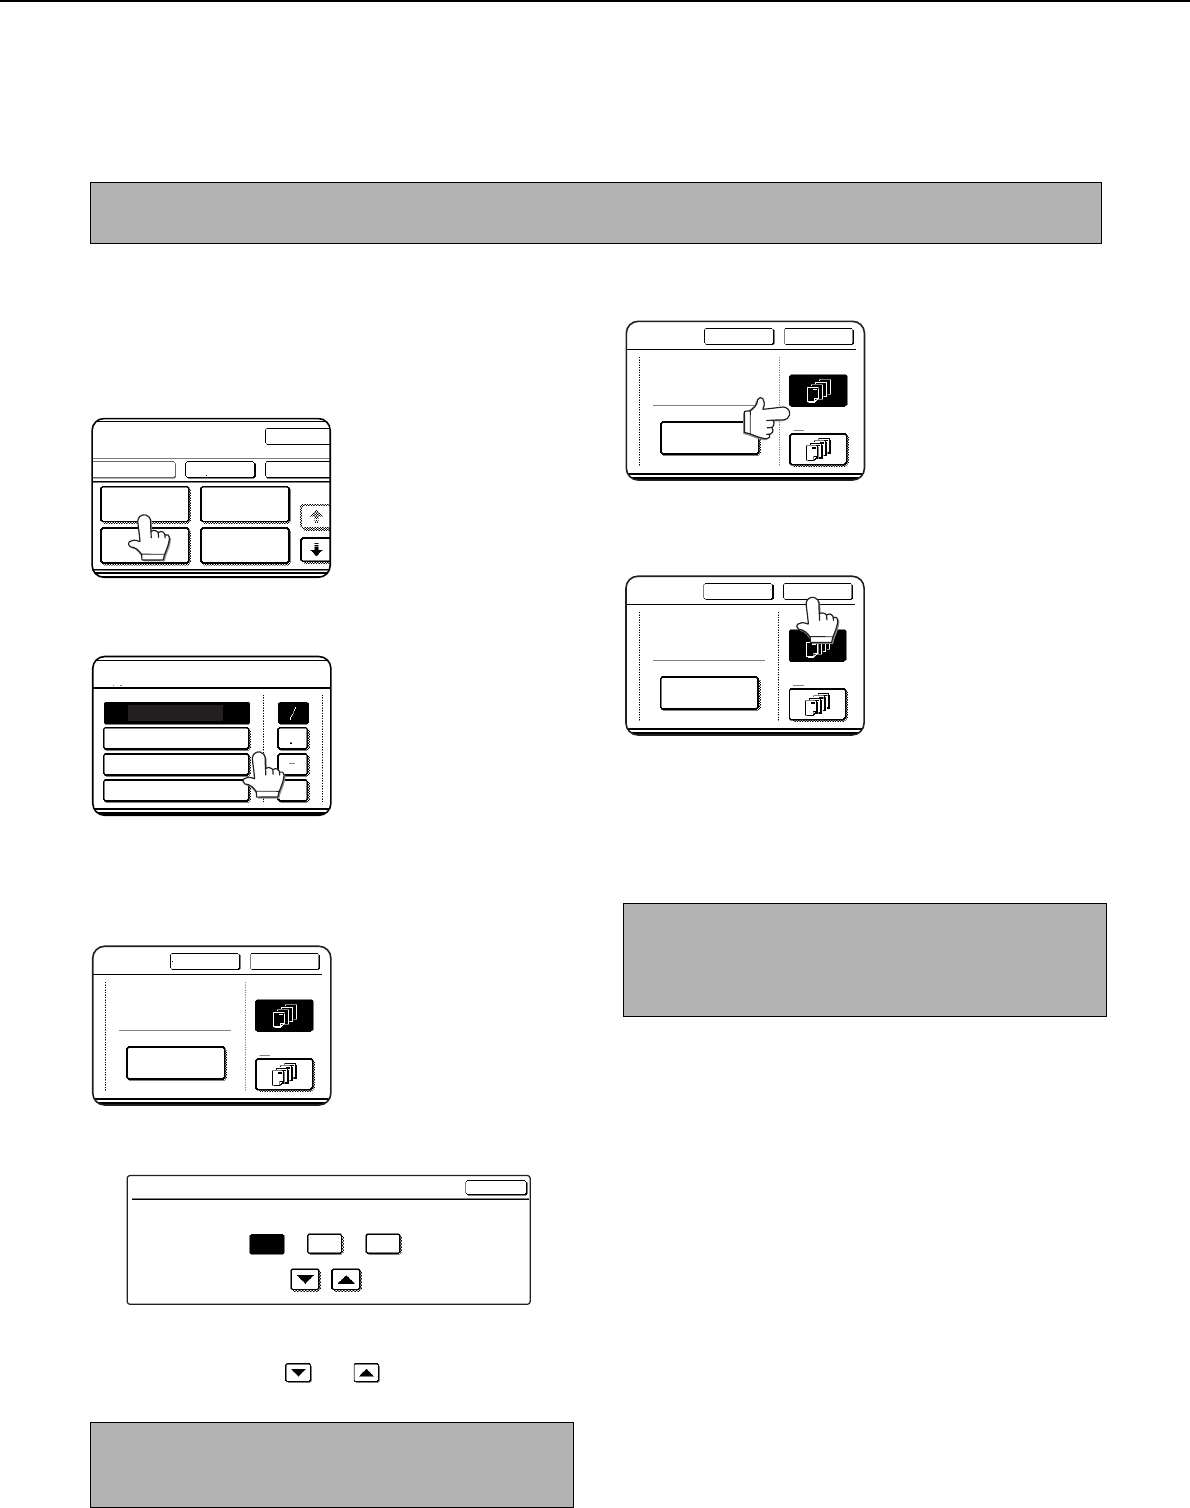
■ Printing the date on copies
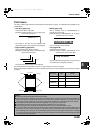
The date can be printed on copies. Four selections each are available for the date format and the character that
separates the year, month, and day.
1
Follow steps 1 and 2 of "Common
operation procedure for using the print
menu" (page 5-30).
2
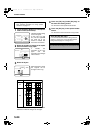
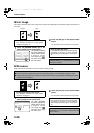
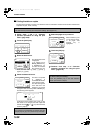
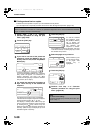
Touch the [DATE] key.
3
Select the date format.
The selected date format
is highlighted.
If you selected [YYYY/
MM/DD], [MM/DD/YYYY],
or [DD/MM/YYYY], you
can select the character
that separates the year,
month, and date. Select [/] (slash), [.] (period), [-]
(hyphen), or [ ] (space).
4
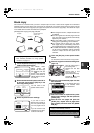
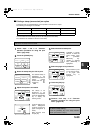
Check the date and format.
The date to be printed
is displayed in
"CURRENT SETTING"
in the selected format.
The date that appears
is the date set in the
machine. If you need to
change the date, touch the [DATE CHANGE] key.
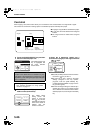
The following screen appears.
Touch the key of the number (year, month, or day)
that needs to be changed, and then adjust the
number with the or key. When finished,
touch the [OK] key.
5
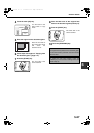
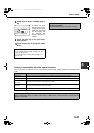
Select the pages to be printed on.
Select whether to print
on only the first page,
or all pages. The
touched key is
highlighted.
6
Touch the [OK] key.
7
Continue from step 4 of "Common
operation procedure for using the print
menu" (page 5-30).
NOTE
The date must be previously set in the custom settings. (See page 2-13.)
NOTE
If you select a non-existent date (for example, Feb. 30),
the [OK] key will grey out to prevent entry of the date.
PAGE
NUMBERING
OK
OK
CANCEL
LAYOUT
STAMP
DATE
TEXT
1/2
DATE
YYYY/MM/DD
MM/DD/YYYY
DD/MM/YYYY
MM DD, YYYY
OK
CANCEL
FIRST PAGE
ALL PAGES
CURRENT SETTING
2004/AUG/01
DATE CHANGE
OK
DATE CHANGE
08 012004
YEAR
MONTH DAY
NOTE
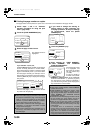
To cancel a date print setting...
Touch the [CANCEL] key in the date selection
screen. (The screen of step 6.)
OK
CANCEL
FIRST PAGE
ALL PAGES
CURRENT SETTING
2004/AUG/01
DATE CHANGE
OK
CANCEL
FIRST PAGE
ALL PAGES
CURRENT SETTING
2004/AUG/01
DATE CHANGE
05.fm 32 ページ 2004年10月26日 火曜日 午後5時2分