


REDUCTION/ENLARGEMENT/ZOOM
4-17
4
6
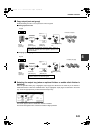
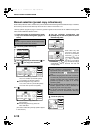
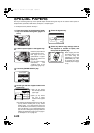
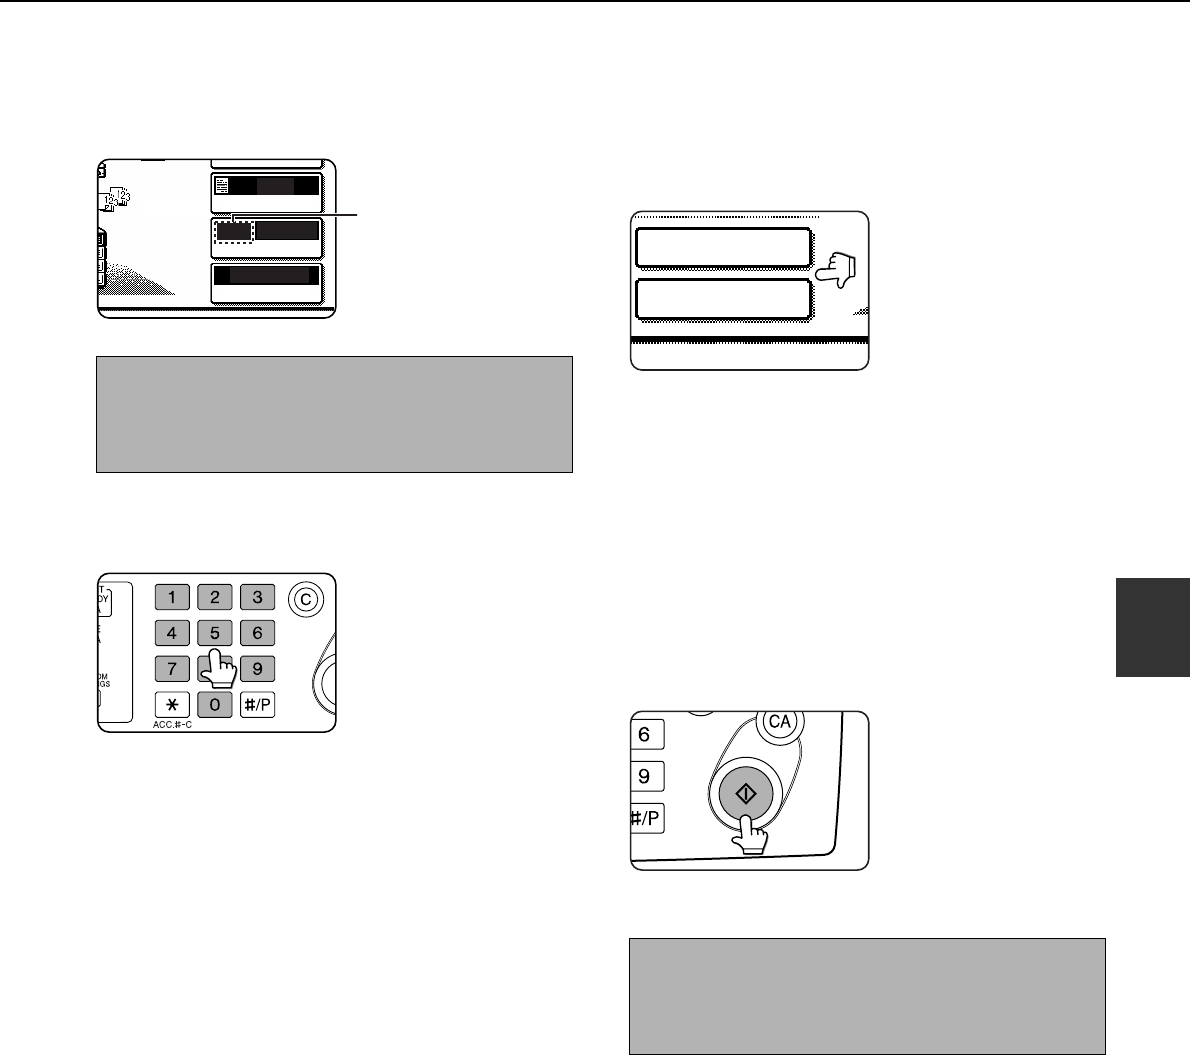
Make sure that an appropriate paper size
has been selected based on the selected
ratio.
Auto paper select display
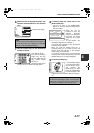
7
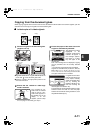
Use the numeric keys to set the desired
number of copies.
Up to 999 can be set.
If you are only making a
single copy, the copy
can be made with the
copy number display
showing "0".
Use the [C] (clear) key to
cancel an entry if a mistake has been made.
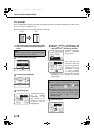
8
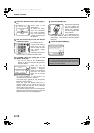
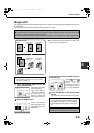
If needed, touch the [FILE] key or the
[QUICK FILE] key.*
* Can only be used on the AR-M351N/AR-
M451N, or when the document filing function
has been added.
Either key can be
touched to store the
scanned document
image on the machine's
hard disk. The stored
image can be re-used
later.
For more information on this function, see
"Document filing function" in chapter 7.
If the [FILE] key is greyed out, only the [QUICK
FILE] key can be selected.
When you touch the [QUICK FILE] key, a
message asking you to confirm the save will
appear. Touch the [OK] key in the message
screen and go to the next step.
If you wish to cancel the save, touch the [QUICK
FILE] key after touching the [OK] key so that the
[QUICK FILE] key is no longer highlighted.
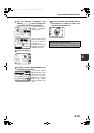
9
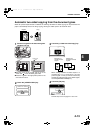
Press the [START] key.
If you placed the original
on the document glass,
set the output to "Sort",
and pressed the
[START] key, you must
touch the [READ-END]
key after all pages of the
original have been scanned. (Step 8 on page 4-
12)
NOTE
If the auto paper select display does not appear, a
tray with the correct size of paper for the selected
ratio will not be automatically selected.
ORIGIN L
AUTO
EXPOSURE
AUTO
A4
PAPER SELECT
64%
COPY RATIO
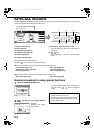
To return the ratio to 100%
To return the ratio setting to 100%, touch the [COPY
RATIO] key to display the ratio menu and then touch
the [100%] key. (Steps 2 and 3 on page 4-16.)
QUICK FILE
FILE
04.fm 17 ページ 2004年10月26日 火曜日 午前10時45分