56
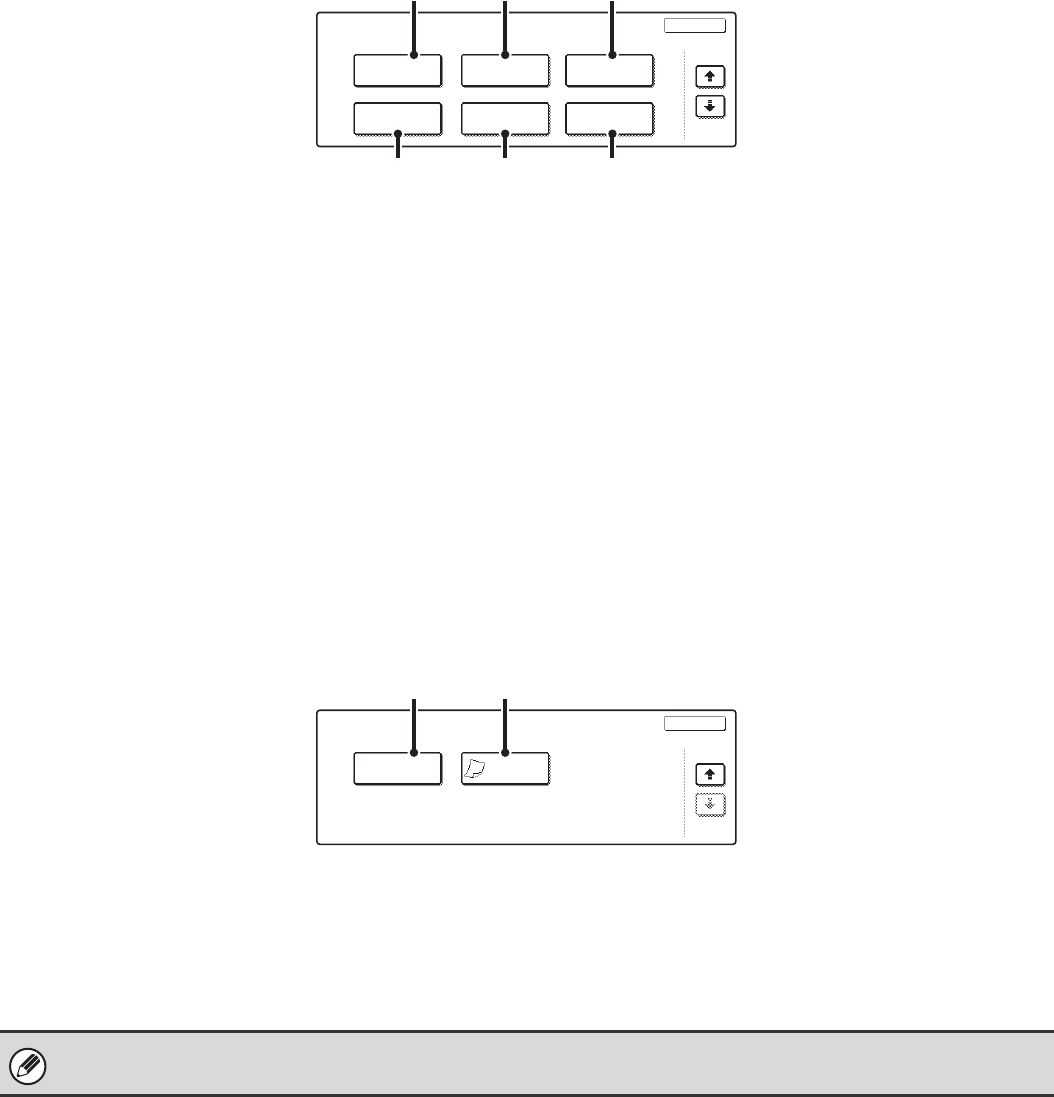
3rd screen
(1) [Stamp] key
Use this to print the date, a stamp, the page number
and/or text on copies.
☞ PRINTING THE DATE AND A STAMP ON COPIES
(Stamp) (page 102)
(2) [Image Edit] key
Touch this key to display the image edit menu screen.
This allows you to select special image editing functions.
☞ [Image Edit] KEY AND [Colour Adjustments] KEY
(page 57)
(3) [Colour Adjustments] key
Touch this key to display the colour adjustment menu
screen. This allows you to select special colour
adjustment functions when making colour copies.
☞ [Image Edit] KEY AND [Colour Adjustments] KEY
(page 57)
(4) [Quick File] key
This saves a job in the Quick File folder of the document
filing function. For more information on Quick File, see
the Document Filing Guide.
(5) [File] key
This saves a job in a folder of the document filing
function. For more information on File, see the Document
Filing Guide.
(6) [Proof Copy] key
This feature prints only one set of copies, regardless of
how many sets have been specified. After the first set is
checked for errors, the remaining sets can be printed.
☞ CHECKING COPIES BEFORE PRINTING (Proof
Copy) (page 149)
4th screen
(1) [Mixed Size Original] key
This is used to make copies of mixed size originals. The
mixed size originals can be inserted together in the
automatic document feeder.
☞ COPYING ORIGINALS OF DIFFERENT SIZES
(Mixed Size Original) (page 152)
(2) [Slow Scan Mode] key
This is used to copy thin-paper originals using the
automatic document feeder.
☞ COPYING THIN ORIGINALS (Slow Scan Mode)
(page 155)
Special Modes
OK
Stamp
Quick File
Image Edit
File
Colour
Adjustments
Proof Copy
3/4
(4) (5) (6)
(2) (3)
(1)
Special Modes
OK
4/4
Mixed Size
Original
Slow Scan
Mode
(2)(1)
Special modes can generally be combined with other special modes, however, there are some combinations that are not
possible. If a prohibited combination of special modes is selected, a message will appear on the touch panel.


