Network Scanner Tool User’s Guide 17
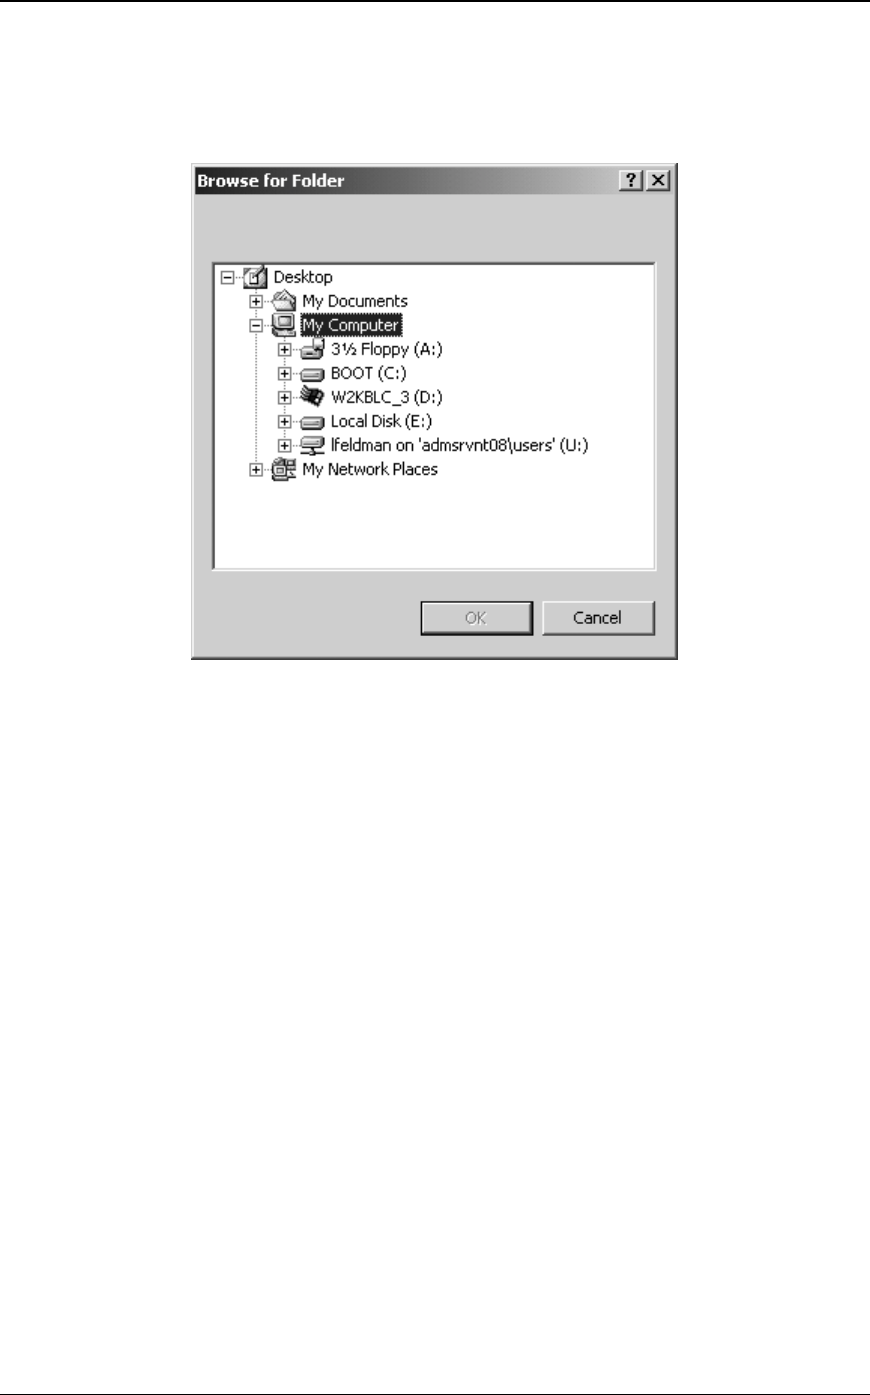
Use the Browse button to locate the Start Application on your computer. When you click on
Browse, the screen shown below appears. Navigate to the desired application and either
double-click it or select it and click the OK button.
Browse For Folder Screen
The following options are available from the Launch Applications Options screen:
• Start with Document File Name If you checked this option, a parameter appears on
the command line of the launched application with the full path of the image file or text
file.
• Start with Document File Path If you checked this option, the working directory for
the launched application is changed to the path of the file name passed onto the command
line.
• Application Parameters These are standard DOS command line parameters that will
be passed to the Started Program.
• Move File to Folder
This option lets you select the folder that your scan will be moved to. When you click on
Browse, the Browse for Folder screen appears to let you select the target folder.
Important Note: The Sharp multifunction copiers with Network Scanner Expansion need to
be configured to supply a unique identifier when sending scanned images to Network Scanner
Tool. These options are set by the E-mail/Network Scanning Setup web page in the copier.
Under the Network Scanning Setup pane, use the File Name options to be sure that each scan
arrives with a unique name. If this is not done, all scans will arrive with the same name, each
new one over-writing the one that arrived before. The web page can be accessed using the
Web Setup button on the Copier tab described below.
