


RightFax MFP Module 2.5 Guide for the Sharp Extension 28
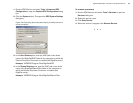
To configure Port 9100 printing in the EDC
1.
On the RightFax server, select Start > All Programs >
RightFax EDC Monitor to open the EDC Monitor application.
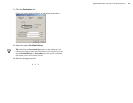
2. Select Tools > Advanced EDC Configuration to open the
Captaris EDC Configuration dialog box.
3. Click the DataFlows tab.
4. Select Sharp_MFP in the list of DataFlows and click Edit. This
opens the Sharp_MFP DataFlow dialog box.
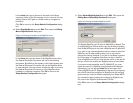
5. Select FlowPoint #10, Send_To_Printer, and click Edit. This
opens the Send_To_Printer FlowPoint dialog box.
6. Click Configure Processor. This opens the FileCopy Tasks
dialog box.
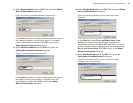
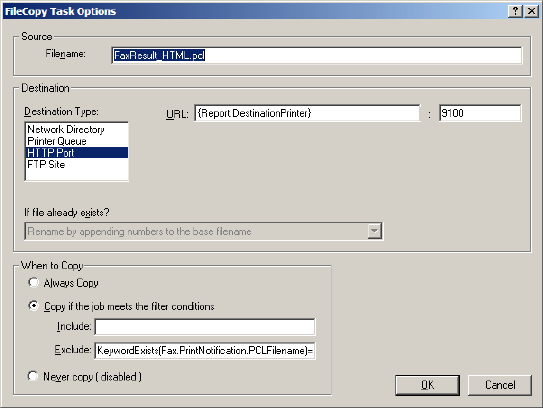
7. Click Edit. This opens the FileCopy Task Options dialog box.
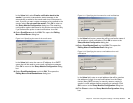
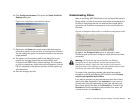
Figure 3.14 Configuring print notification options
8. Change the default setting in the URL field to {Device.IP}.
9. Save the changes and exit.
Setting up e-mail notifications
E-mail notifications can be sent to Sharp users only if the user has
provided an e-mail address in the Reply To field on Metadata sets
that include this field (see “Create a RightFax User Interface on the
Sharp” on page 17).
When you first configured the Sharp_MFP DataFlow, you had the
option to enable e-mail notifications (see page 13.) If you did not
enable this option when you first configured the Sharp Extension,
you must do so to enable e-mail notifications.
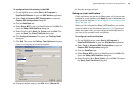
To configure e-mail notifications
1.
On the RightFax server, select Start > All Programs >
RightFax EDC Monitor to open the EDC Monitor application.
2. Select Tools > Advanced EDC Configuration to open the
Captaris EDC Configuration dialog box.
3. Click the DataFlows tab.
4. Select Sharp_MFP in the list of DataFlows and click Edit. This
opens the Sharp_MFP DataFlow dialog box.
5. Select FlowPoint #14, Send_Email, and click Edit. This opens
the Send_Email FlowPoint dialog box.