SonicWALL CDP 6080 / 6080B Getting Started Guide Page 45
Inserting the Expansion Pack Drives
Warning: Do not insert anything other than the SonicWALL
approved hard drives into the SonicWALL CDP
appliance.
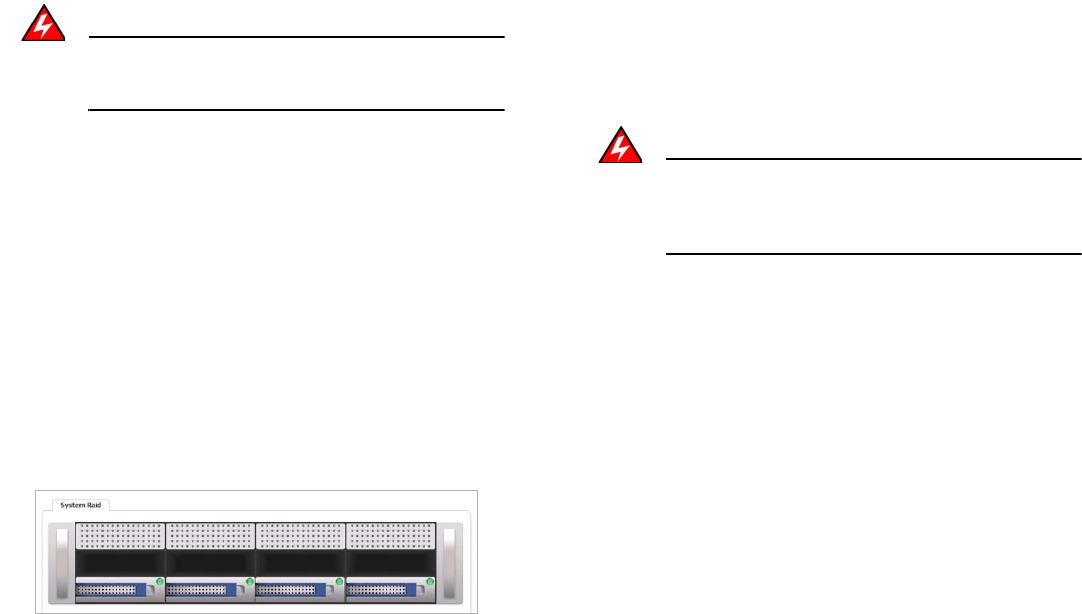
The Web management interface provides a graphical view of
the hard drive arrays on the SonicWALL CDP 6080 appliance.
The best practice is to view the arrays on the System > RAID
page during the insertion process.
To physically access the hard drive arrays, you must remove
the front bezel. If the front bezel is locked, use the front bezel
security key supplied with your appliance to unlock it.
To view the hard drive arrays and insert the Expansion Pack
drives into the SonicWALL CDP appliance, perform the
following steps:
1. In the Web management interface, navigate to the System
> RAID page. The Secondary Array appears as black
rectangles above the Main Array, indicating that no drives
are present.
2. On your SonicWALL CDP appliance, use the front bezel
key to unlock the front bezel, then remove the front bezel to
expose the hard drive arrays.
3. Press the square buttons to pop out the handles and then
remove the place holder inserts from slots D4, D5, D6, and
D7 of the top array. The inserts prevent dust and foreign
objects from getting into the drive slots.
Warning: Be careful not to remove the hard drives from the
Main Array (slots D0, D1, D2, and D3) while the
appliance is powered on. Removing more than one
drive from an active array will cause loss of data.
4. Remove the hard drives from the Expansion Pack shipping
carton.
5. Apply the stickers for D4, D5, D6, and D7 to the drive
handles. While holding the drive with the label side up,
place the sticker near the edge of the handle next to the
square button.
6. Pop open the drive handle on the D4 hard drive by
pressing the square button and insert the drive into slot D4
(the left-most slot) of the Secondary Array, label side up
with the handle sticking out.
7. Press the drive firmly into place to seat the connectors and
then close the handle.
8. Pop open the handles on the D5, D6, and D7 drives and
insert them into slots D5, D6, and D7, respectively. Press
firmly to seat the connectors, and then close the handles.


