


SonicWALL CDP 6080 / 6080B Getting Started Guide Page 47
12. Re-install the front bezel, being sure to properly line up the
LCD connectors.
The best practice is to align and seat the right side of the
bezel (as you are facing the front of the SonicWALL CDP
appliance), then view the connectors from above as you
carefully press the left side of the bezel into place.
13. Lock the bezel with the front bezel security key.
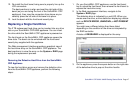
Replacing a Single Hard Drive
The 2 TB replacement hard drive can be inserted into any drive
slot on your SonicWALL CDP 6080 appliance. You can insert
the drive while the SonicWALL CDP appliance is powered on.
The front bezel on the SonicWALL CDP appliance covers the
drive slots. The bezel can be unlocked with the front bezel
security key supplied with the appliance.
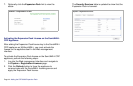
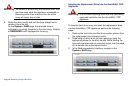
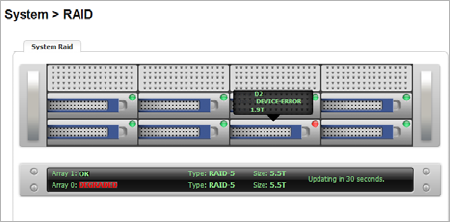
The Web management interface provides a graphical view of
the hard drive array on the SonicWALL CDP appliance. The
best practice is to view the array on the System > RAID page
during the replacement process.
Removing the Defective Hard Drive from the SonicWALL
CDP Appliance
To view the hard drive arrays and remove the defective drive
from the SonicWALL CDP appliance, perform the following
steps:
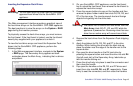
1. On your SonicWALL CDP appliance, use the front bezel
key to unlock the front bezel, then remove the front bezel to
expose the hard drive array.
2. In the Web management interface, navigate to the
System > RAID page.
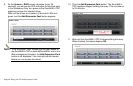
The defective drive is indicated by a red LED. When you
mouse over the drive, a drive status box displaying a status
such as DEVICE ERROR, UNKNOWN, or NOT-PRESENT
appears.
You might see a different status than those listed,
depending on the condition of the drive as interpreted by
the RAID controller.
A status of DEGRADED is displayed for the array.
3. On the appliance, press the square button on the right side
of the defective drive to pop out the drive handle.