Chapter 1 Overview 11
Chapter 1 Overview
Notes
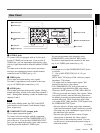
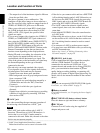
• If you change this selector, the screen may
momentarily becomes bright or noise may appear.
This noise will be recorded.
•Do not change this switch setting during recording.
If you change the setting of this switch during
recording, the recorded image will be interrupted for
several seconds. Recording will restart after the
internal circuit is switched. During this time, no
image is recorded.
Also, the unit may mistakenly recognize a copyright
protected signals that has been input.
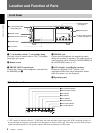
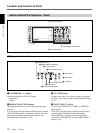
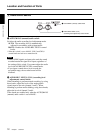
5 STATUS CHECK button
Press this button to check the audio setting and output
setting information (see page 20). When you press the
f/F button, you can switch the screens between audio
information and output information.
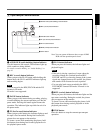
6 INDEX button
Press this button during recording to mark an index. If
you mark an index at the scene you want to search for,
you can easily find the scene later.
For details on index, see “Recording Functions” on page
34.
7 LCD ON/OFF switch
Press this switch to turn the LCD monitor ON and
OFF.
8 MENU button
Press this button to display the menus.
For details of the menu, see “Operating the Menus” on
page 45.
9 EXEC (execute) button
Press this button to change the setting on the menu
items.
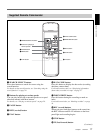
0 f/F buttons
Press these buttons to move around in the menu or
status check items, or select the menu and items.


