24
GB
Printing
Printing an image recorded on the floppy disk (continued)
Printing
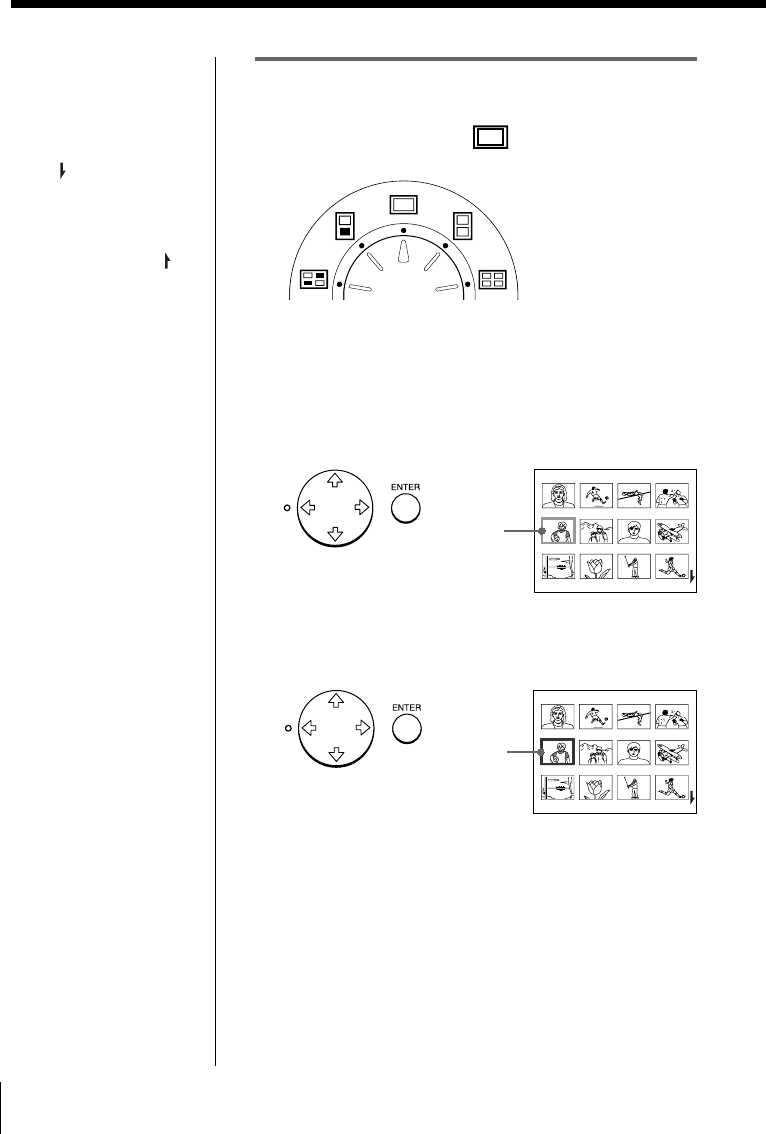
1 Set print mode dial to “ (standard)”.
2 Press the arrow (B/b/V/v) buttons to move the
white frame (cursor) to the image you want to
print.
Move the white frame up (V), down (v), rightward
(b) , or leftward (B).
3 Press ENTER.
The blue frame appears inside the white frame and
the selected image is specified to be printed.
Scrolling the pages
When multiple pages
exist, you can change the
pages back and forth. To
display the next page
(when appears at the
bottom-right), move the
white frame to the bottom
line of the image list and
press v. To display to the
previous page (when
appears at the top-right),
move the white frame to
the top line and press V.
The access lamp flashes
and pages switches.
Cancelling the selection
Move the white frame to
the image you want to
cancel the selection and
press ENTER. The blue
frame disappears and the
selection is canceled.
Selecting multiple
images
Repeat steps 2 and 3 until
you select all images you
want to print.
Displaying the image in
full-size
Move the white frame to
the desired image, then
press CAPTURE in step 3.
The selected full-size
image appears in the
center of the screen.
To display the next or
previous full-size image,
press v (next image) or V
(previous image).
If you want to re-select
the image, press
PICTURE to return to the
image list then repeat
steps 2 and 3.
Note
The displayed full-size
image may not
correspond with the
actual print in details.
Move the
white frame.
The white
frame
changes to
blue.


