


– 23 –
32
Adjusting Your SET UP (menus) (continued)
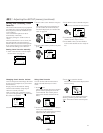
Setting the Manufacturer's
Code
You can program the supplied remote
control to operate a cable box.
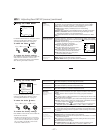
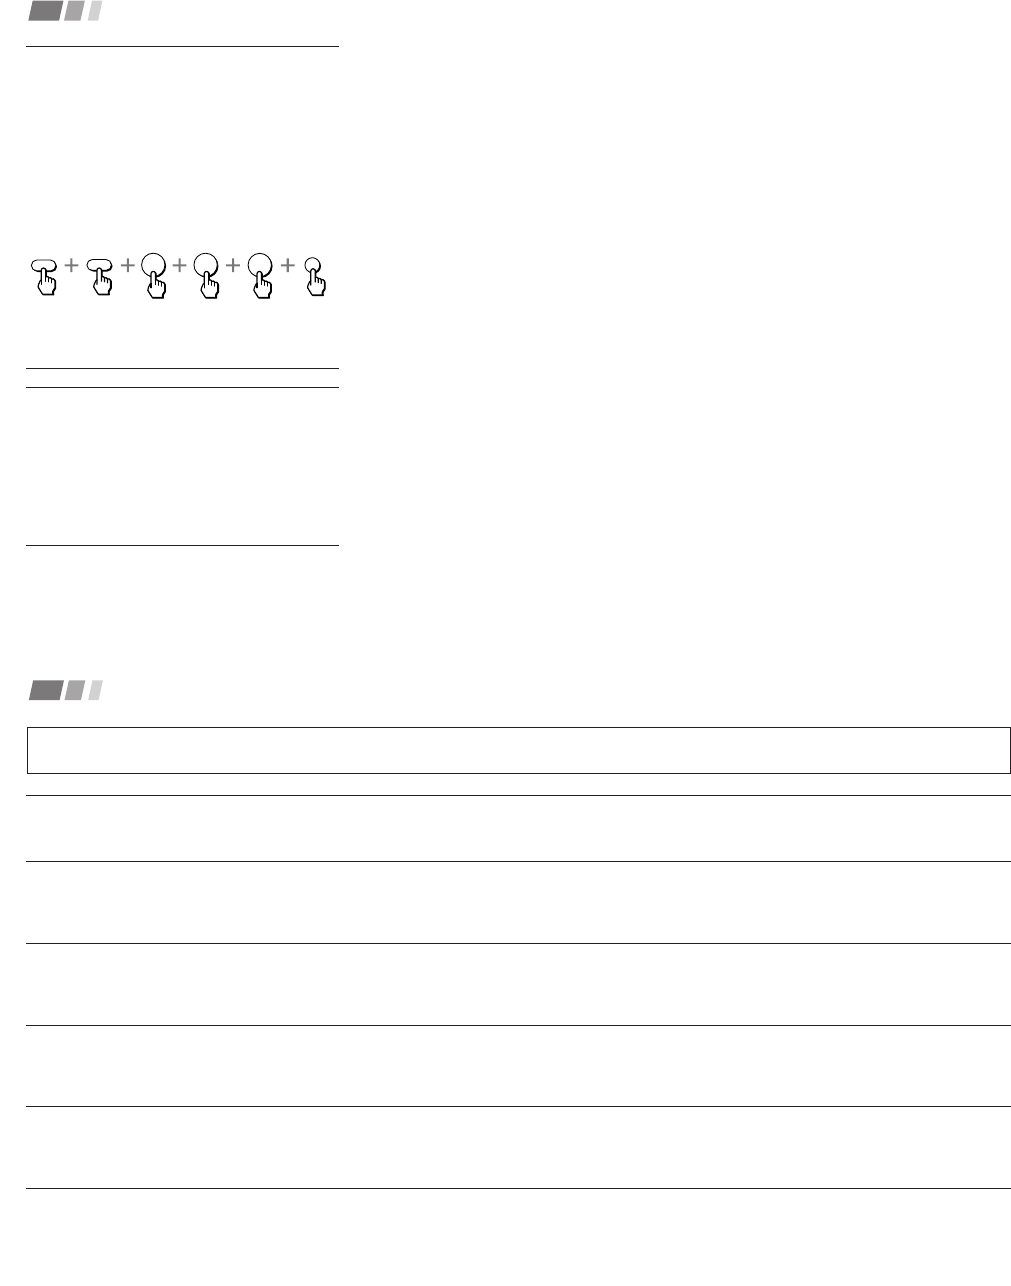
Press CODE SET, SAT/CABLE
(FUNCTION)*, and the 0-9 buttons to enter
the manufacturer’s code number (see the
following chart), then press ENTER.
For example, to operate a Pioneer cable box:
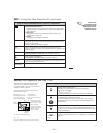
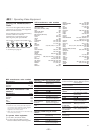
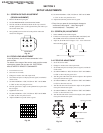
Manufacturer code numbers
(cable box)
Manufacturer
Hamlin/Regal
Jerrold/G.I
Oak
Panasonic
Pioneer
Scientific Atlanta
Tocom
Zenith
Code
222, 223, 224, 225, 226
201, 202, 203, 204, 205,
222, 206, 207, 208, 218
227, 228, 229
219, 220, 221
214, 215
209, 210, 211
216, 217
212, 213
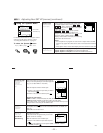
Operating a Cable Box
4
2
1
CODE SET
ENTER
SAT/CABLE
FUNCTION
Tips z
• If more than one code number is listed, try entering
them one by one until you come to the correct code
for your equipment.
• If you enter a new code number, the code number
you previously entered at that setting is erased.
• In some rare cases, you may not be able to operate
your equipment with the supplied remote control. In
this case, use the equipment’s own remote control
unit.
• Whenever you remove the batteries — to replace
them, for example — if too much time is taken, the
code numbers may revert to the factory setting and
must be reset.
To operate the cable box
1 Press SAT/CABLE (POWER)* [Green
Button] to turn on/off the cable box.
2 Press SAT/CABLE (FUNCTION)*.
3 For other operations, refer to the
operating instructions that come with the
equipment.
* The SAT/CABLE (POWER) and SAT/CABLE
(FUNCTION) buttons cannot operate a
satellite receiver (SAT) in Argentine and Chile
even if it is connected to the projection TV.
If the remote control doesn’t work
• Try repeating the set up procedures using
the other codes listed for your equipment.
To operate the projection TV
Press TV (FUNCTION). Then use the
projection TV control buttons to control the
projection TV.
33
The picture turns off and the
TIMER/STAND BY indicator on the
front panel flashes (self-diagnosis
function)
No picture (screen not lit), no
sound
Remote control does not
operate
Dark, poor or no picture
(screen lit), good sound
Good picture, no sound
Troubleshooting
• The projection TV is equipped with a self-diagnosis function. If there is a problem with your projection TV, the TIMER/STAND BY indicator on the front
panel will flash repeatedly. Counting the number of flashes helps you inform qualified Sony Authorized Service Center of the projection TV’s condition.
• Press POWER on the projection TV to turn it off, then inform qualified Sony Authorized Service Center of the number of flashes.
• Make sure the power cord is plugged in.
• Operate with the buttons on both the projection TV and the remote control.
• Check to see if the TV/VIDEO setting is correct: when watching TV, set to TV, and when watching video tapes, set to VIDEO 1, 2, or 3.
• Try another channel.
It could be station trouble.
• Perform AUTO SET UP again using the SET UP button to return to the factory preset condition. (see “To perform AUTO SET UP again” on page 13)
• Batteries could be weak. Replace the batteries.
• Press TV (FUNCTION) when operating your projection TV.
• Make sure the projection TV’s power cord is connected securely to the wall outlet.
• Locate the projection TV at least 3-4 feet away from fluorescent lights.
• Check the polarity of the batteries.
• Adjust “Contraste” in the Video menu. (see “Ajuste de imagen” on page 20)
• Adjust “Brillo” in the Video menu. (see “Ajuste de imagen” on page 20)
• Check antenna/cable connections.
• Perform AUTO SET UP again using the SET UP button to return to the factory preset condition. (see “To perform AUTO SET UP again” on page 13)
• Adjust the convergence again using the FLASH FOCUS button. (see “Adjusting the Convergence Automatically (FLASH FOCUS)” on page 13)
• Press MUTING so that “Suprimir el sonido” disappears from the screen. (see “MUTING” on page 14)
• Check the MTS/SAP setting in the Audio menu. (see “MTS/SAP” on page 21)
• Make sure “Parlantes” is set to “Sí” in the Audio menu. (see “Parlantes” on page 22)
• Perform AUTO SET UP again using the SET UP button to return to the factory preset condition. (see “To perform AUTO SET UP again” on page 13)
• Set the appropriate TV color system in the Ajustes menu. (see “Sistema de color” on page 29)
If, after reading the following instructions, you have additional questions related to the use of your Sony projection TV, please contact your nearest Sony
Authorized Service Center.
(continued)