Using PC Cards
41
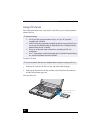
To remove a PC card
1
Close any application that uses the PC card, otherwise data may be lost.
2
Click the Unplug or Eject Hardware icon in the taskbar and select the card.
3
Click Stop, in the Stop a Hardware device dialog box, confirm the device to
stop and click OK.
4
Click Close to close the Unplug or Eject Hardware window.
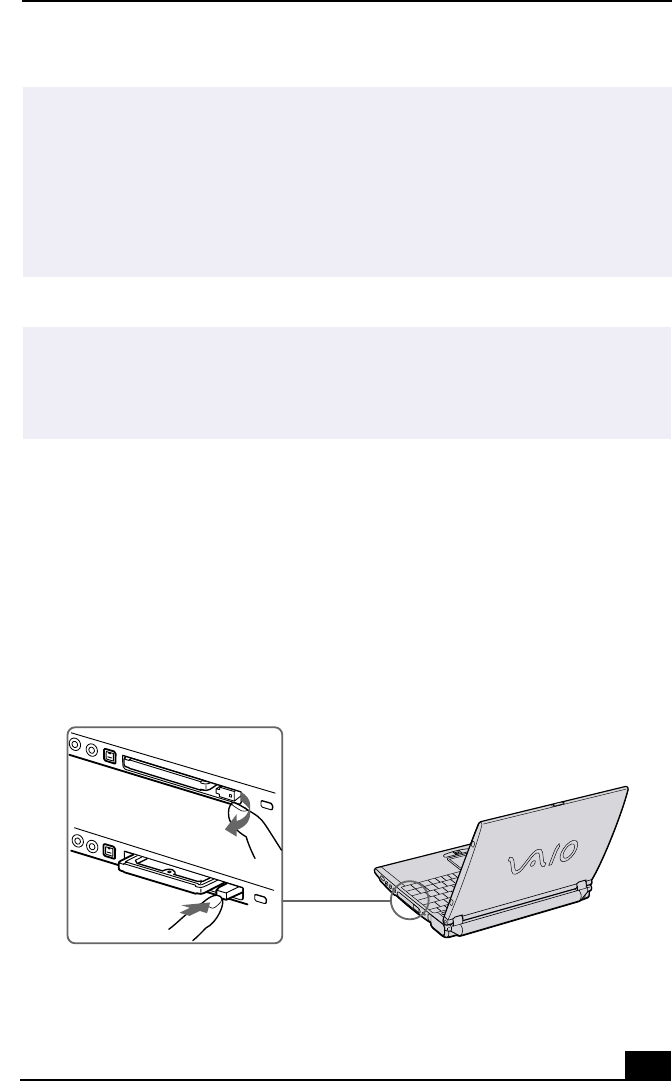
5
Pull the PC card release button up and press it in towards the notebook.
6
Gently grasp the card and pull it out.
✍
Note the following:
❑ Do not force a card into the slot. It may damage the connector pins.
❑ If you have difficulty inserting a card, check that you are inserting the card with
the correct orientation.
❑ Do not carry your notebook while the head of the PC card (such as a wireless
LAN card) is out of the slot. Pressure or shock may damage the connector pins.
❑ See the manual that came with your PC card for more information on its use.
✍
If your notebook is turned on, perform the following procedure to remove the PC card
from the computer. Otherwise, your system might crash and you might lose data that
you did not previously save.
If your notebook is turned off, do not perform this procedure.
Removing PC Card


