Connecting the CD-ROM Drive
45
Connecting the CD-ROM Drive
You can use the optional PCGA-CD51 CD-ROM drive with your
notebook computer.
To change the settings:
1
Click the Start button, select Settings, and click Control Panel.
2
Click the Multimedia icon.
3
Click the CD tab and make sure the “Enable digital CD audio for the
CD-ROM device” box has no check mark.
To connect the CD-ROM drive
1
Remove the PC card slot protector from the PC card slot. See “Using
PC Cards” on page 26 for details.
2
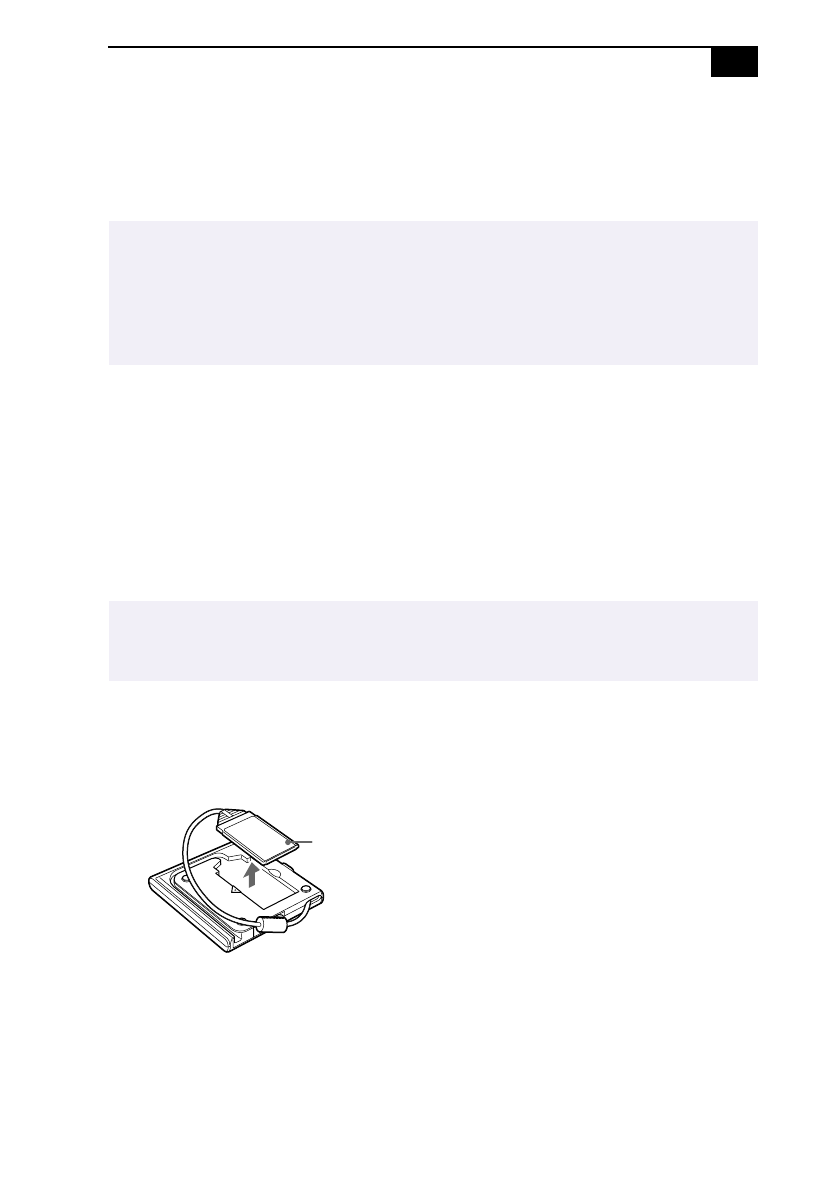
Remove the PC card from the bottom side of the CD-ROM drive.
✍
Procedures for connecting a CD-ROM drive may vary, depending on the CD-ROM drive.
See the manual that came with your CD-ROM drive for more information on use.
To play audio CDs, you need to connect the optional PCGA-CD51 CD-ROM. If you play an
audio CD in the optional PCGA-CD5 CD-ROM drive, connect a headphone or an external
speaker and change the settings as below.
✍
You can connect a PCGA-CD51 CD-ROM drive while the computer is on, unless you want to
use the System and Application Recovery CDs. Turn off your computer before using the
System and Application Recovery CDs.
PC card
