


Super Systems Inc. Page 63 SDS Data Logger Manual #4565 Rev D
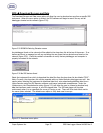
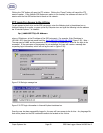
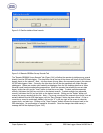
how many pages to view at once (one, two, three, four or six). The default is one page. The upper
right-hand corner of the Print Preview screen contains a page counter, which will allow the user to select
which page to preview. Clicking on the “Close” button will close the Print Preview screen without printing
the chart. Clicking on the Print button (
) will print the document. Note: the Zoom function is for
preview purposes only and will not affect the actual print size. Once the document has been printed, the
user can close the Print Preview screen.
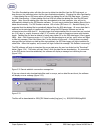
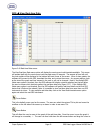
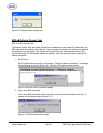
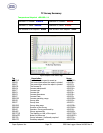
Real-time button
This button will allow the user to keep the cursor in a real-time mode, which will automatically update the
TC values on the left of the screen after every update. Clicking on this button will start the real-time
mode. Clicking on this button a second time will take the screen out of real-time mode. Note: The graph
will still continue to update once a minute, but the values on the left will no longer be up-to-the-minute
accurate.
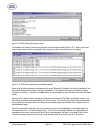
The checkboxes under the “Plot” section will allow the user to determine which TCs to plot on the graph.
Checking a specific TC will display that TC’s data on the graph. The data under the “Value” section is the
current temperature of the TC. Note: even if the Pan button or the Zoom button has been selected, the
user can still select or de-select the TCs. This will not affect the zoom status or the pan status.
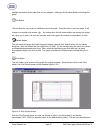
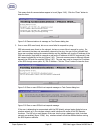
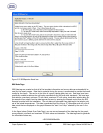
SDS Æ Manage Survey Records
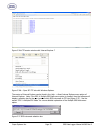
Figure 2.42 Manage Survey Records – Local Survey Records Tab
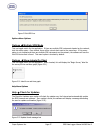
The Manage Survey Records screen will allow the operator to delete survey records from the survey
database file either locally on the computer or remotely on the SDS data logger. The “Local Survey
Records” tab (Figure 2.42) will work with survey records saved locally to the computer. To select
multiple sequential records, hold down the Shift key and click on the desired survey records. To select
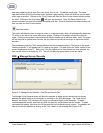
non-sequential records, hold down the Ctrl key and click on the desired survey records. The operator will
have to confirm the deletion by clicking on the “Yes” button on the message box (Figure 2.43).