


Chapter 3: Installation
3-5
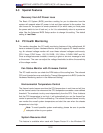
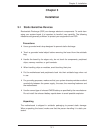
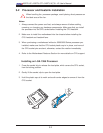
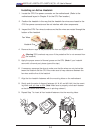
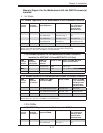
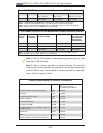
Screw#1
Screw#2
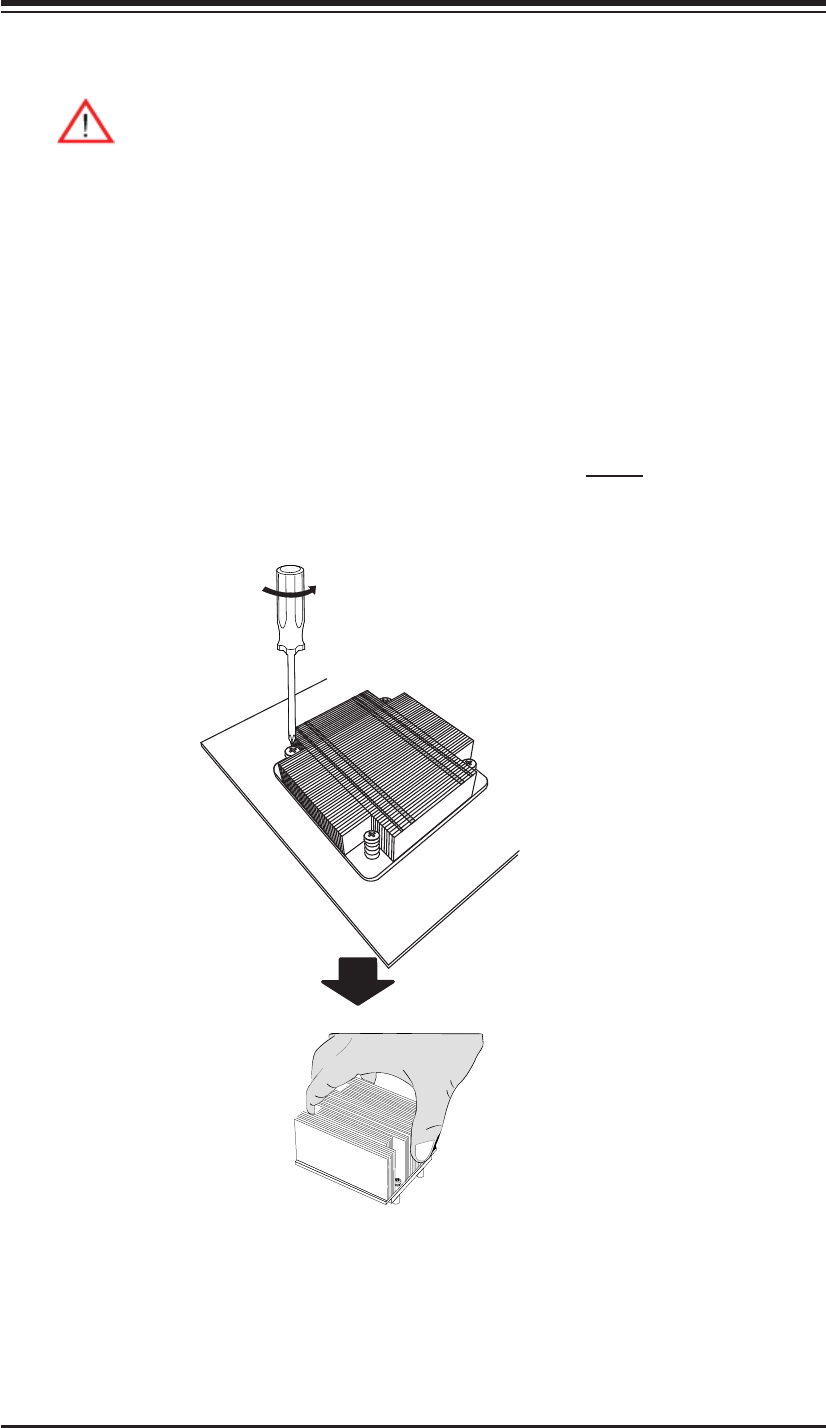
Removing the Passive Heatsink
Warning: We do not recommend that the CPU or the heatsink be re-
moved. However, if you do need to remove the heatsink, please follow
the instructions below to uninstall the heatsink to avoid damaging the
CPU or other components.
Unplug the power cord from the power supply.1.
Disconnect the heatsink fan wires from the CPU fan header.2.
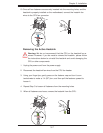
Using a screwdriver, remove the heatsink screws from the motherboard in the 3.
sequence as show in the picture below.
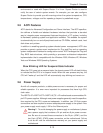
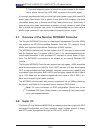
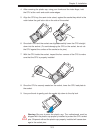
Hold the heatsink as shown in the picture below and 4. gently wriggle the heat-
sink to loosen it from the CPU, avoiding using excessive force while doing so.
Once the CPU is loosened, remove the heatsink from the CPU socket.5.
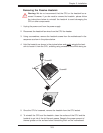
To reinstall the CPU and the heatsink, clean the surface of the CPU and the 6.
heatsink to get rid of the old thermal grease. Reapply the proper amount of
thermal grease on the surface before reinstalling them on the motherboard.
Screw#3
Screw#4