


25
SETUP when the monitors are connected
The following is a simple operational setup guide, which is carried out after the monitors are connected. The assumption
is made that you will be navigating the menus via the LCD display on the master monitor. If you have purchased the
optional software packages then refer to the iDP SOFT
™
section of this manual. If you are using the PC-iP
™
advanced
installers package then refer to the user manual included with this package.
1. Connect the monitors
The monitors must be connected exactly as shown in the previous illustrated setup diagrams.
Turn on the power on each monitor.
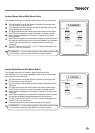
2. Set one monitor as the System Controller
Only one master monitor in the network can be set as the System Controller. Refer to the setup diagrams
to determine which monitor this should be. To set the master monitor as the system controller make sure
the TC LINK button on the rear panel is in the out position. All other master monitors in the setup must
be set to operate as “slaves”, this is done by pressing the TC Link button to the “in” position. If you are
changing the operational mode of the monitor you will be asked to confirm: -
“Mode changed set as slave?” or “Mode changed set as sys. Controller?”
Confirm by pressing the “Enter” key on the Master Display
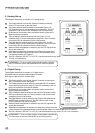
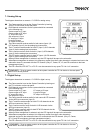
3. The gain setting is the first item in the main menu. The default setting in the main menu after switching
on menu is –50dB. You may have to increase this value slightly in order to hear the pink noise when
setting the monitor tasks (see 8.)
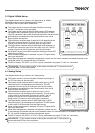
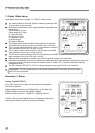
4. Setting Bass Management
The next item in the main menu is Bass Management. Select the required Mode:-
Off
X-over 50Hz
X-over 80Hz
X-over Ext 50Hz
X-over Ext 80Hz
X-over THX 80Hz
X-over SC 120Hz
In stereo setups with subwoofers, the subs will only operate when the Bass Management is activated
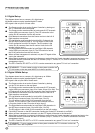
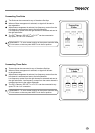
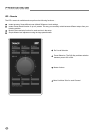
5. Setup Menu
Go to Setup Menu and press Enter