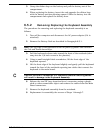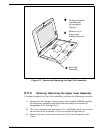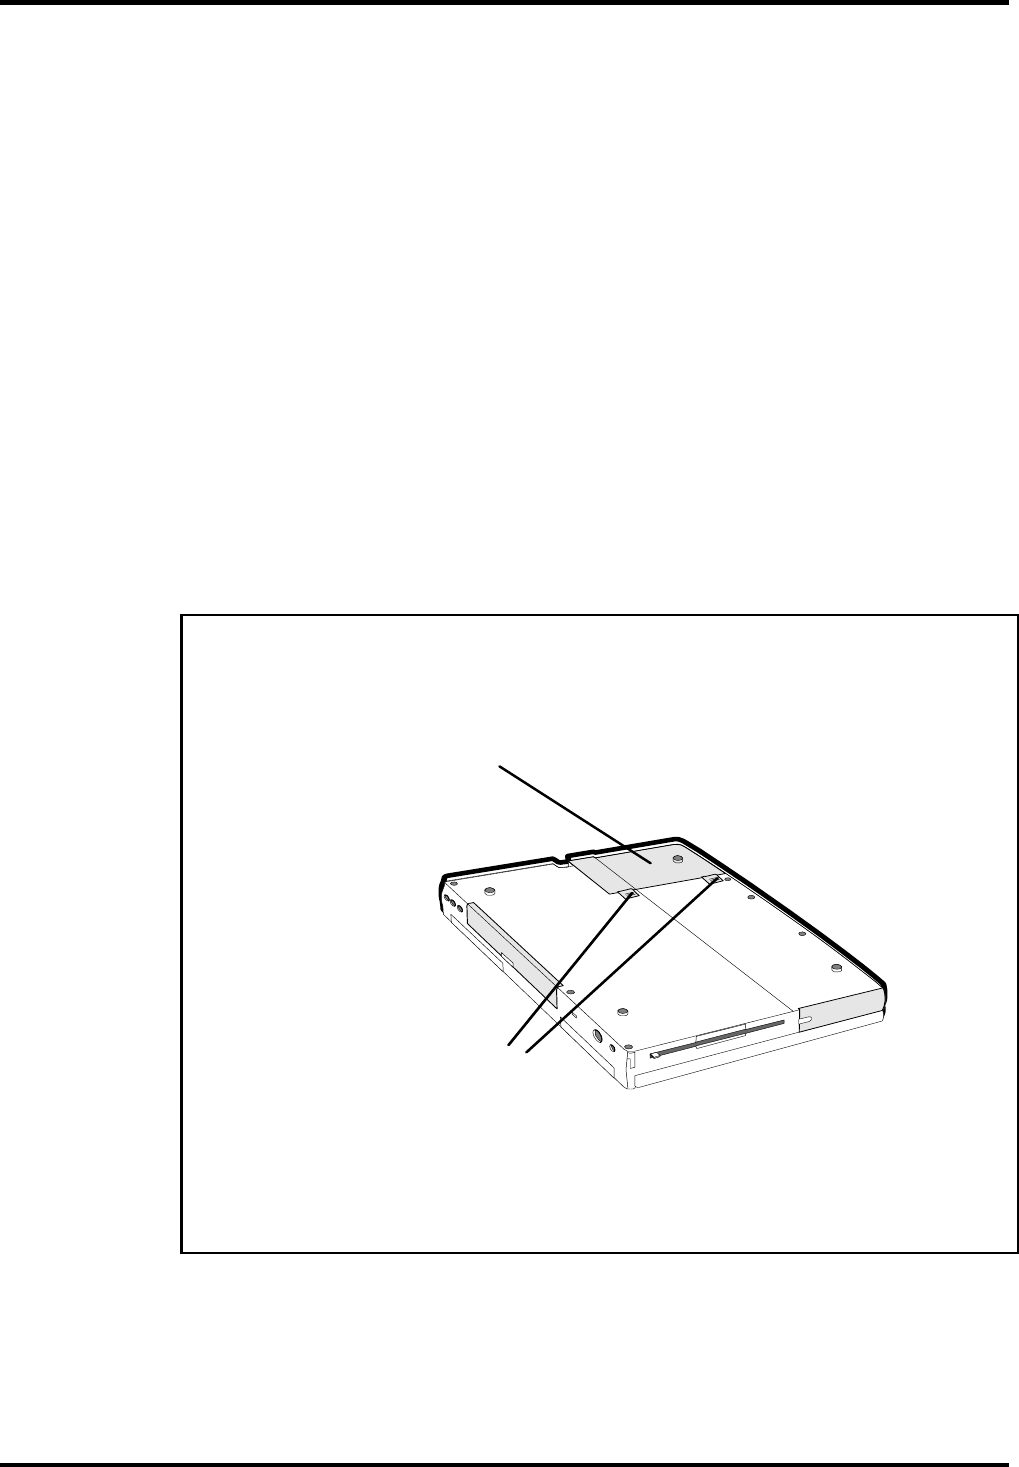
3. Turn the computer over so that the Hard Drive panel is on your right
side.
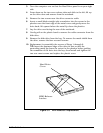
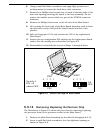
4. Press down on the two cover release tabs and slide to the left; lift up
on the drive door and remove from the notebook.
5. Remove the two screws near the drive connector cable.
6. Insert a small blade straight slot screwdriver into the recess in the
plastics near the front edge of the metal cover and gently move the
drive back; lift upward when the metal lip clears the plastics.
7. Lay the drive over facing the rear of the notebook.
8. Gently pull on the plastic band to remove the cable connector from the
disk drive.
9. Remove the disk drive from the bay. To remove the metal shield from
the drive, remove the four recessed screws.
10. Replacement is essentially the reverse of Steps 1 through 9.
TIP:
Insert the frontmost edge of the drive in first so that the
protruding metal lip clears the cutout in the plastics before guiding
the remainder of the drive into the bay; then install and tighten the
two rear-most screws and replace the plastic cover.
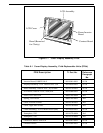
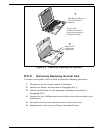
Hard Drive
Cover
HDD Release
Latches
Figure 6-4 HDD Removal/Replacement
6-12
Field Service


