5 USING THE EDITING FUNCTIONS
192 JOB BUILD
4
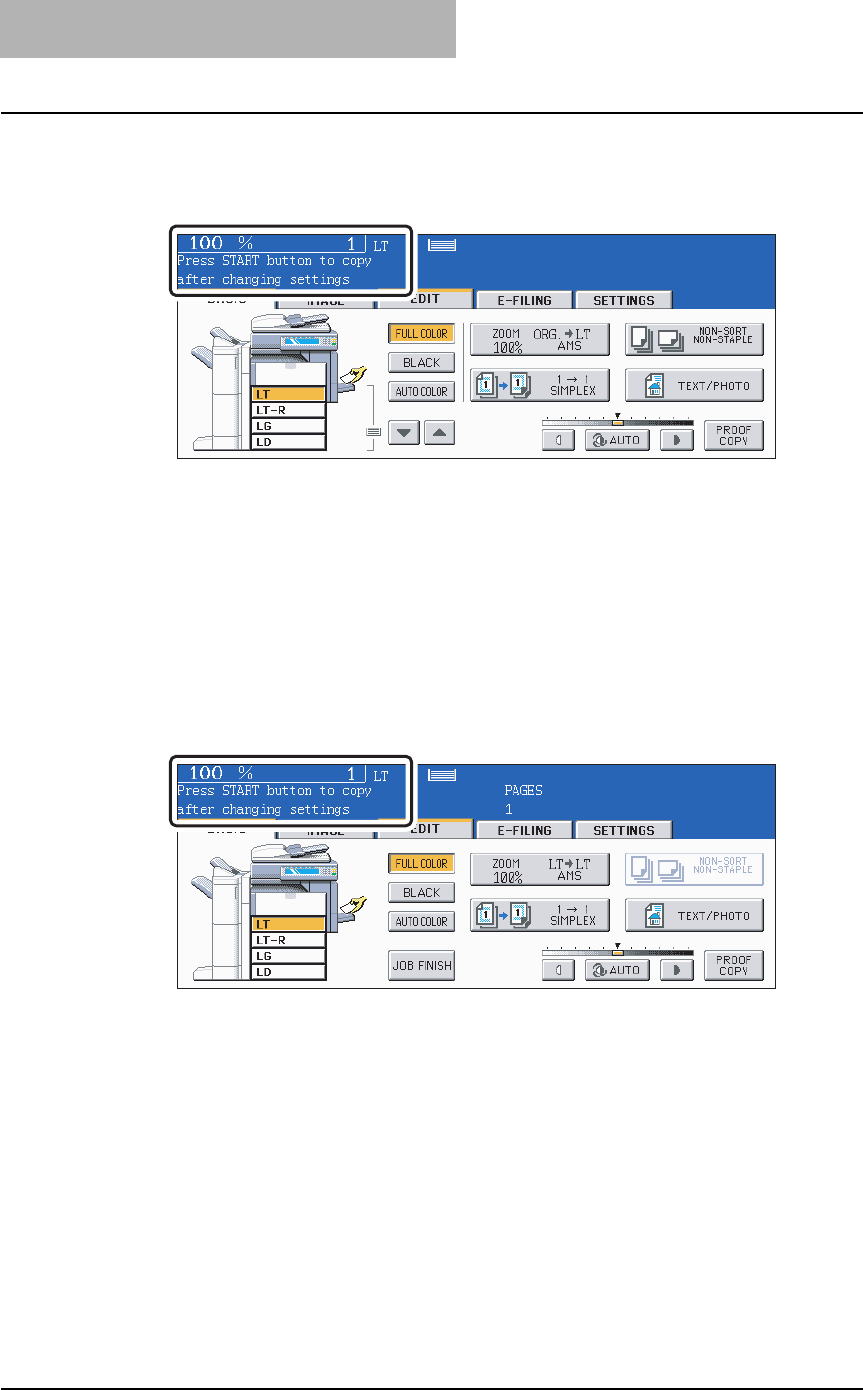
After “Press START button to copy after changing settings.”
appears, perform the settings for the 1st job and the common set-
tings for all jobs.
y Press the [SETTINGS] button to confirm the settings.
y To change the settings, press the [FUNCTION CLEAR] button, and then start the pro-
cedure again from step 1.
5
Press the [START] button.
The scanning of the originals for the 1st job starts.
6
After “Press START button to copy after changing settings.”
appears, place the originals of the 2nd job. Perform the settings for
the 2nd job.
Note that copying will be performed in the same modes as those of the 1st job if the
settings are not changed.
y Press the [SETTINGS] button to confirm the settings.
7
Press the [START] button.
The scanning of the originals for the 2nd job starts.
y Repeat steps 6 to 7 until all the originals have finished being scanned.
8
After all the originals have finished being scanned, confirm the
number of copies on the menu and change if needed.


