User’s Manual 3-19
Hardware, Utilities and Options
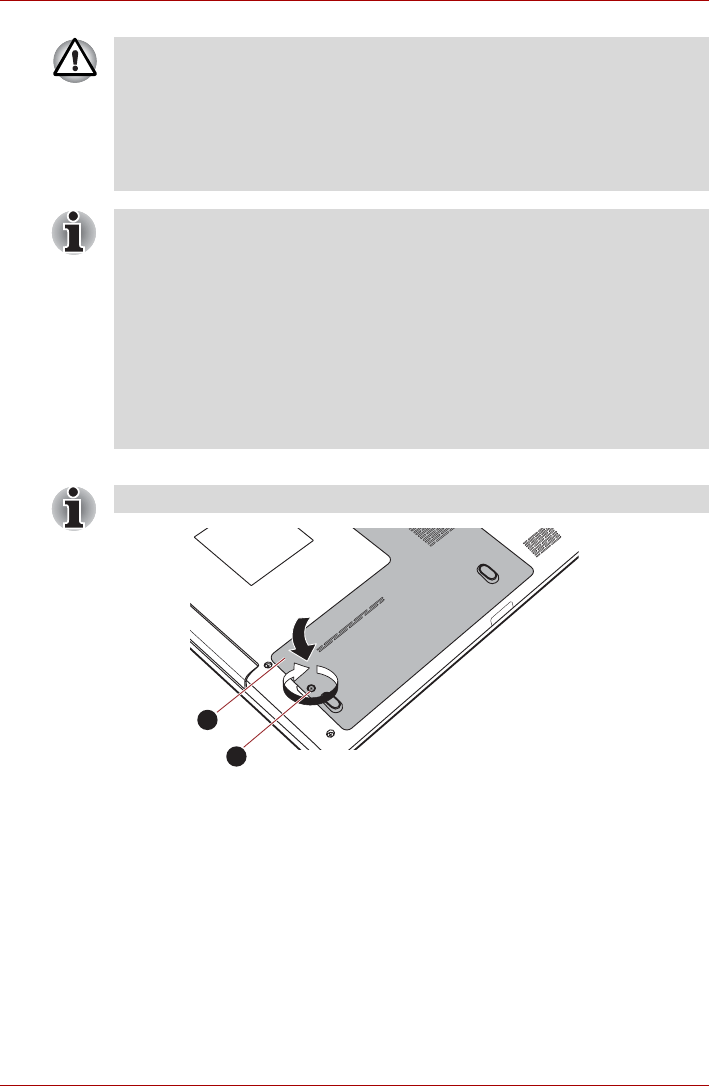
8. Seat the memory module cover in place and secure it with the screws.
Seating the memory module cover
9. Install the battery pack - refer to Replacing the battery pack section in
Chapter 6, Power and Power-Up Modes, if required.
10.Turn your computer over.
11. Turn the computer on and make sure the added memory is recognized -
to confirmed it, Start Control Panel System and Security
System icon.
■ Never allow metal objects, such as screws, staples and paper clips, to
enter the computer. Foreign metal objects can create a short circuit,
which can cause computer damage and fire, possibly resulting in
serious injury.
■ Do not touch the connectors on the memory module or on the
computer. Debris on the connectors may cause memory access
problems.
■ The slot A is reserved for the first memory module. Use the slot B for
expanded memory. If only one module is installed, use the slot A.
When inserting or removing memory modules, use the A and B
marked on the computer chassis to determine which slot is A and
which is B.
■ Align the grooves along the edges of the memory module with the
locking tabs on the connector and insert the module into the connector
firmly - if you find it difficult to install the memory module, gently prise
the locking tabs outwards using the tip of your finger.
■ Please also ensure that you hold the memory module along its left and
right hand edges - the edges with the grooves in.
Take care to ensure that the memory module cover is firmly closed.
1. Memory module cover 2. Screws
1
2


