


4 IMAGE ADJUSTMENT
142 RGB Adjustment
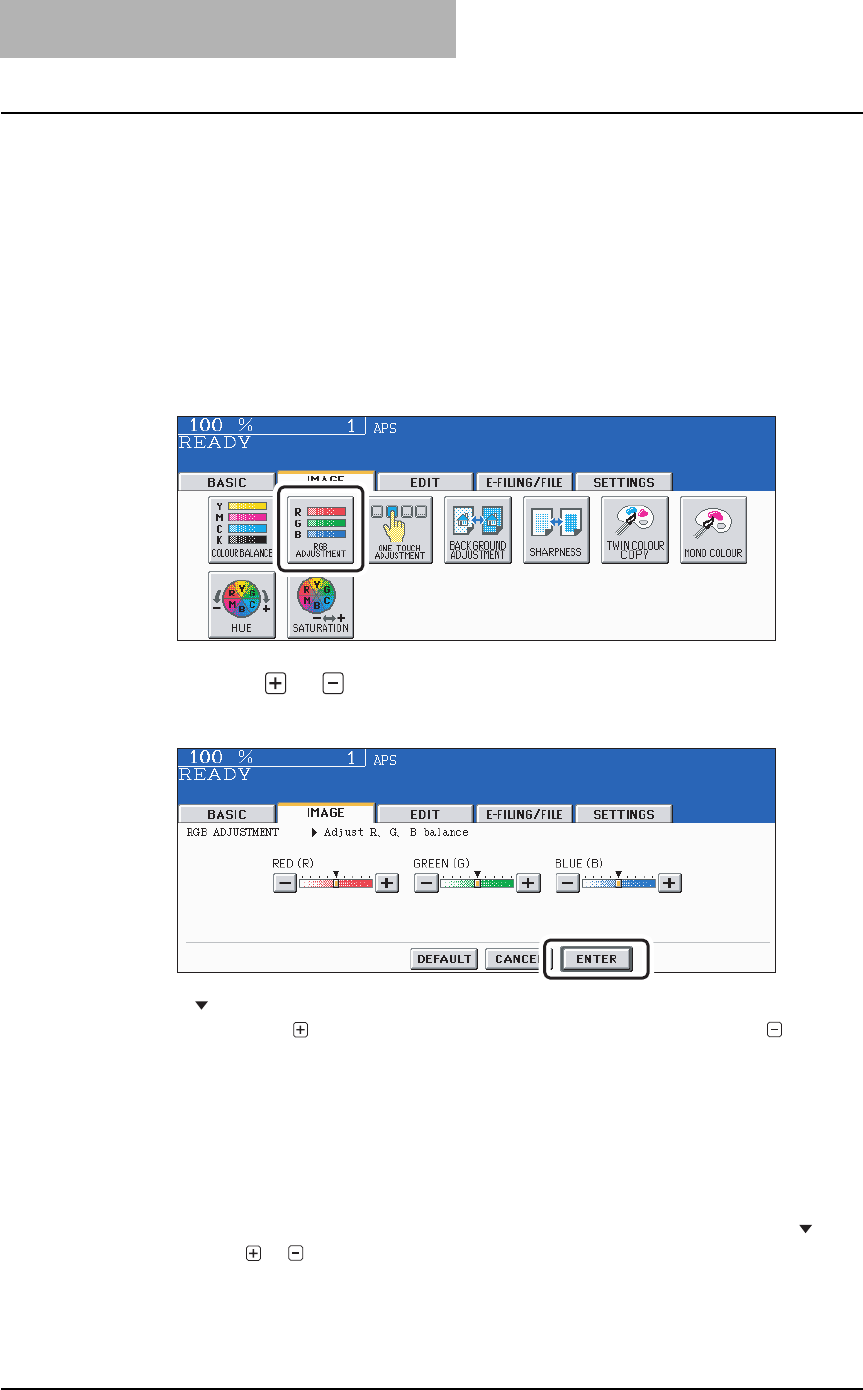
RGB Adjustment
This function allows you to adjust an overall colour balance of the copied image by changing the
strength of red (R), green (G) and blue (B) at the time of scanning.
This function is available only in the full colour mode and the auto colour mode.
1
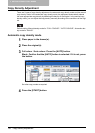
Place paper in the drawer(s).
2
Place the original(s).
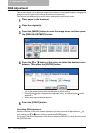
3
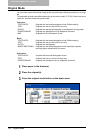
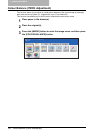
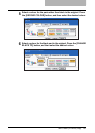
Press the [IMAGE] button to enter the image menu, and then press
the [RGB ADJUSTMENT] button.
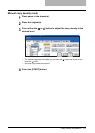
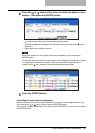
4
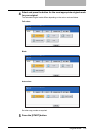
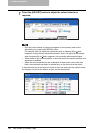
Press the or button of the colour to obtain the desired colour
balance. Then press the [ENTER] button.
y “ ” at the centre of each colour bar denotes its default setting.
y Pressing the button strengthens the adjusted colour, and pressing the button
weakens it.
y Select other copy modes as required.
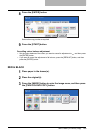
5
Press the [START] button.
Cancelling RGB adjustment
Move the indicator of the colour whose adjustment you want to cancel its adjustment to by
your pressing the or button, and then press the [ENTER] button.
If you want to cancel the adjustment of all colours, press the [DEFAULT] button, and then press
the [ENTER] button.