


46
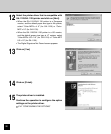
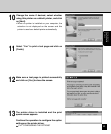
10
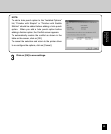
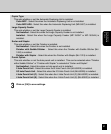
The printer driver is installed and the print
queue screen appears.
Continue the operation to configure the option
settings on the printer driver.
P.47 “CONFIGURING THE OPTIONS”
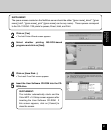
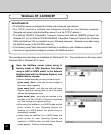
8
Click on [OK].
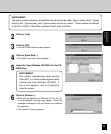
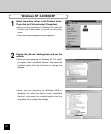
9
Select the printer driver that is compatible with
GA-1120/GA-1130 printer and click on [Next].
• When the GA-1120/GA-1130 printer is a European
version, and the default paper size type is A4 system,
select “Color-MFPe v1.0” (for GA-1120) or “Color-
MFP v1.0” (for GA-1130).
• When the GA-1120/GA-1130 printer is a US version,
and the default paper size type is LT system, select
“Color-MFPe US v1.0” (for GA-1120) or “Color-MFP
US v1.0” (for GA-1130).
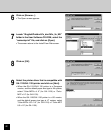
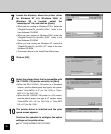
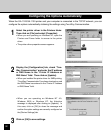
7
Locate the directory where the printer driver
for Windows NT 4.0, Windows 2000, or
Windows XP is located, select the
“oemsetup.inf” file, and click on [Open].
• When you are running on Windows NT 4.0, locate the
“\English\Prntdrvr\Ps_drvr\Win_NT4x” folder in the
User Software CD-ROM.
• When you are running on Windows 2000, locate the
“\English\Prntdrvr\Ps_drvr\Win_2000” folder in the
User Software CD-ROM.
• When you are running on Windows XP, locate the
“\English\Prntdrvr\Ps_drvr\Win_XP” folder in the User
Software CD-ROM.
• The screen returns to the Install From Disk screen.