


2.8 ODD Drive 2 Troubleshooting
2.8 ODD (Optical Disk Drive)
To check if the internal ODD drive is defective or malfunctioning, follow the troubleshooting
procedures below as instructed.
Procedure 1 ODD Cleaning Check
Procedure 2 Test Program Check
Procedure 3 Connector Check and Replacement Check
Procedure 1 ODD Cleaning Check
1. Turn off the power to the computer.
2. Open the ODD tray by inserting a slender object such as a straightened paper clip into
the eject hole. The object must be long enough to activate the eject mechanism.
3. Clean the laser pickup lens with a lens cleaner. Apply the cleaner to a cloth and wipe
the lens.
4. If the ODD drive still does not function properly after cleaning, go to Procedure 2.
Procedure 2 Test Program Check
Execute the ODD drive test program available as part of the maintenance test program. Insert
the diagnostics CD in the computer's CD, turn on the computer and run the test. Then insert a
test ODD (Toshiba-EMI DVD-ROM TEST DISK TSD-1) into the ODD drive. See Chapter 3
for information on how to perform the test.
If any error is detected by the test, go to Procedure 3.
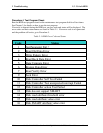
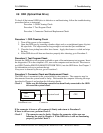
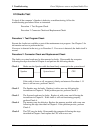
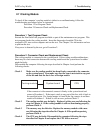
Procedure 3 Connector Check and Replacement Check
The ODD drive is connected to the system board by the connector. The connector may be
disconnected from the system board or faulty. Disassemble the computer following the steps
described in Chapter 4 and perform the following checks:
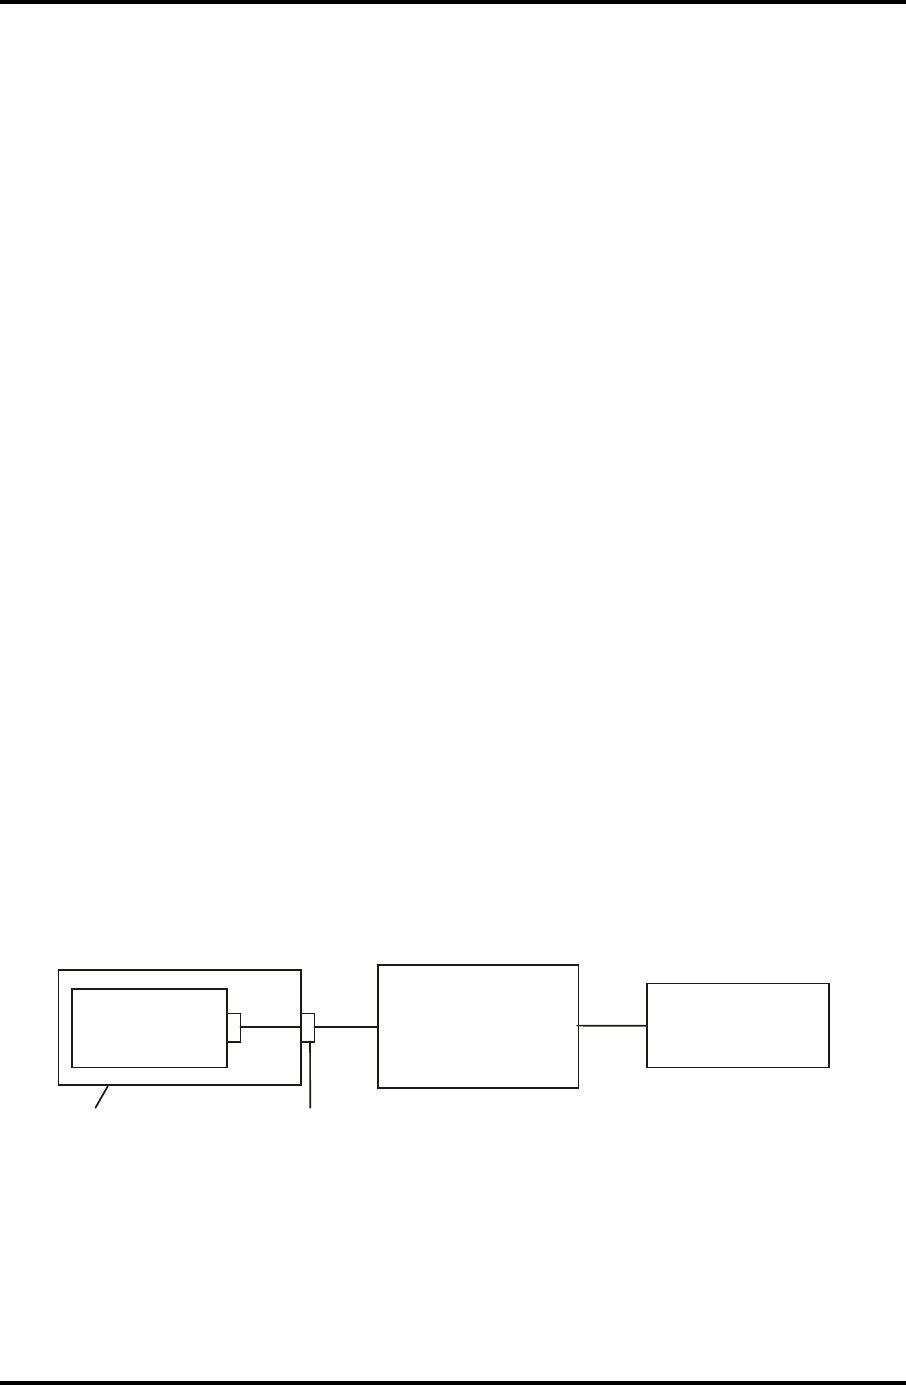
Check 1 Make sure the following connector has been firmly connected to the ODD
drive and the system board.
ODD
Drive
System board
CPU
Attachment case
Connecto
r
If the connector is loose or off, reconnect it firmly and return to Procedure 2.
If there is still an error, perform Check 2.
Check 2 The connector may be faulty. Replace the connector with a new one
following the steps in Chapter 4. If the ODD drive is still not functioning
properly, perform Check 3.
Satellite L300/L305/Satellite Pro L300/EQUIUM L300/SATEGO L300 Maintenance Manual 2-19