


7-3
HW S
ETUP
HDD
−> −>
−> −>
−> FDD
−> −>
−> −>
−> CD-ROM
−> −>
−> −>
−> LAN The computer looks for bootable files in
the following order: HDD, diskette drive,
CD-ROM* and LAN. (Default)
FDD
−> −>
−> −>
−> HDD
−> −>
−> −>
−> CD-ROM
−> −>
−> −>
−> LAN The computer looks for bootable files in
the following order: diskette drive, HDD,
CD-ROM* and LAN.
HDD
−> −>
−> −>
−> CD-ROM
−> −>
−> −>
−> LAN
−> −>
−> −>
−> FDD The computer looks for bootable files in
the following order: HDD, CD-ROM*, LAN
and diskette drive.
FDD
−> −>
−> −>
−> CD-ROM
−> −>
−> −>
−> LAN
−> −>
−> −>
−> HDD The computer looks for bootable files in
the following order: diskette drive, CD-
ROM*, LAN and HDD.
CD-ROM
−> −>
−> −>
−> LAN
−> −>
−> −>
−> HDD
−> −>
−> −>
−> FDD The computer looks for bootable files in
the following order: CD-ROM*, LAN,
HDD, diskette drive.
CD-ROM
−> −>
−> −>
−> LAN
−> −>
−> −>
−> FDD
−> −>
−> −>
−> HDD The computer looks for bootable files in
the following order: CD-ROM*, LAN,
diskette drive and HDD.
* In this computer, CD-ROM refers to the Slim Select Bay optical media drive.
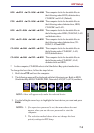
To change the boot drive, follow the steps below.
1. Hold down F12 and boot the computer.
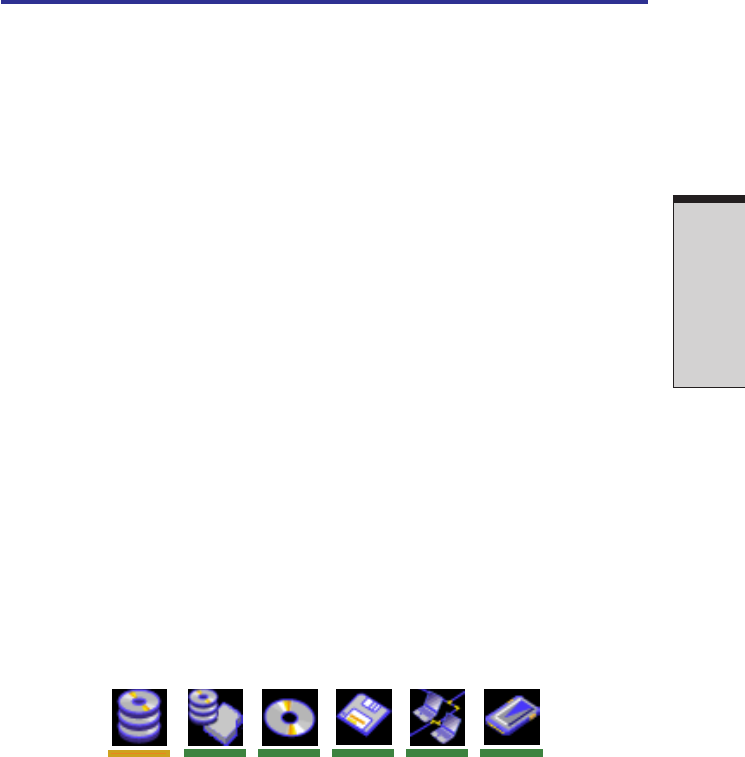
2. The following menu will be displayed with the following icons: Built-in HDD,
Slim Select Bay HDD, CD-ROM, FDD, Network (LAN), PCA (ATA) card boot.
NOTE: A bar will appear only under the selected device.
3. Use the left/right cursor keys to highlight the boot device you want and press
Enter.
NOTES: 1. If a supervisor password is set, the menu above does not
appear when you use the user password to start the
computer.
2. The selection method above does not change the boot
priority settings in HW Setup.
HW Setup