


© Copyright 2012 TRENDnet. All Rights Reserved.
TRENDnet User’s Guide
TEW-MFP1
5
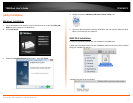
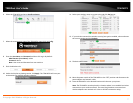
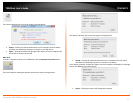
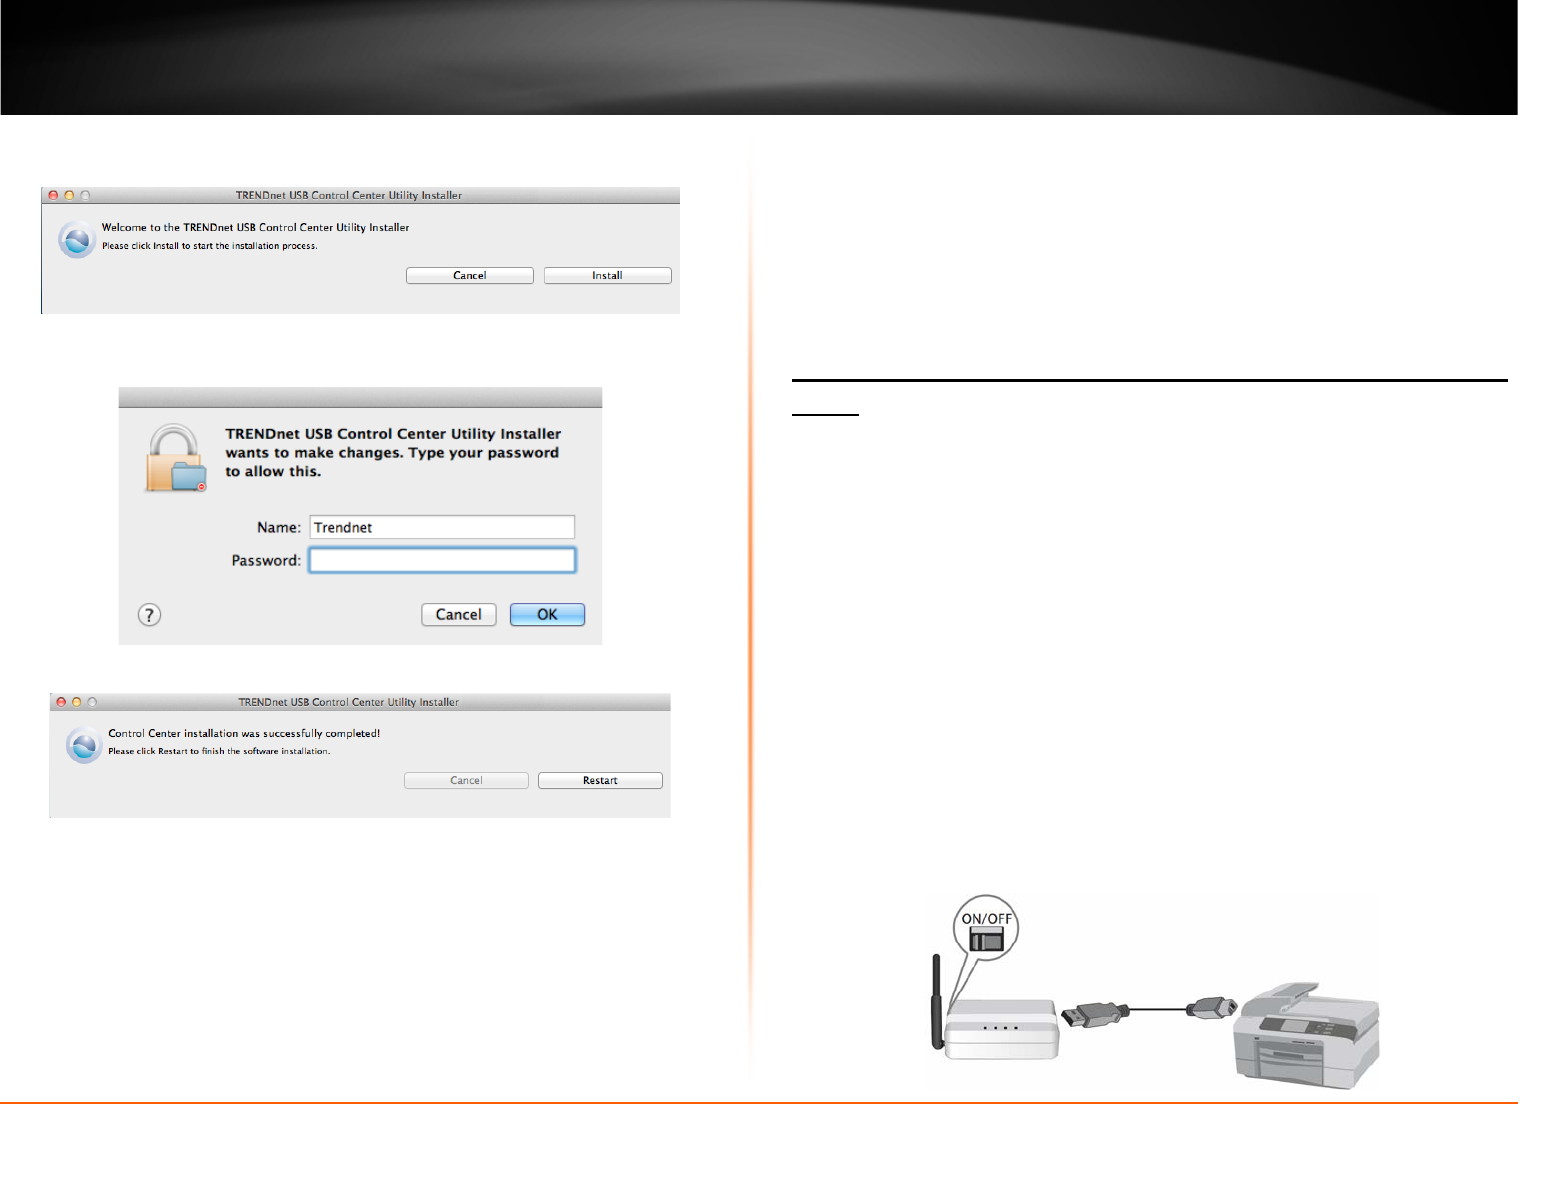
4. You will be prompted to install the utility. Click Install to start the installation.
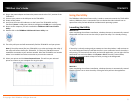
5. You will be prompted for your password to allow the installation. Enter your
password and click OK.
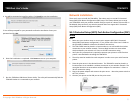
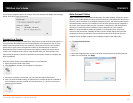
6. Once the installation is completed. Click Restart to restart your computer.
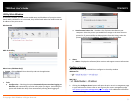
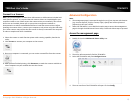
7. Run the TRENDnet USB Control Center Utility. The utility will automatically find the
TEW-MFP1 when it is connected to your network
Network Installation
There are 2 ways to install the TEW-MFP1. The easiest way is to use Wi-Fi Protected
Setup (WPS) Push Button Configuration (PBC) setup. This feature allows you to setup
your TEW-MFP1 with your wireless network with just a push of a button. Please refer to
the Manual Setup section if your wireless network does not support Wi-Fi Protected
Setup (WPS) Push Button Configuration (PBC).
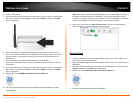
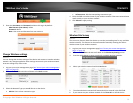
Wi-Fi Protected Setup (WPS) Push Button Configuration (PBC)
Setup
Note:
• Make sure your wireless router or access point supports WPS (Wi-FI Protected
Setup) PBC (Push button configuration). If not, please refer to the User’s Guide on
the provided CD-ROM for alternative installation instructions.
• The TEW-736RE must be placed in a location where it can still establish a wireless
connection to your wireless network. The most ideal locations are areas where
wireless adapters can maintain a 2-3 bars or 30-20% connection rating.
• Verify that any software that is required to operate your printer or multi-function
printer is installed before installing the TEW-MFP1.
• The utility must be installed on each computer in order to use your multi-function
printer.
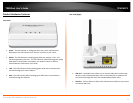
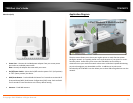
1. Place the print server in the desired location. The TEW-MFP1 must be placed in a
location where it can establish a wireless connection to your wireless network. The
most ideal locations are areas where wireless adapters can maintain a 2-3 bars or
30-20% connection rating.
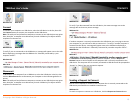
2. Plug in the power adapter and connect the print server. Move the power switch to
the “On” position.
3. Connect your printer to the USB port on the print server.