Vidikron VL-26/VL-32 Owner’s Operating Manual 23
4.1
Turning on the Power
1. Turn on your source components.
2. Plug the female end of the power cord into the AC receptacle on the rear of the DView
(AC 100V ~ 240V).
3. Connect the other end to your AC power source.
4. Turn on the main power switch at the rear of the display (VL-32 only).
5. The power indicator lights red to indicate that the DView is in “standby” mode.
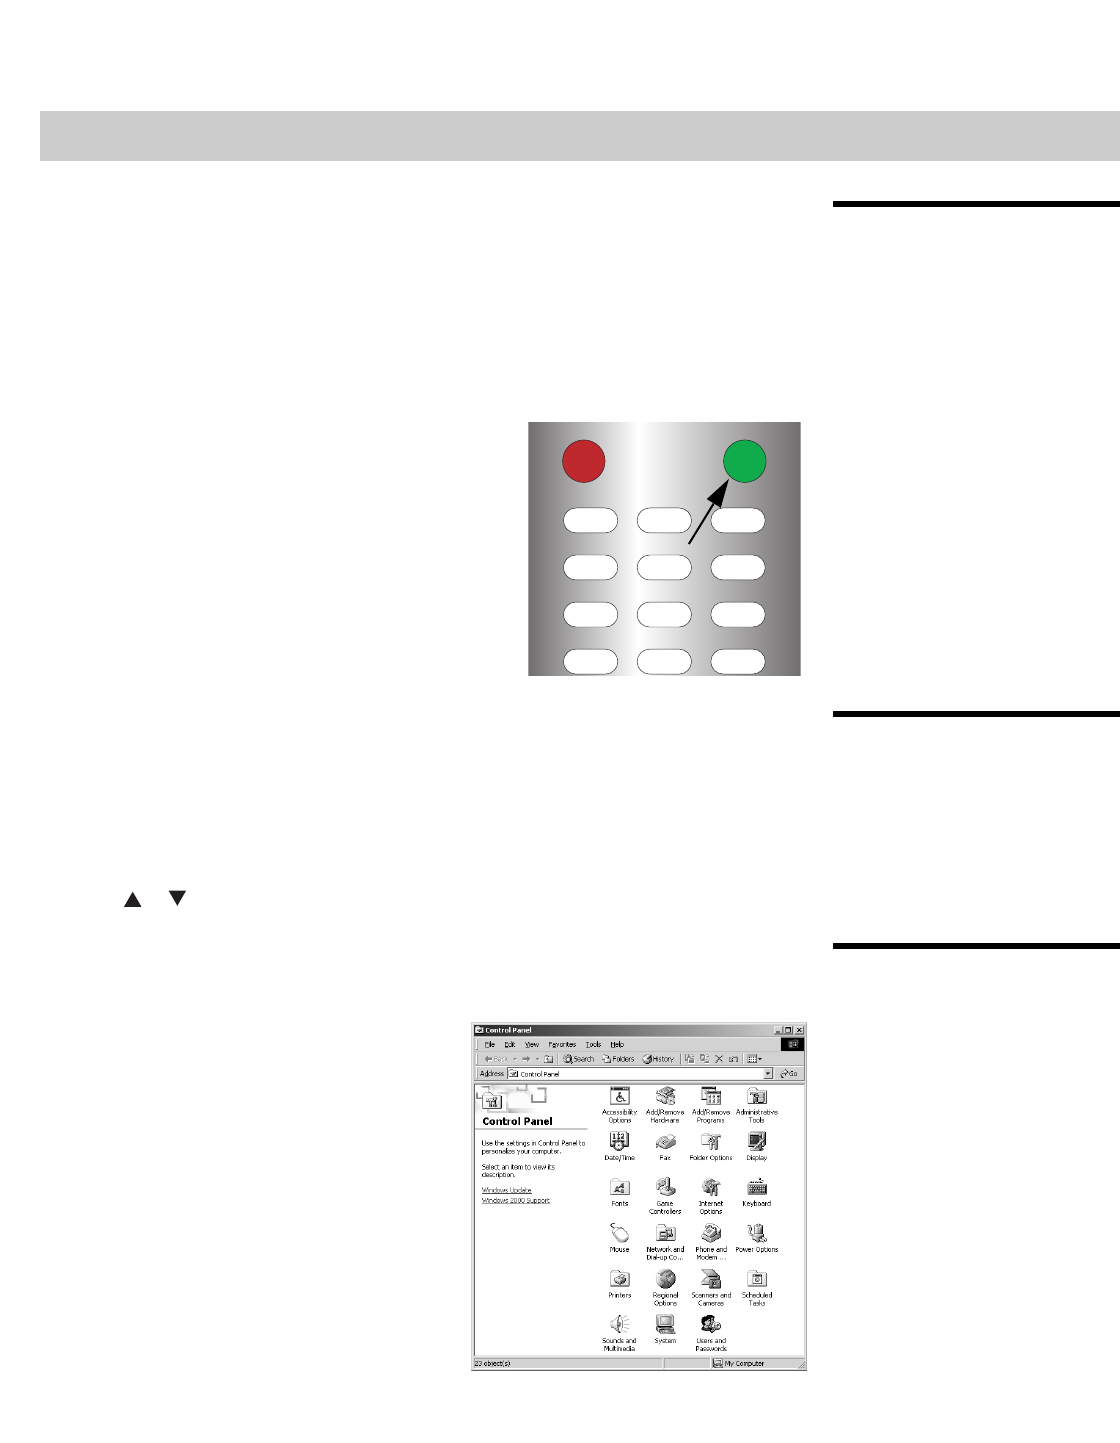
6. Press the ON button on the remote control to
turn on the display (or press the power button
on the front of the display). The power indicator
flashes for a few seconds, then lights solid
green.
7. After a brief warm-up period (approximately 10
seconds), the DView will display an image.
4.2
Changing the OSD
Language
The DView OSD language is initially set to English, but can also display the menus in French,
Spanish, Portuguese or German. To change the OSD language:
1. Press MENU.
2. Select Setup from the Main Menu.
3. Select OSD Language from the Setup Menu.
4. Press or to highlight the desired language and press ENTER. The change takes
effect immediately.
4.3
Setting the PC Display
Properties
To maximize image quality when using the DView with a personal computer, you may need
to adjust the display properties of your PC video card. To do this:
1. Choose Settings from the Windows Start
menu and click on “Control Panel.”
4Operation
45
0
100
123
6
789
OFF ON
_


