


ViewSonic PJ1165 29
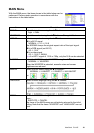
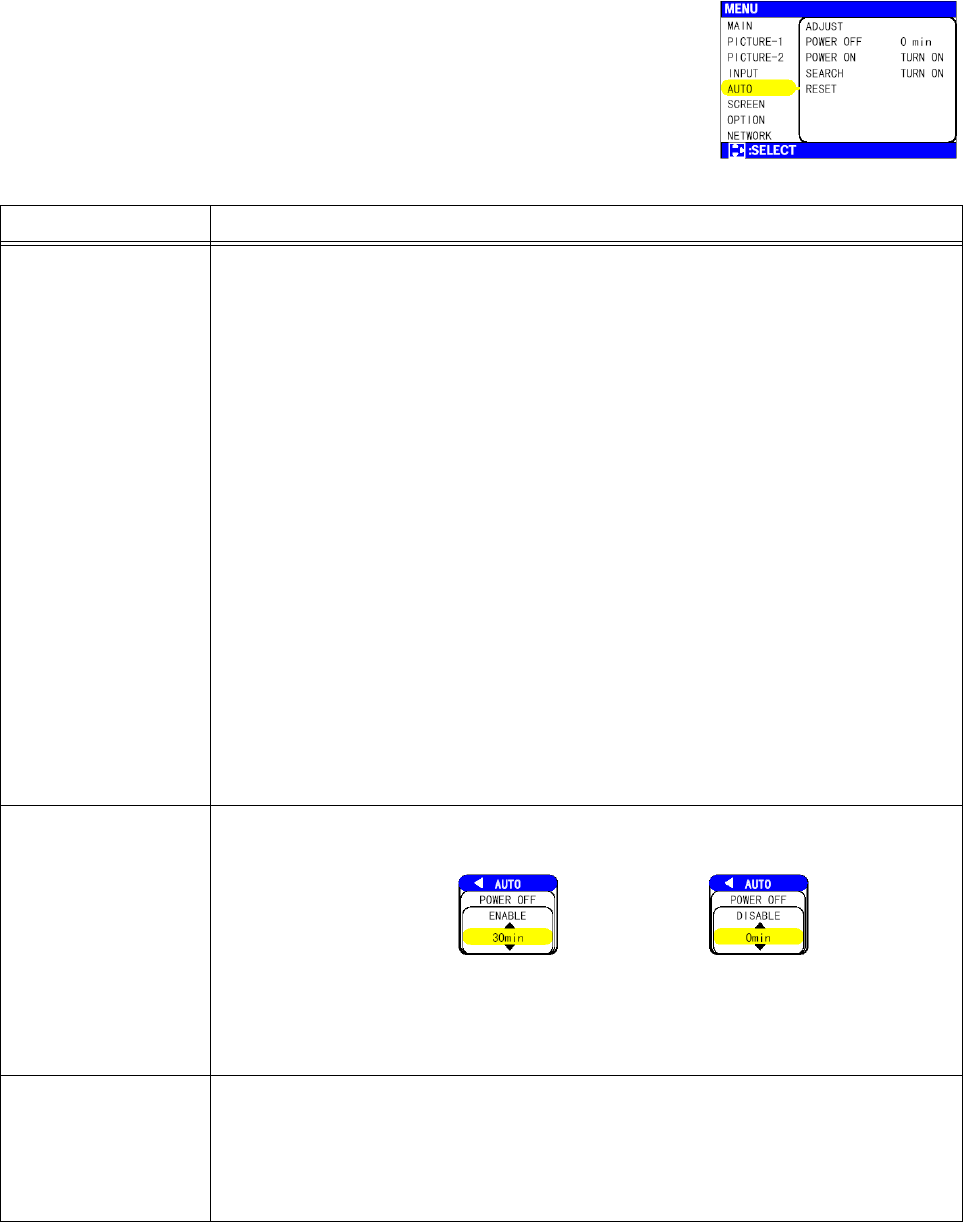
AUTO Menu
With the AUTO menu, the items shown in the table below can be
performed. Perform each operation in accordance with the
instructions in the table below.
(This table is continued to the following page.)
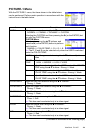
Item Description
ADJUST Pressing the X (or the ENTER) button performs the automatic
adjustment.
At a RGB signal
The vertical position (V POSITION), the horizontal position (H
POSITION), the clock phase (H PHASE) and the horizontal size (H
SIZE) will be automatically adjusted.
memo
Make sure that the application window is set to its maximum size
prior to attempting to use this feature. Dark pictures may still be
incorrectly adjusted. Use a bright screen when adjusting.
At a video signal
The signal type mode best suited for the respective input signal will
be selected automatically.
memo
This function is available only when the AUTO is selected to the
item “VIDEO” of the INPUT menu. For a component video signal, the
signal type is identified automatically independently of this function.
memo
This operation requires approximately 10 seconds, and the
message “AUTO IN PROGRESS” is displayed during the operation.
memo
This operation may not work well at some signals. If the picture
becomes unstable (ex. a irregular picture, a color lack), please select
the suitable mode to the item “VIDEO” of the INPUT menu.
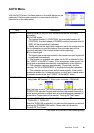
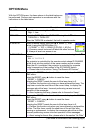
POWER OFF Set the time using the S/T buttons.:
Long (max. 99 minutes) Short (min. 0 minute = DISABLE)
ex.
When the time is set to 1 to 99, the projector lamp will go off and the
STANDBY/ON indicator begins blinking when the passed time with a
proper signal (without no-signal and an unsuitable signal) reaches at
the set time. Please refer to the section “Turning Off The Power”.
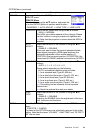
POWER ON Select the TURN ON or the TURN OFF using the S/T buttons.:
TURN ON TURN OFF
When the TURN ON is selected, you can turn the projector on without
pressing the STANDBY/ON button. Please refer to the section
“Turning Off The Power”.