CONFIGURING THE BUTTONS 33
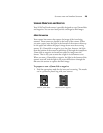
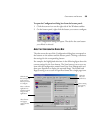
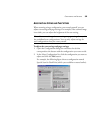
To open the Configuration dialog box from the button panel:
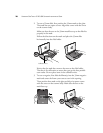
1. Click the scanner icon on the right side of the Windows taskbar.
2. On the button panel, right-click the button you want to configure.
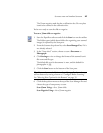
The Configuration dialog box opens. The tab for the scan button
you clicked is selected.
ABOUT THE CONFIGURATION DIALOG BOX
The tabs across the top of the Configuration dialog box correspond to
the buttons on the scanner and the button panel. Clicking a tab shows
the settings for the corresponding button.
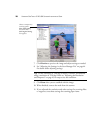
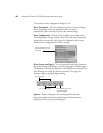
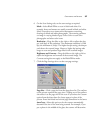
For example, the highlighted selections in the following figure show the
current settings for the Scan button. The Scan button is set to scan an
item with the configuration named AutoCrop: Scan Photograph, and
then open PaperPort to display the scanned image. The Format and
Page(s) setting is set to scan in PaperPort format for a single page item.
Select a software
application to
send the scanned
image to that
application.
Select a setting
for scanning
the item.
Select format
and page(s)
options for the
button.
Click this
tab to set
preferences.
Click the tab
that corresponds
to the scanner
button you want
to configure.


