WESTERN DIGITAL HARD DRIVE
INSTALL THE HARD DRIVE WITHOUT A CONTROLLER CARD - 6
INSTALLATION GUIDE
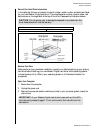
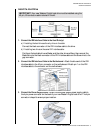
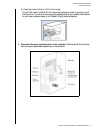
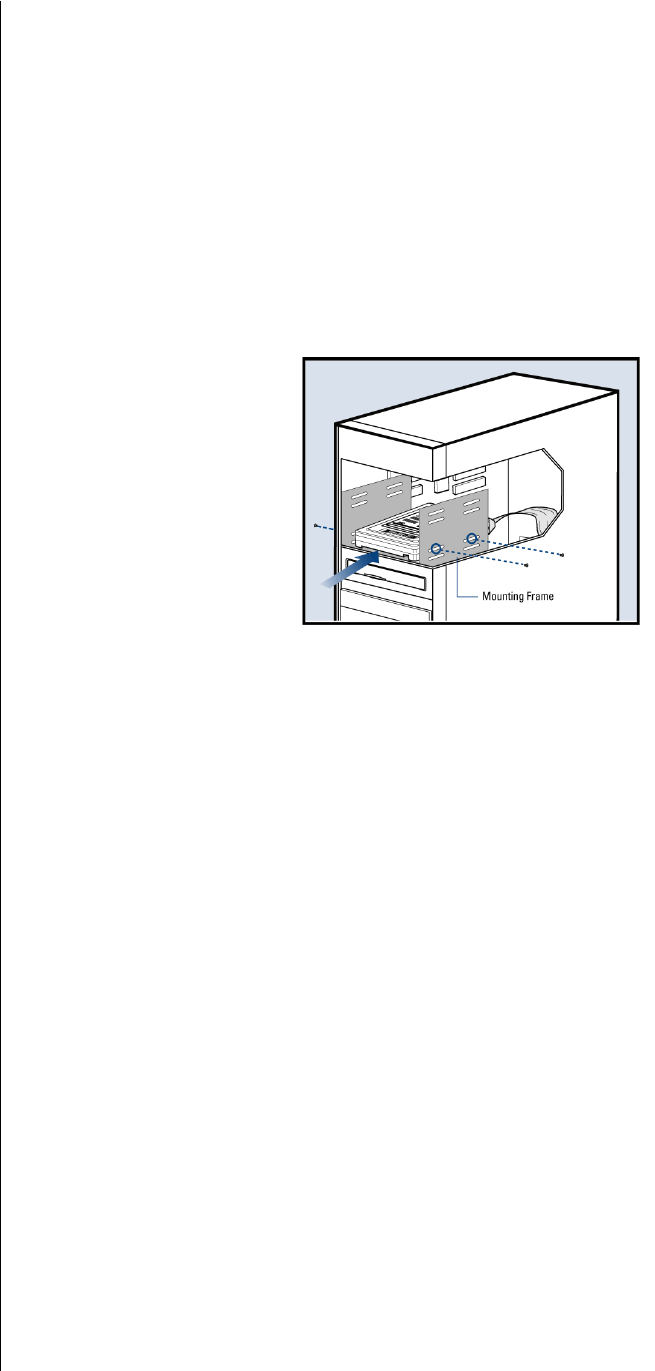
4. Secure the Hard Drive:
a) If securing the hard drive in a 3.5-inch drive bay,
Secure the Western Digital hard drive in an available drive bay (typically adjacent to the
floppy disk drive) using the four mounting screws provided. Mounting brackets are not
required.
NOTE: For proper grounding, be sure to use all four screws.
b) If securing the hard drive in a 5.25-inch drive bay,
You will first need to install 5.25-inch mounting hardware in order to properly mount
the hard drive. If you do not have mounting brackets contact your system manufacturer
or your local computer dealer or call Western Digital technical support.
Power On Your Computer
1. Replace the system cover, reconnect the power cord, and power on the system. At startup,
the computer will display all the devices detected on the system.
2. If the drive you installed is not detected, restart the computer.
3. At startup, run the CMOS Setup program. Refer to your system manual for instructions.
4. Select Auto Config drive type.
5. Enable LBA or Translation. Most systems manufactured after 1995 support LBA.
6. This concludes the hard drive installation process.
7. To set up and copy files, proceed to "Data Lifeguard Install Software" page 14.
Register Your Product
Take advantage of Western Digital special offers and product updates by registering your new
hard drive online at www.wdc.com/products/registration.


