Three ways to scan
4800/2400 Series Installation and User Guide 2-25
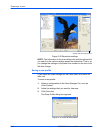
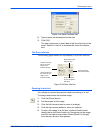
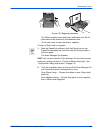
Figure 2-28 Save a custom size
2. Type a name and dimensions for the size.
3. Click [OK].
The new custom size is now listed in the box at the top of the
panel. Select it in the list to automatically reuse the custom
size.
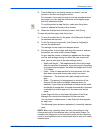
The Scan Info box
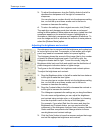
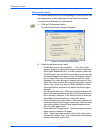
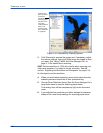
The following figure shows the information on the Scan Info box:
Figure 2-29 Scan Info box
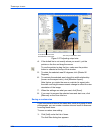
Zooming in and out
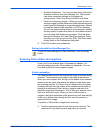
You enlarge or reduce the preview image by zooming in or out.
To enlarge and reduce the preview image:
1. Click the [Zoom] button.
2. Put the pointer on the image.
3. Click the left mouse button to zoom in (enlarge).
4. Click the right mouse button to zoom out (reduce).
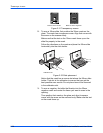
5. To return the image to its full size, click the Pointer button
directly above the Zoom button, put the pointer on the image
and click the right mouse button. Select [Show Full Image]
from the pop-up menu that appears.
Location of the top
left corner of the
image in the
Preview window.
Physical size of the
image to scan.
Size of the file of
the scanned image
Amount of space
on your computer’s
hard drive.
Current location of
the pointer as you
drag it on the
Preview window.


