


70
Chapter 3 Printer Setup
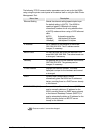
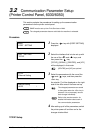
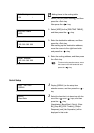
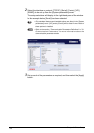
1 Display [TCP/IP] on the selection screen,
and then press the <
> key.
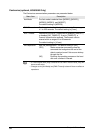
2 Select the item that is to be set up with the
use of the <
> and < > keys, and then
press the < > key.
[Ethernet Setting], [Default Parser], [IP
Address], [Mask Value], [E-Net Address],
[Dynamic Routing], and [Static Routing] will
be displayed in that order.
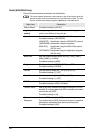
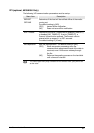
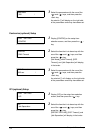
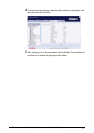
3 Select the parameters with the use of the
<
> and < > keys, and then press the
<Set> key.
An asterisk [*] will be displayed on the right
side of the parameters once they have been
set.
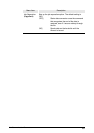
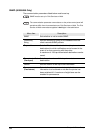
1. Move the cursor to the left and right with
the use of the <
> and < > keys.
2. Select the required value with the use of
the <
> and < > keys. The value will
increase or decrease sequentially
between 0 and 9.
3. Press the <Set> key once all values have
been entered.
• Additions can be made to the
routing table when [Static Routing]
is enabled.
• The [E-Net Address] can only be
displayed, not changed.
• To proceed to the next menu, move
the cursor to the right-hand side
and press the <
> key.
• To return to the previous menu,
move the cursor to the left-hand
side and press the <
> key.
PORT SETTING
TCP/IP
TCP/IP
Default Parser
Default Parser
HPGL *
IP Address
120. 000. 000. 000
IP Address
100. 000. 000. 000
IP Address
123. 123. 123. 001 *
Entering addresses