Xerox DP 820 User’s Guide 11
Connecting the Projector
Powering On/Off the Projector
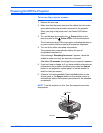
To turn on the projector’s power
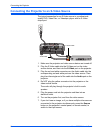
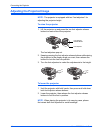
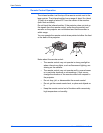
1. Remove the lens cap.
2. Make sure that the power cord and the cables from the video
and audio sources are securely connected to the projector.
When you plug in the power cord, the Power LED flashes
green.
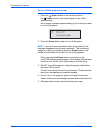
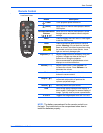
3. Turn on the lamp by pressing the Power button on the
remote control or the Power button on the control panel.
The Power and Lamp LEDs turns green, indicating the lamp is
in good condition and is projecting at maximum brightness.
4. Turn on all the other connected components.
The projector then automatically detects the type of
components attached to it.
If the message “Searching for source” appears, check the
cables to make sure they are securely connected.
After about 30 seconds, the image for your projection appears.
5. If you don’t see an image, or if you have multiple video sources
connected to the projector simultaneously, press the Source
button on the projector’s control panel, or remote control, to
switch to the input source.
6. (Optional, but recommended) Press the Auto button on the
control panel or the Resync button on the remote control to
automatically adjust the frequency and phase for the attached
components.
NOTE: Turn the projector on first, then the computer and other
components.
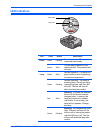
Lens cap
Power


