


3-8 Loading media and calibration
Calibrating for Media Types
Calibrating the printer for the type of media being used is essential and is the
first procedure that must be performed prior to printing and whenever the
media type is changed. If the printer is not properly calibrated, any of the
following may occur:
• Printer will not initiate printing
• Media advances but no image is printed
• Printer will report a Media Out error
• Image placement is incorrect or the printed image is clipped
• Color QuickLabel 99® Pro software reports an error
The calibration process automatically senses any gap, notch, or index mark
on the media. This allows the printer to position widely varying types of
media automatically and correctly. The printer stores the last calibration in
non-volatile memory.
The printer’s internal label queue is reset during the calibration process. Any
labels pending in the queue are terminated. Use the procedures on the
following pages to perform a media calibration.
Note: Calibration need not be performed frequently if you use the same type
of label or tag material, regardless of size.
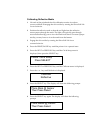
Calibrating Gap Media
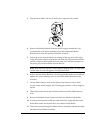
1 Lift each of the printheads for this calibration routine in order to
conserve ribbon. Leave the drive roller engaged.
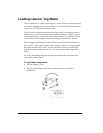
2 Remove a label from the liner between the Media Dancer Arm and the
Upper Media Guide Roller (skip this step if using notched or hole-punched
media).
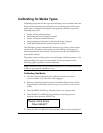
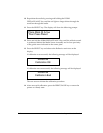
3 Press the PRINT/PAUSE key until the printer is in a paused state.
4 Press the NEXT or PREVIOUS key until the Cal & Setup menu is
displayed, then press the SELECT key.
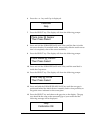
5 Press the NEXT or PREVIOUS key until the Calibrate menu is displayed.
Pause: Cal & Setup
Press SELECT