


QLS-8100 Xe 4-19
Cut Offset
When printing on media with registration marks (gaps, reflective marks,
etc.), the printer will place the label image area between the registration
marks. If necessary, you can adjust the location of the cut line relative to the
printed image. The cut offset can be used to move the cut line forward or
backward with respect to the top of the label.
To adjust the cut position:
1 If the printer is in a Ready state, proceed to the next step.
If the printer is in a Pause state, press the NEXT or PREVIOUS key until
the Adjust menu is displayed. Then press the SELECT key.
2 Press the NEXT or PREVIOUS key until the Cut Offset menu is
displayed.
3 Press the + or – key until the desired cut offset setting is displayed.
Cut offset settings are –1200 through +1200 dots. Negative values move
the cut line toward the bottom of the tag. Positive values move the cut
line toward the top of the tag.
4 Press the SELECT key to confirm your choice.
Note: Setting the cut offset via software will always override this setting. You
can set the cut offset via Color QuickLabel 99 Pro or the QuickLabel Systems
Windows Printer driver.
Note: The vertical offset will affect the cut offset. As a rule, the vertical offset
should be set first.
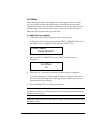
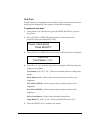
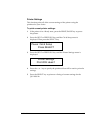
Cut Offset
+0
Pause: Adjust
Press SELECT