


Getting Started
2.31
2
9
When the "Completing the Found New Hardware Wizard"
screen displays click
Finish
. The PCL print driver for the
PE120 is now loaded.
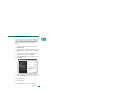
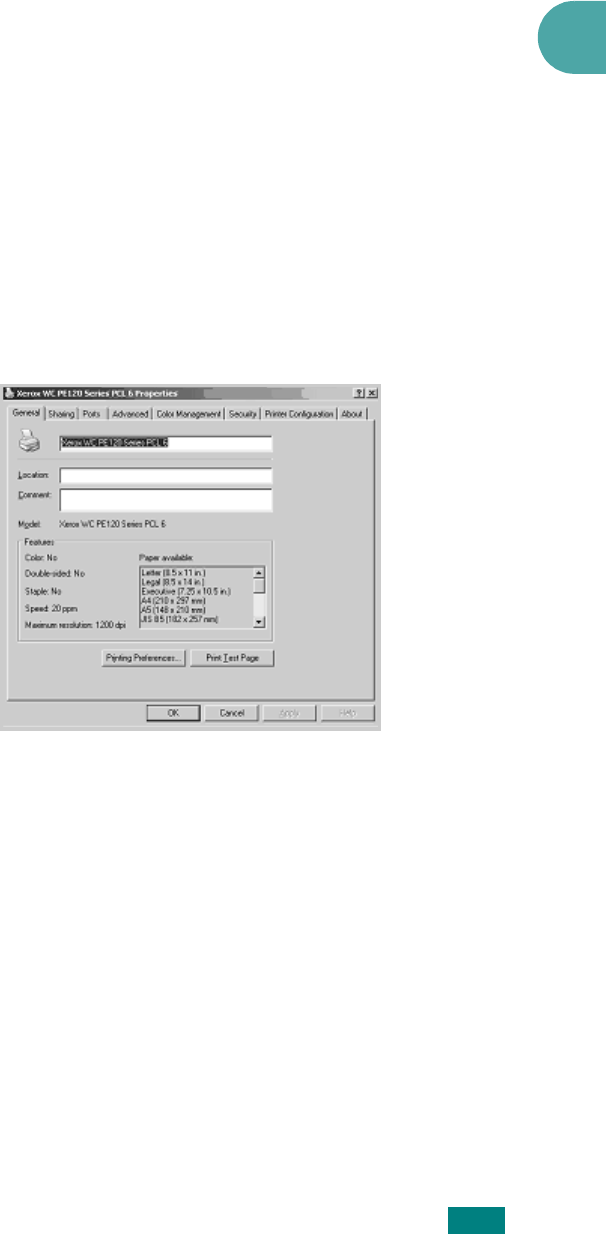
10
From within Microsoft Windows click
Start
and then
Settings
and then
Printers and Faxes
. Click on the
"Xerox WC PE120 series PCL6" printer object and then
select
File
and then
Properties
. When the screen appears
click
Print Test Page
. The PE120 will now print a test
page. If the PE120 does not print then click
Troubleshoot...
and follow the instructions on screen.
11
If you want the PE120 to be your default printer. From
within Microsoft Windows click
Start
and then
Settings
and
then
Printers and Faxes
. Click on the "Xerox WC PE120
series PCL6" printer object and then select
File
and
Set as
Default Printer
.
Installing Xerox Drivers in Microsoft
Windows XP, 2000 or Windows 98/ME
using the Parallel port
1
Plug the Parallel cable into the PE120 and connect to your
Personal Computer (PC). Start your PC and turn on the
PE120.
2
Insert the Xerox Drivers CD into the CD-ROM drive. From
within Microsoft Windows click
Start
and then
Run
. Type
E:
Xinstall.exe
, replacing "
E
" with the letter of your CD-ROM
drive and click
OK
.