


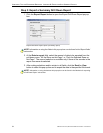
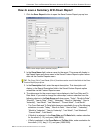

CONFIGURE, TEST THE ENTERPRISE REPORTER APPENDIX B: EXPORT AND SAVE SUMMARY REPORTS
8E6 TECHNOLOGIES, ENTERPRISE REPORTER EVALUATION GUIDE 37
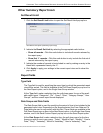
Other Summary Report tools
Set Result Limit
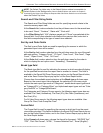
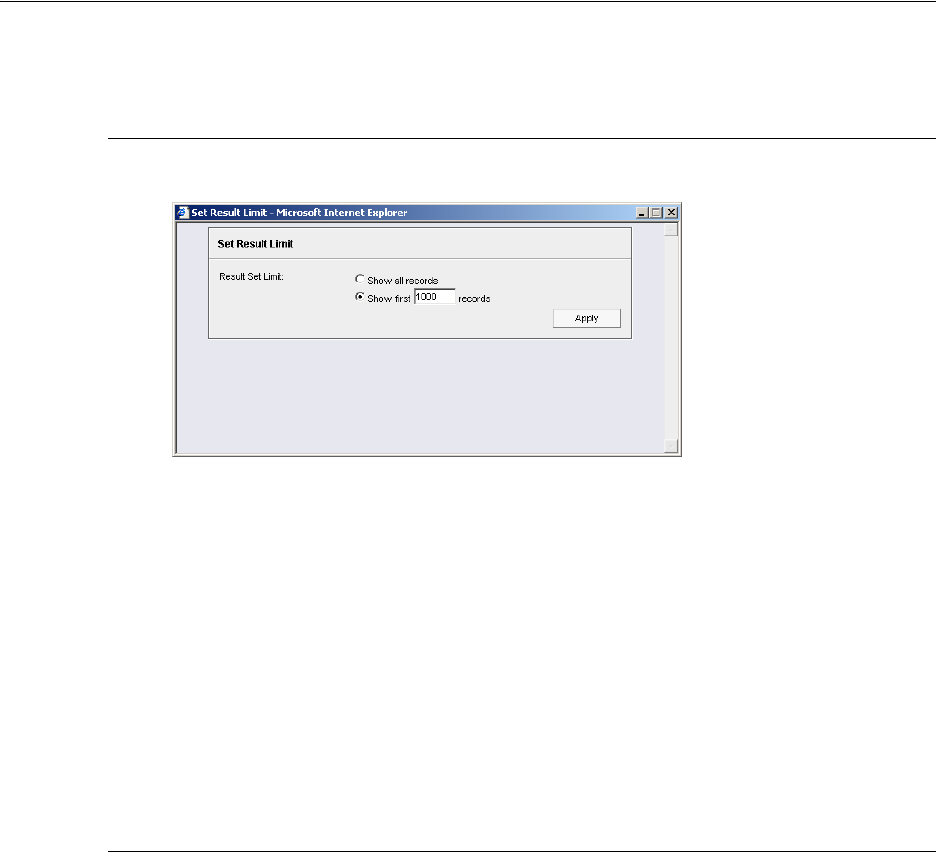
1. Click the Set Result Limit button to open the Set Result Limit pop-up box:
Set Result Limit option (Summary report only)
2. Indicate the Result Set Limit by selecting the appropriate radio button:
• Show all records - Click this radio button to include all records returned by
the report query.
• Show first ‘X’ records - Click this radio button to only include the first set of
records returned by the report query.
3. Indicate the number of records to be included in a set by making an entry in the
blank field, represented here by the ‘X’.
4. Click Apply to apply your settings in the current report view and to close this
pop-up box.
Report fields
Type field
The Type field is used for specifying the report type by which the generated report
view will be sorted. This field is available in the Drill Down Report pop-up box via
the New Report option, and in the Single User Group window.
At the Type field, make a selection from the pull-down menu for one of the avail-
able report types: “Categories”, “IPs”, “Users”, “Sites”, “Category Groups”, “User
Groups”, and the current report format displayed.
Date Scope and Date fields
The Date Scope field is used for specifying the period of time to be included in the
generated report view. Depending on the scope selected, the From Date and To
Date fields are used in conjunction with this field. These fields are available in the
Drill Down Report pop-up box via the New Report option, in the Single User Group
window, and in the Save Custom Report pop-up box via the Save Report option.
At the Date Scope field, make a selection from the pull down menu for the time
frame you wish to use in your query: “Today”, “Month to Date”, “Monthly", “Year to
Date", “Daily", “Yesterday", “Month to Yesterday", “Year to Yesterday", “Last