OmniSwitch 6600 Series Chassis and Hardware Components Installing Uplink and Stacking Modules
OmniSwitch 6600 Series Hardware Users Guide April 2004 page 2-29
Installing Uplink and Stacking Modules
Before installing uplink or stacking modules, refer to the important guidelines listed below:
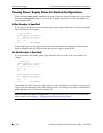
• Stacking modules can only be installed in the far-right module slot. This slot is labeled EXPANSION/
STACKING and contains port positions 27 and 28 (OS6624/6600-U24) or 51 and 52 (OS6648).
• Do not attempt to install stacking modules at the EXPANSION slot at port positions 25 and 26
(OS6624/OS6600-U24) or 49 and 50 (OS6648).
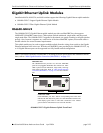
• OS6600-GNI-U2 and OS6600-GNI-C2 uplink modules can be installed in either slot location.
However, if you install a Gigabit Ethernet uplink module in the EXPANSION/STACKING slot, the
switch must be used as a stand-alone unit.
• Port numbers are clearly marked on the OS6624, OS6600-U24, and OS6648 chassis front panels.
• Stacking modules cannot be hot swapped at any time.
Anti-Static Warning. Before handling any components, free yourself of static by wearing a grounding
strap, or by grounding yourself properly. Static discharge can damage the switch and the uplink or stack-
ing module.
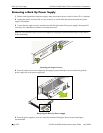
1 If there is a blank cover panel installed over the uplink or stacking module slot position, uninstall it by
removing the two Phillips attachment screws. After the attachment screws have been removed, carefully
pry the blank cover panel out and away from the chassis. Set the cover panel and attachment screws aside.
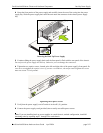
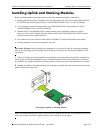
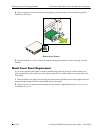
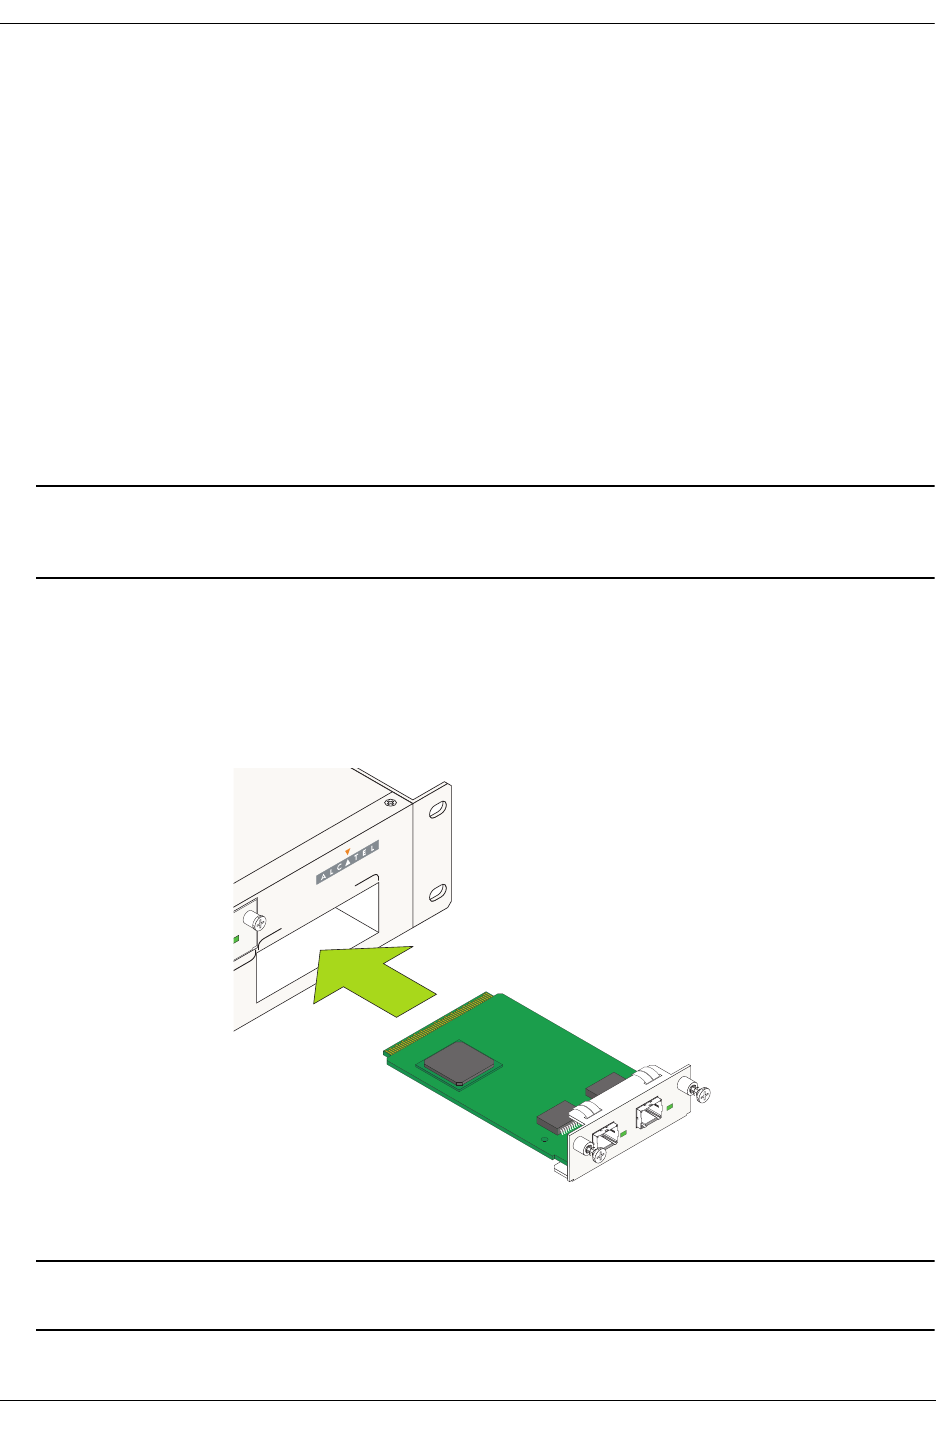
2 Holding the uplink or stacking module by the front panel, carefully slide the circuit board into the card
guide located in the chassis slot.
Inserting the Uplink or Stacking Module
Note. The module should slide in easily. Do not force the module into the slot. If any resistance is encoun-
tered, ensure that the module is aligned properly in the card guide and try again.
E
X
P
A
N
S
IO
N
/
S
T
A
C
K
IN
G
5
152
LIN
K/ACT
LINK/A
CT


