


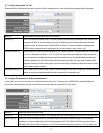
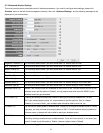

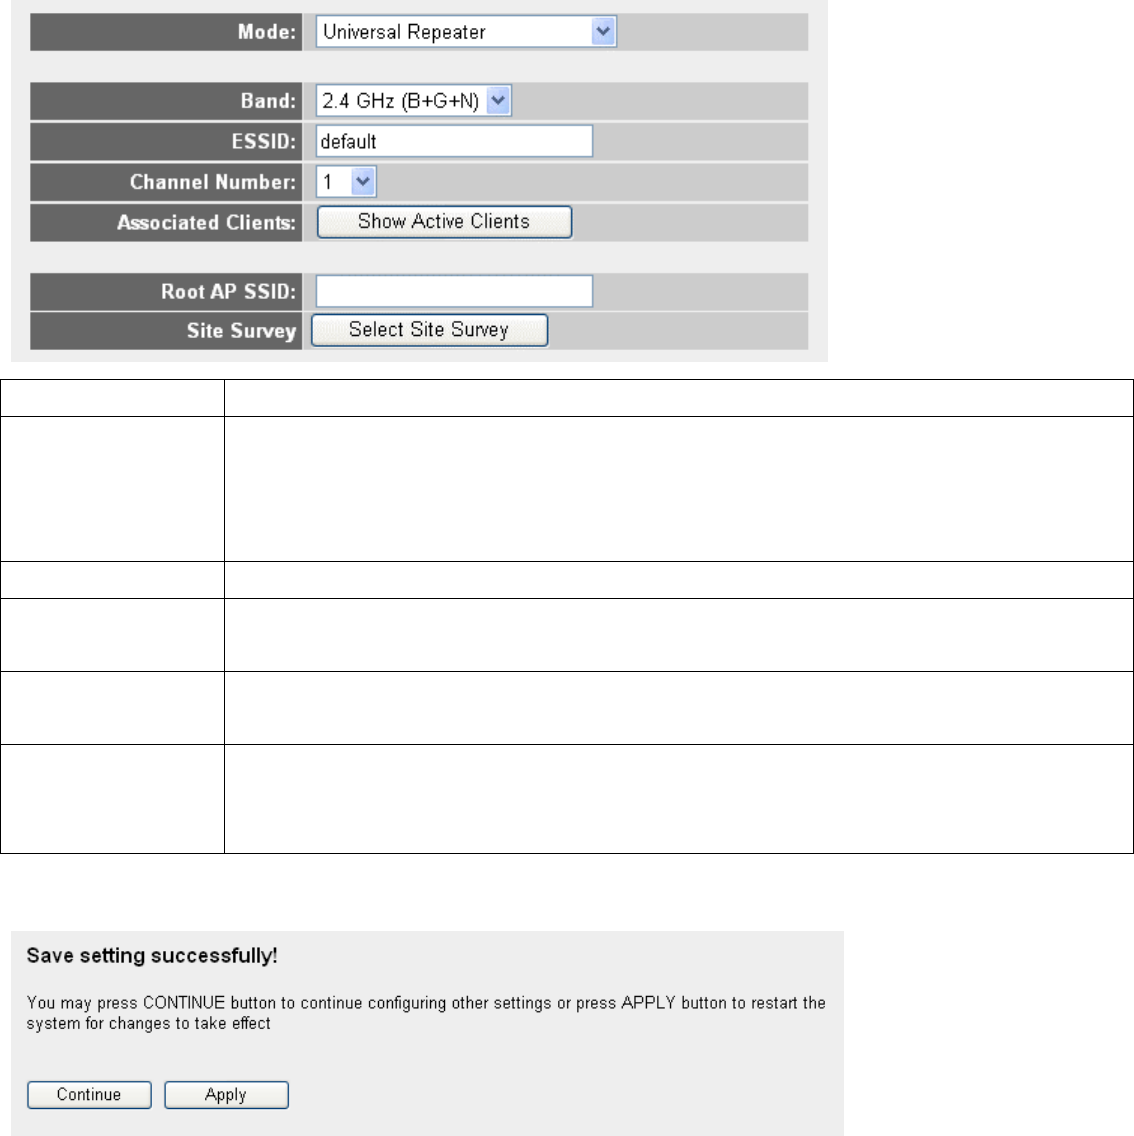
2-7-1-6 Setup Procedures For ‘Universal Repeater’
In this mode, the router can act as a wireless repeater; it can be Station and AP at the same time. It can use Station function to
connect to a Root AP and use AP function to service all wireless stations within its coverage. NOTE: For Repeater Mode, this
router will demodulate the received signal, checking if this signal is noise for the operating network then have the
signal modulated and amplified again. The output power is the same as that of WDS and normal AP mode.
1
2
3
4
5
6
7
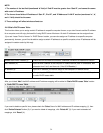
Band (2): Select the band you want to use, all the wireless routers must use the same setting.
ESSID (3): This is the name of wireless router. You can type any alphanumerical characters here, maximum 32
characters. ESSID is used to identify your own wireless router from others when there are other
wireless routers in the same area. Default SSID is ‘default’, it’s recommended to change default
ESSID value to the one which is meaningful to you, like myhome, office_room1, etc.
Channel Number (4): Select the channel you want to use; all the wireless routers must use the same setting.
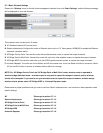
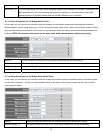
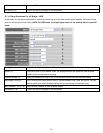
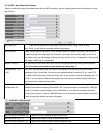
Associated Clients (5): Click ‘Show Active Clients’ button, then an “Active Wireless Client Table” will pop up. You can see the
status of all active wireless stations that are connecting to the access point.
Root AP SSID (6): In ‘Universal Repeater’ mode, this device can act as a station to connect to a Root AP. You should
assign the SSID of the Root AP here or click ‘Select Site Survey’ button to choose a Root AP.
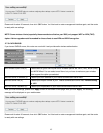
Site Survey (7): Click ‘Select Site Survey’ button, then a “Wireless Site Survey Table” will pop up. It will list all
available access points near by. You can select one access point in the table and the router will join
wireless LAN through this access point.
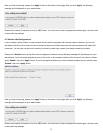
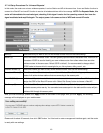
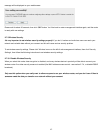
After you finish all settings, please click ‘Apply’ button on the bottom of this page. After you click ‘Apply’, the following
message will be displayed on your web browser:
Please wait for about 30 seconds, then click ‘OK!’ button. You’ll be back to router management interface again, and the router
is ready with new settings.
40