


Installation
26
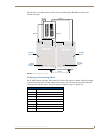
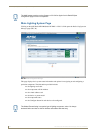
RE-DM4 and RE-DM6 RADIA Eclipse Dimmer Modules
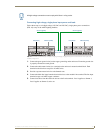
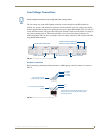
Green status LED indicator
When you apply power to the AMX Lighting Control System, the green status LED notes its conditions:
It is on full when AC power is applied to the control module, and no Axlink communication is
present.
It blinks on and off when AC power is applied to the control module, and Axlink
communication is present.
It blinks on and off rapidly when no AC power is applied to the control module, and the board
is powered via Axlink or Aux In DC power.
The LED indicator is located above the low voltage terminal, in the lower section of the control module.
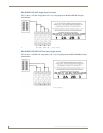
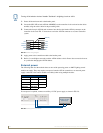
Red status LED indicators (RE-DM4 only)
The red LED's function is to indicate level. LED brightness increases as signal level increases from zero
to 100. The LED indicator is located above each external load connector jack on the control module.
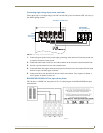
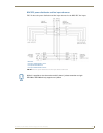
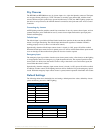
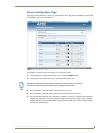
Configuring and connecting multiple controllers
Since the Radia RE-DM4 and RE-DM6 differ from other AMX lighting controllers by not having a SW2
DIP switch, the "All Lights On" installer test is invoked by turning OFF all 8 switches on SW1.
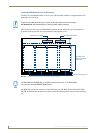
1. Power off the AMX Lighting enclosure at the breaker panel.
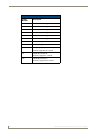
2. Locate the SW1 DIP switch on the controller circuit card, and set the pack number using the values
shown in the preceding table. The pack number must be 1 to 10.
All Radia dimmers are Pack 1. This cannot be changed.