


Basic Installation
14 AXIS 5500 / AXIS 5550 User’s Manual
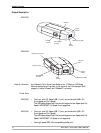
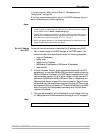
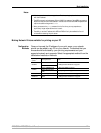
Backside label on print server
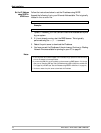
1. Make sure that your printer is switched off and that the print server’s
Power Adapter is disconnected
.
2. Locate the serial number, found on the underside label of the print server,
and write it down. You will need this number to configure the print server.
Example: S/N: 00408c181cf0
3. Connect the printer directly to a port on the print server or using an
appropriate printer cable.
4. Connect the print server to the network using a twisted pair RJ45 category
5 cable, 10baseT or 100baseTX.
5. Switch on the printer and make sure it is ready for use.
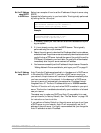
6. Connect the Power Adapter to the print server. The power indicator will light
up. When the network indicator starts to flash, the print server is correctly
connected to the network.
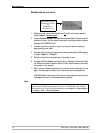
7. Wait 1 minute. Press the test button on the print server once to print a test
page. The test page includes a list of the most important parameters.
AXIS 5550 has two printer ports. If each port is connected to a printer, the
test page will be sent to the parallel port by default.
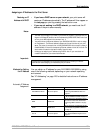
Note:
Serial number same as
MAC/Ethernet number;
e.g.
00408c181cf0 =
00-40-8c-18-1c-f0
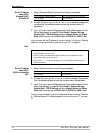
AXIS 5550 uses high-speed Centronics Communication for the parallel port. For use with
older printers not supporting high speed, this function can be disabled by using a standard
Web browser. Log in to the print server’s Web pages and choose Admin => General Settings
=> Change => LPT1 => Printer Port Speed.