Adding Printers in Macintosh
AXIS 5500 / AXIS 5550 User’s Manual 41
Installation in Mac OS X using AppleTalk
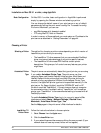
This section describes setting up your print server for printing in the Mac
OS X.
1. Start Print Center (from Go | Applications | Utilities => Print Center) or
the Printer Setup Utillity.
2. Select Printers | Add Printer...
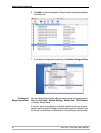
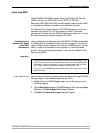
3. From the Printer List dialog, select AppleTalk.
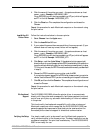
4. Now, the port of your AXIS 5500 will appear in the list of available printers.
The port is shown as <host name>_<port>. Example: AXIS100086_USB1.
On an AXIS 5550 you will also have access to an LPT port, which will appear
as LPT1 in the list. Example: AXIS100086_LPT1.
5. Select the print server port you want to use.
6. Select an appropriate printer driver for your printer from the Printer Model
drop-down list. If the printer is not available in the list, select Generic.
(Note: Generic is only used for postscript printers.)
You can also browse for a printer driver on your computer or network by
selecting Other... from the list.
7. Click Add to complete the installation.
Installation of LPR printing in MAC OS X
If you want to print using LPR, select:
1. Printers | Add Printer...
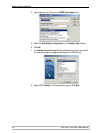
2. From the Printer List dialog, select LPR printers using IP.
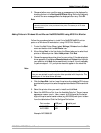
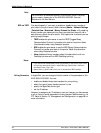
3. Enter the IP address or host name of the print server in the LPR printer’s
Address field. You must uncheck
the Use Default Queue on Server check
box and enter a Queue Name:
Physical ports:
Enter USB1 for AXIS 5500 and AXIS 5550 if you wish to use the USB port.
Enter LPT1 for the AXIS 5550 if you wish to use the parallel port.
Logical printer ports:
AXIS 5550: pr1, pr3, pr5, pr7= LPT1. pr2, pr4, pr6, pr8=USB1
AXIS 5500: pr1-pr8= USB1
Choose a printer driver from the Printer Model list and click Add to finish.


