


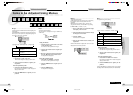
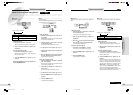
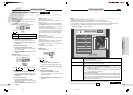
1514
Preparations
Others
Opreation
When connections are completed, perform the following preparations before shooting images.
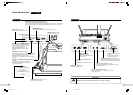
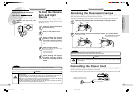
Raising the Camera Head and Light Arms
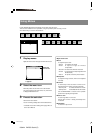
PREPARATIONS
1
While holding the stopper
pressed, raise the camera
arm until it stands vertically.
Grip the camera arm when raising the camera
head.
Do NOT raise the camera head by grasping it.
2
Raise the light stands and
turn the fluorescent lamps
toward the document stage.
Raise the left stand first.
Then, raise the right stand.
3
Adjust the position and angle
of the camera head.
Stopper
Raise it until it passes the
shooting position.
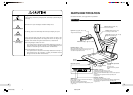
2
Extend the camera arm.
When the camera arm is fully extended, it
locks in place.
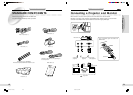
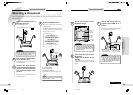
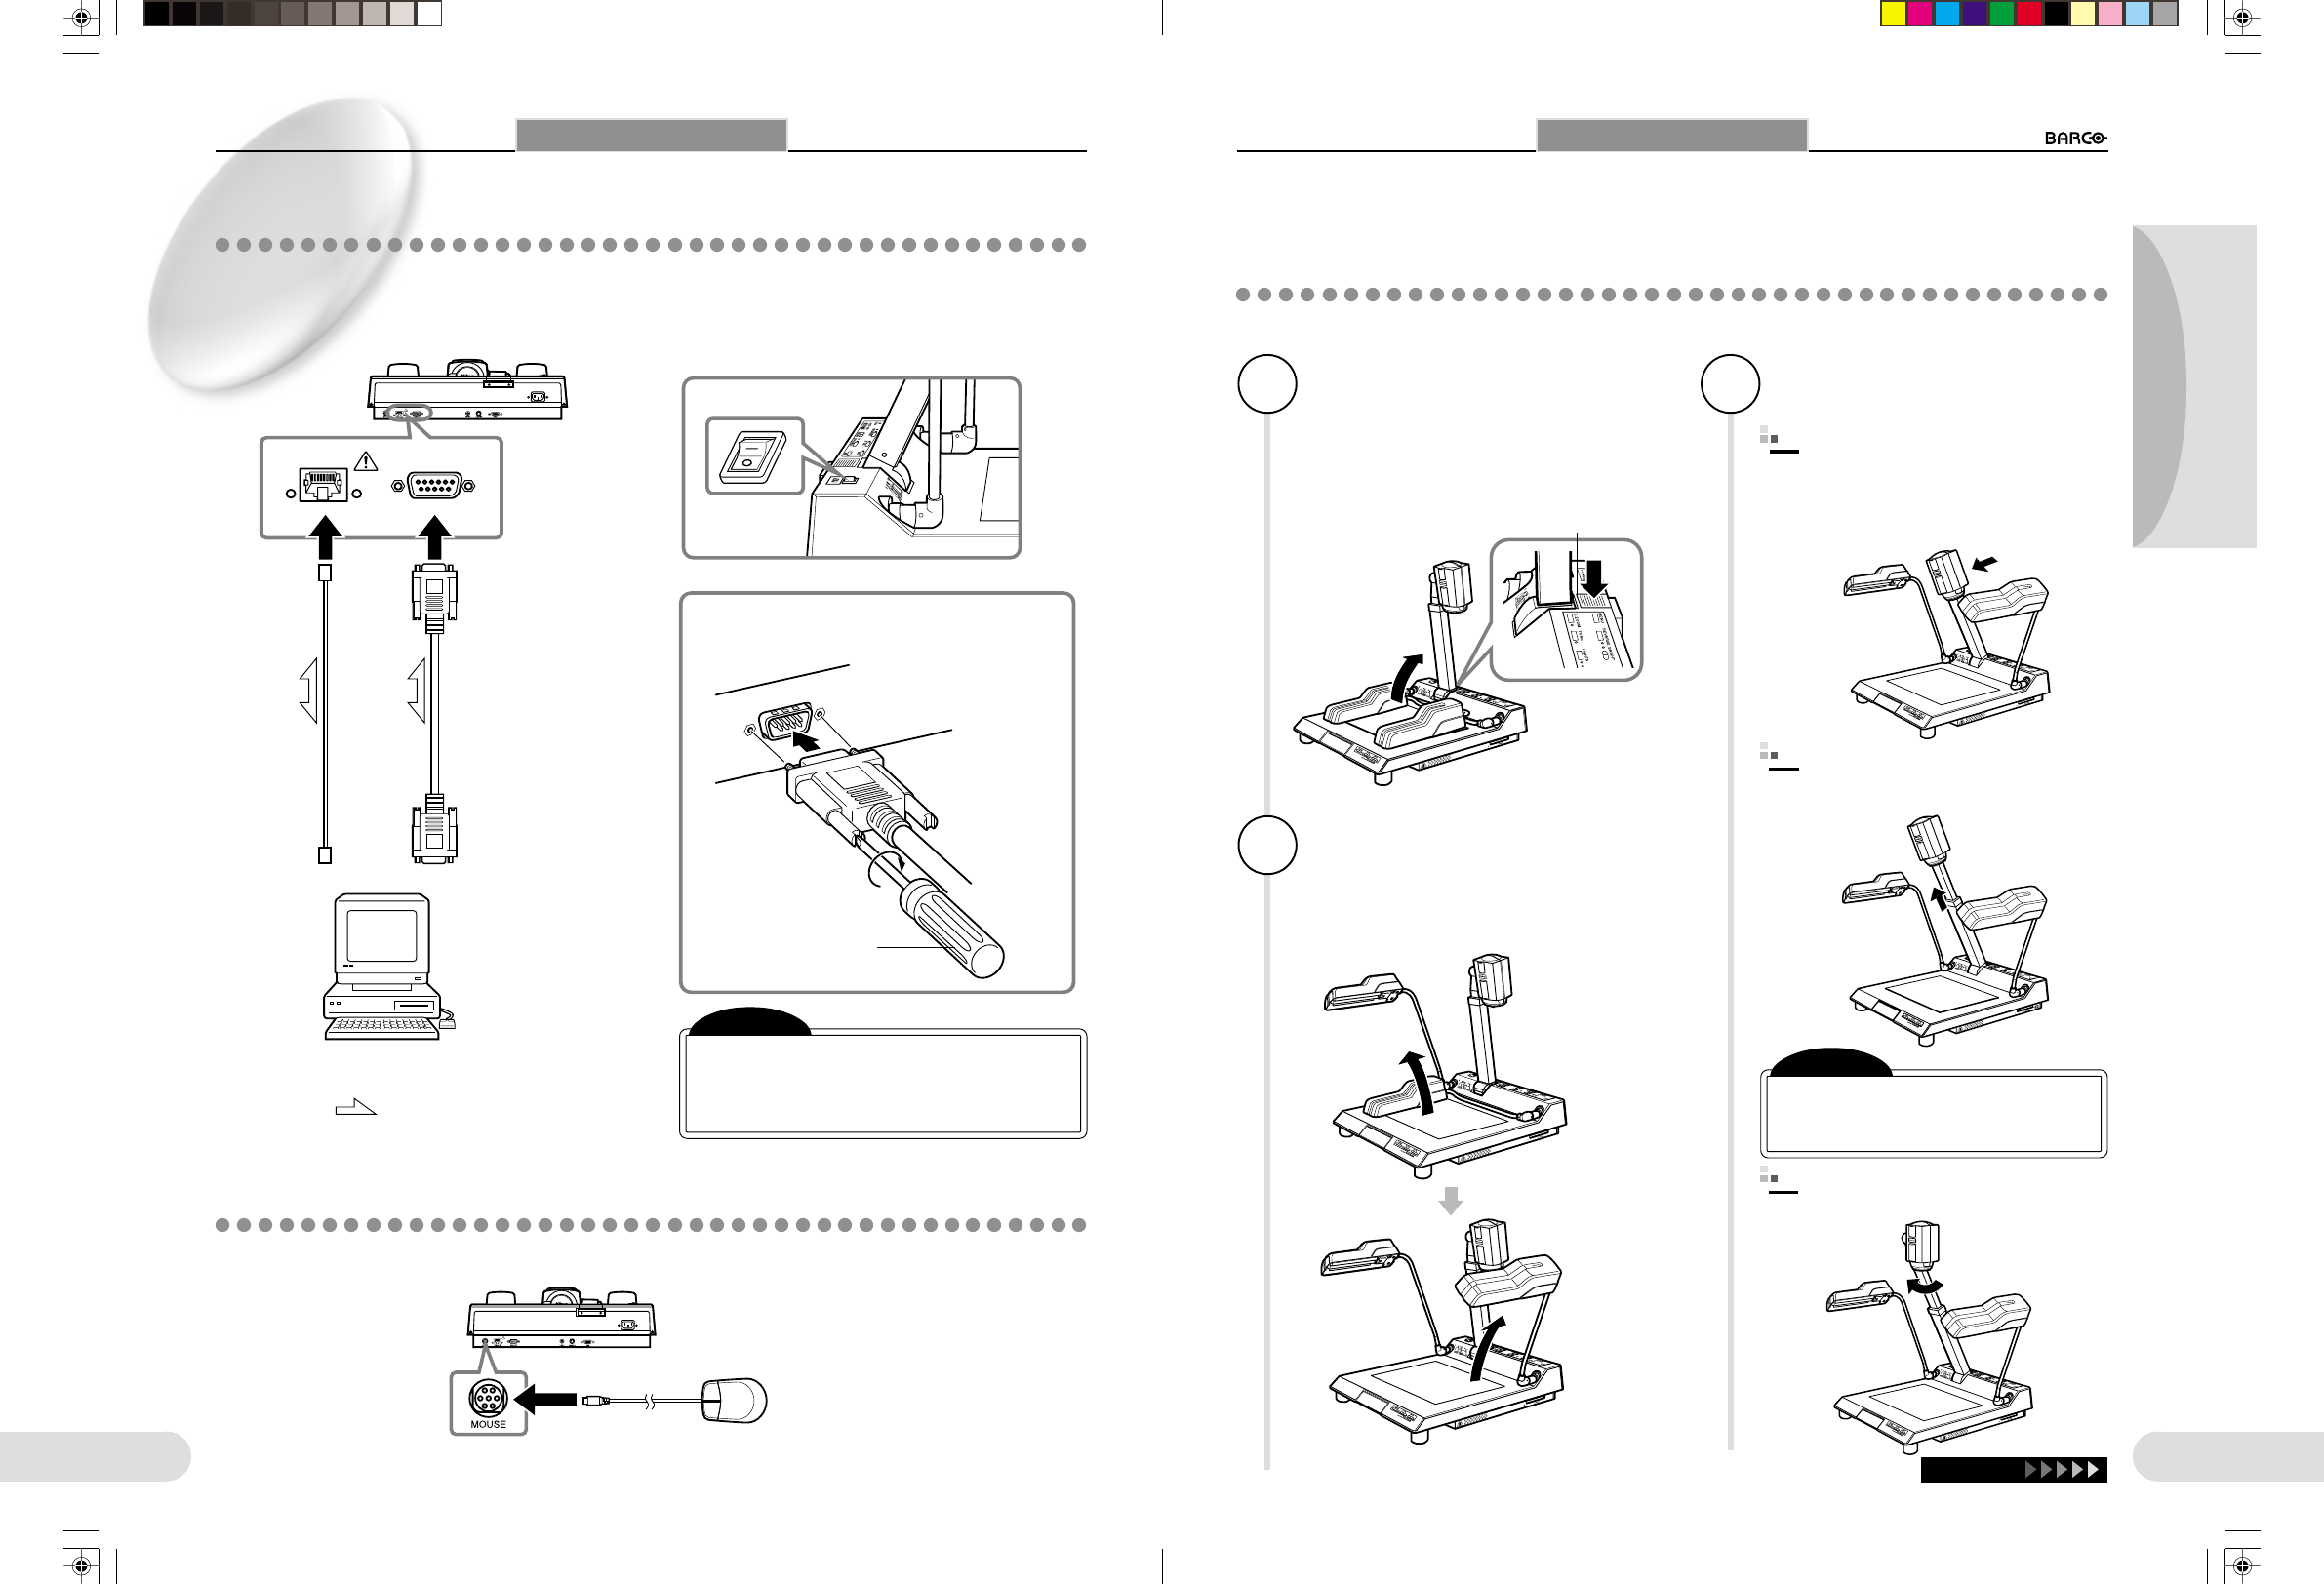
CONNECTIONS
Connecting a PC/Ethernet
Before connection, be sure to turn the power to this unit and the device to be connected off.
When connecting to a network, first consult the administrator of the network.
For information on network settings, see “Connecting to a Network”. (
☞
p.32)
10Base-T REMOTE
Using a screwdriver, tighten the screws of the
REMOTE connector.
Rear of this unit
: Signal flow
PC
to the RS-232C
connector
to the Ethernet
connector
Commercially
available
Ethernet cable
Commercially
available RS-232C
cable
Note
[ The connection to the REMOTE connector is
required only when this unit is controlled with
RS-232C from a PC. For the RS-232C com-
mands, consult your dealer.
Connecting the Mouse
Connect the mouse with the arrow mark of the mouse cable facing upward.
Mouse (supplied)
Screwdriver
Turn off the
power.
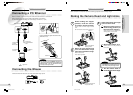
Continue
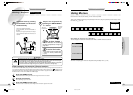
1
Return the camera arm to
the shooting position (do
NOT press the stopper).
When the camera arm is brought to the
shooting position, it locks in place.
Note
[ Once you heard a clicking sound, do
NOT attempt to extend the arm any fur-
ther. Doing so may damage the arm.
3
Turn the camera head to-
wards the document stage.
Do NOT forcibly rotate the
arms past their limits.
**BARCO 012-017(E) 2000.7.18, 8:18 PM14-15