25
Preparations
Others
Operation
24
Lights To ne Re
Using the mouse
1 Left-click the left or right button at the ends
of the adjustment bar.
The value set on the adjustment bar changes.
2 Click the right mouse button to register your
adjustment.
3 Move the
pointer anywhere off the adjust-
ment bar and click the left mouse button.
The adjustment bar disappears.
From the operation panel
1 Press either the ZOOM W or T button.
The value set on the adjustment bar changes.
2 Press the FREEZE button to register your ad-
justment.
3 Press the FREEZE button.
The adjustment bar disappears.
Lights Gain WBset To ne
→
Items to be Adjusted Using Menus
Lights Gain WBset Tone Reverse Color
Sharp-
ness
Iris
A/M
Iris
A/M
Fit/
Over
Change
Pointer
Save to
Card
Save to
Server
SXGA
/XGA
Setup
arp-
ness
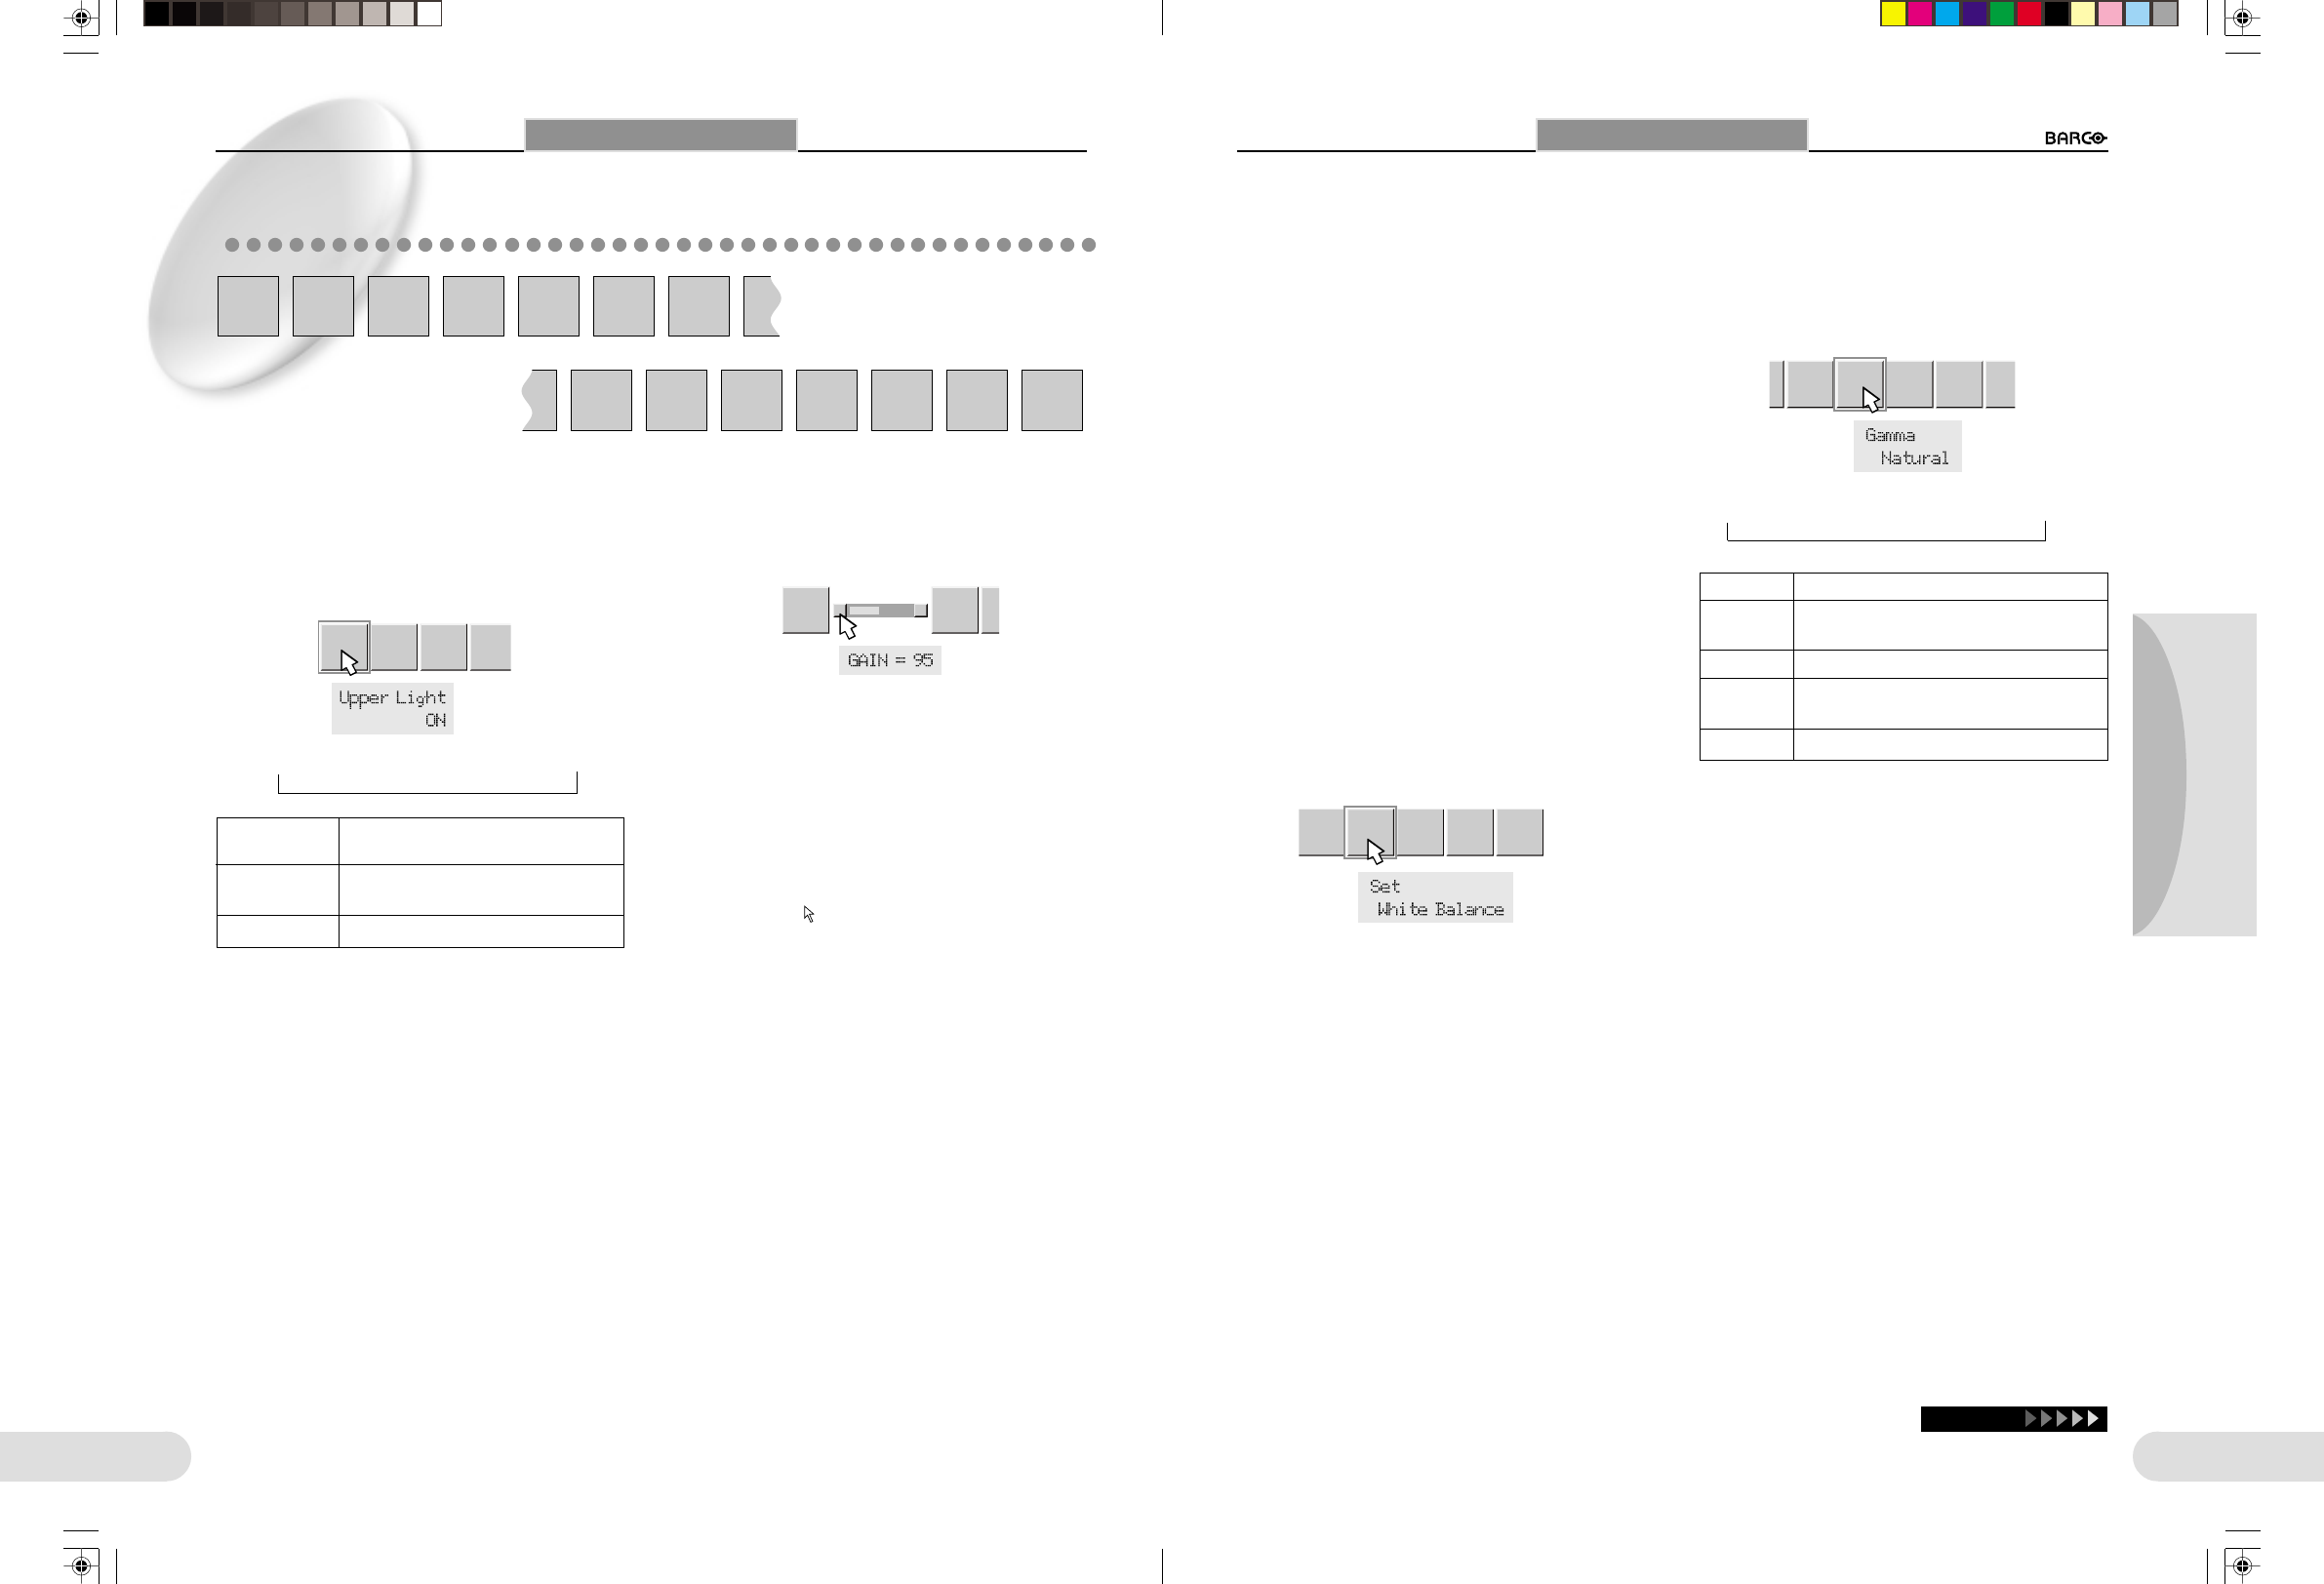
L Lights ----------------------------------------------------------------
To light the lamps and switch between overhead lighting and
base lighting.
The LIGHTS button on the operation panel functions the same.
When you turn on the power next, the specified lighting will
be turned on after approx. 8 seconds.
[UpperLight ON] → [BottomLight ON] → [All Light OFF]
L Gain------------------------------------------------------------------
To adjust the Gain (sensitivity).
You can adjust it in 33 steps in the range of “GAIN 20” to
“GAIN 260.”
Using Menus
Gain WBset Tone Reverse Color
L WBset ---------------------------------------------------------------
To adjust the white balance.
As the ZOOM T button (for zooming) is to be used during
this adjustment, use the mouse to perform the menu
operations.
Before starting this adjustment, set to “Auto Exp. ON”
using the Iris A/M menu, and set to IRIS = 0 by pressing
the BRIGHTNESS +/– buttons. (
☞
p.27)
When the white balance is adjusted, the “Gain” and “Color”
settings return to the factory-set values.
L Tone -------------------------------------------------------
To adjust the tone (gamma) setting.
Natural → Linear1 → Document → Linear2 → Picture
→
Using the TONE button on operation panel 2, you can toggle
the setting between Standard (Natural) and HI (Document).
WBset Tone Reverse Color
Shar
ne
Continue
Using Menus
Using the mouse
1 Left-click the “Lights” menu icon.
Each left click changes the setting as shown above.
2 Click the right mouse button to register your
adjustment.
From the operation panel
1 Press either the ZOOM W or T button.
Each press of the ZOOM W or T button changes the
setting as shown above.
2 Press the FREEZE button to register your ad-
justment.
1 Place a white sheet on the document stage,
and display it on the screen.
2 Hold the ZOOM T button pressed to enlarge
the image to the maximum.
3 Left-click “WBset.”
The white balance is adjusted.
4 Click the right mouse button to resister your
adjustment.
Using the mouse
1 Left-click the “Tone” menu icon.
Each left click changes the setting as shown above.
2 Click the right mouse button to register your
adjustment.
From the operation panel
1 Press either the ZOOM W or T button.
Each press of the ZOOM W or T button changes the
setting as shown above.
2 Press the FREEZE button to register your ad-
justment.
UpperLight ON Overhead lighting for opaque documents
is turned on
BottomLight ON Base lighting for transparent documents
is turned on
All Light OFF No lighting is turned on
Natural For ordinary documents
Linear1 To output an image as-is without compensa-
tion
Document For documents with fine characters
Linear2 For glossy documents (the brightness will be
decreased.)
Picture For photos and color printed matters
**BARCO 018-037(E) 2000.7.18, 8:19 PM24-25


