


29
Preparations
Others
Operation
28
a
rp-
e
ss
Iris
A/M
Fit/
Over
Change
Pointer
Save to
card
Sa
v
Se
r
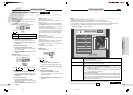
L Setup --------------------------------------------------------------------------------------------------------------------------------------------------------
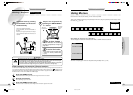
To set up startup status, networking, and other various items.
The Setup menu is displayed only on a monitor or projector connected to the RGB connector.
For the operating procedures, see “From the operation panel” (☞ p.22) and “Using the mouse” (☞ p.23).
Do not try to operate in the 'Setup' menu during transferring an image by Network such as FTP and HTTP. When trying to
operate in the 'Setup' menu, disconnect the network or make sure that an image is not being transferred.
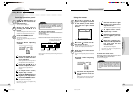
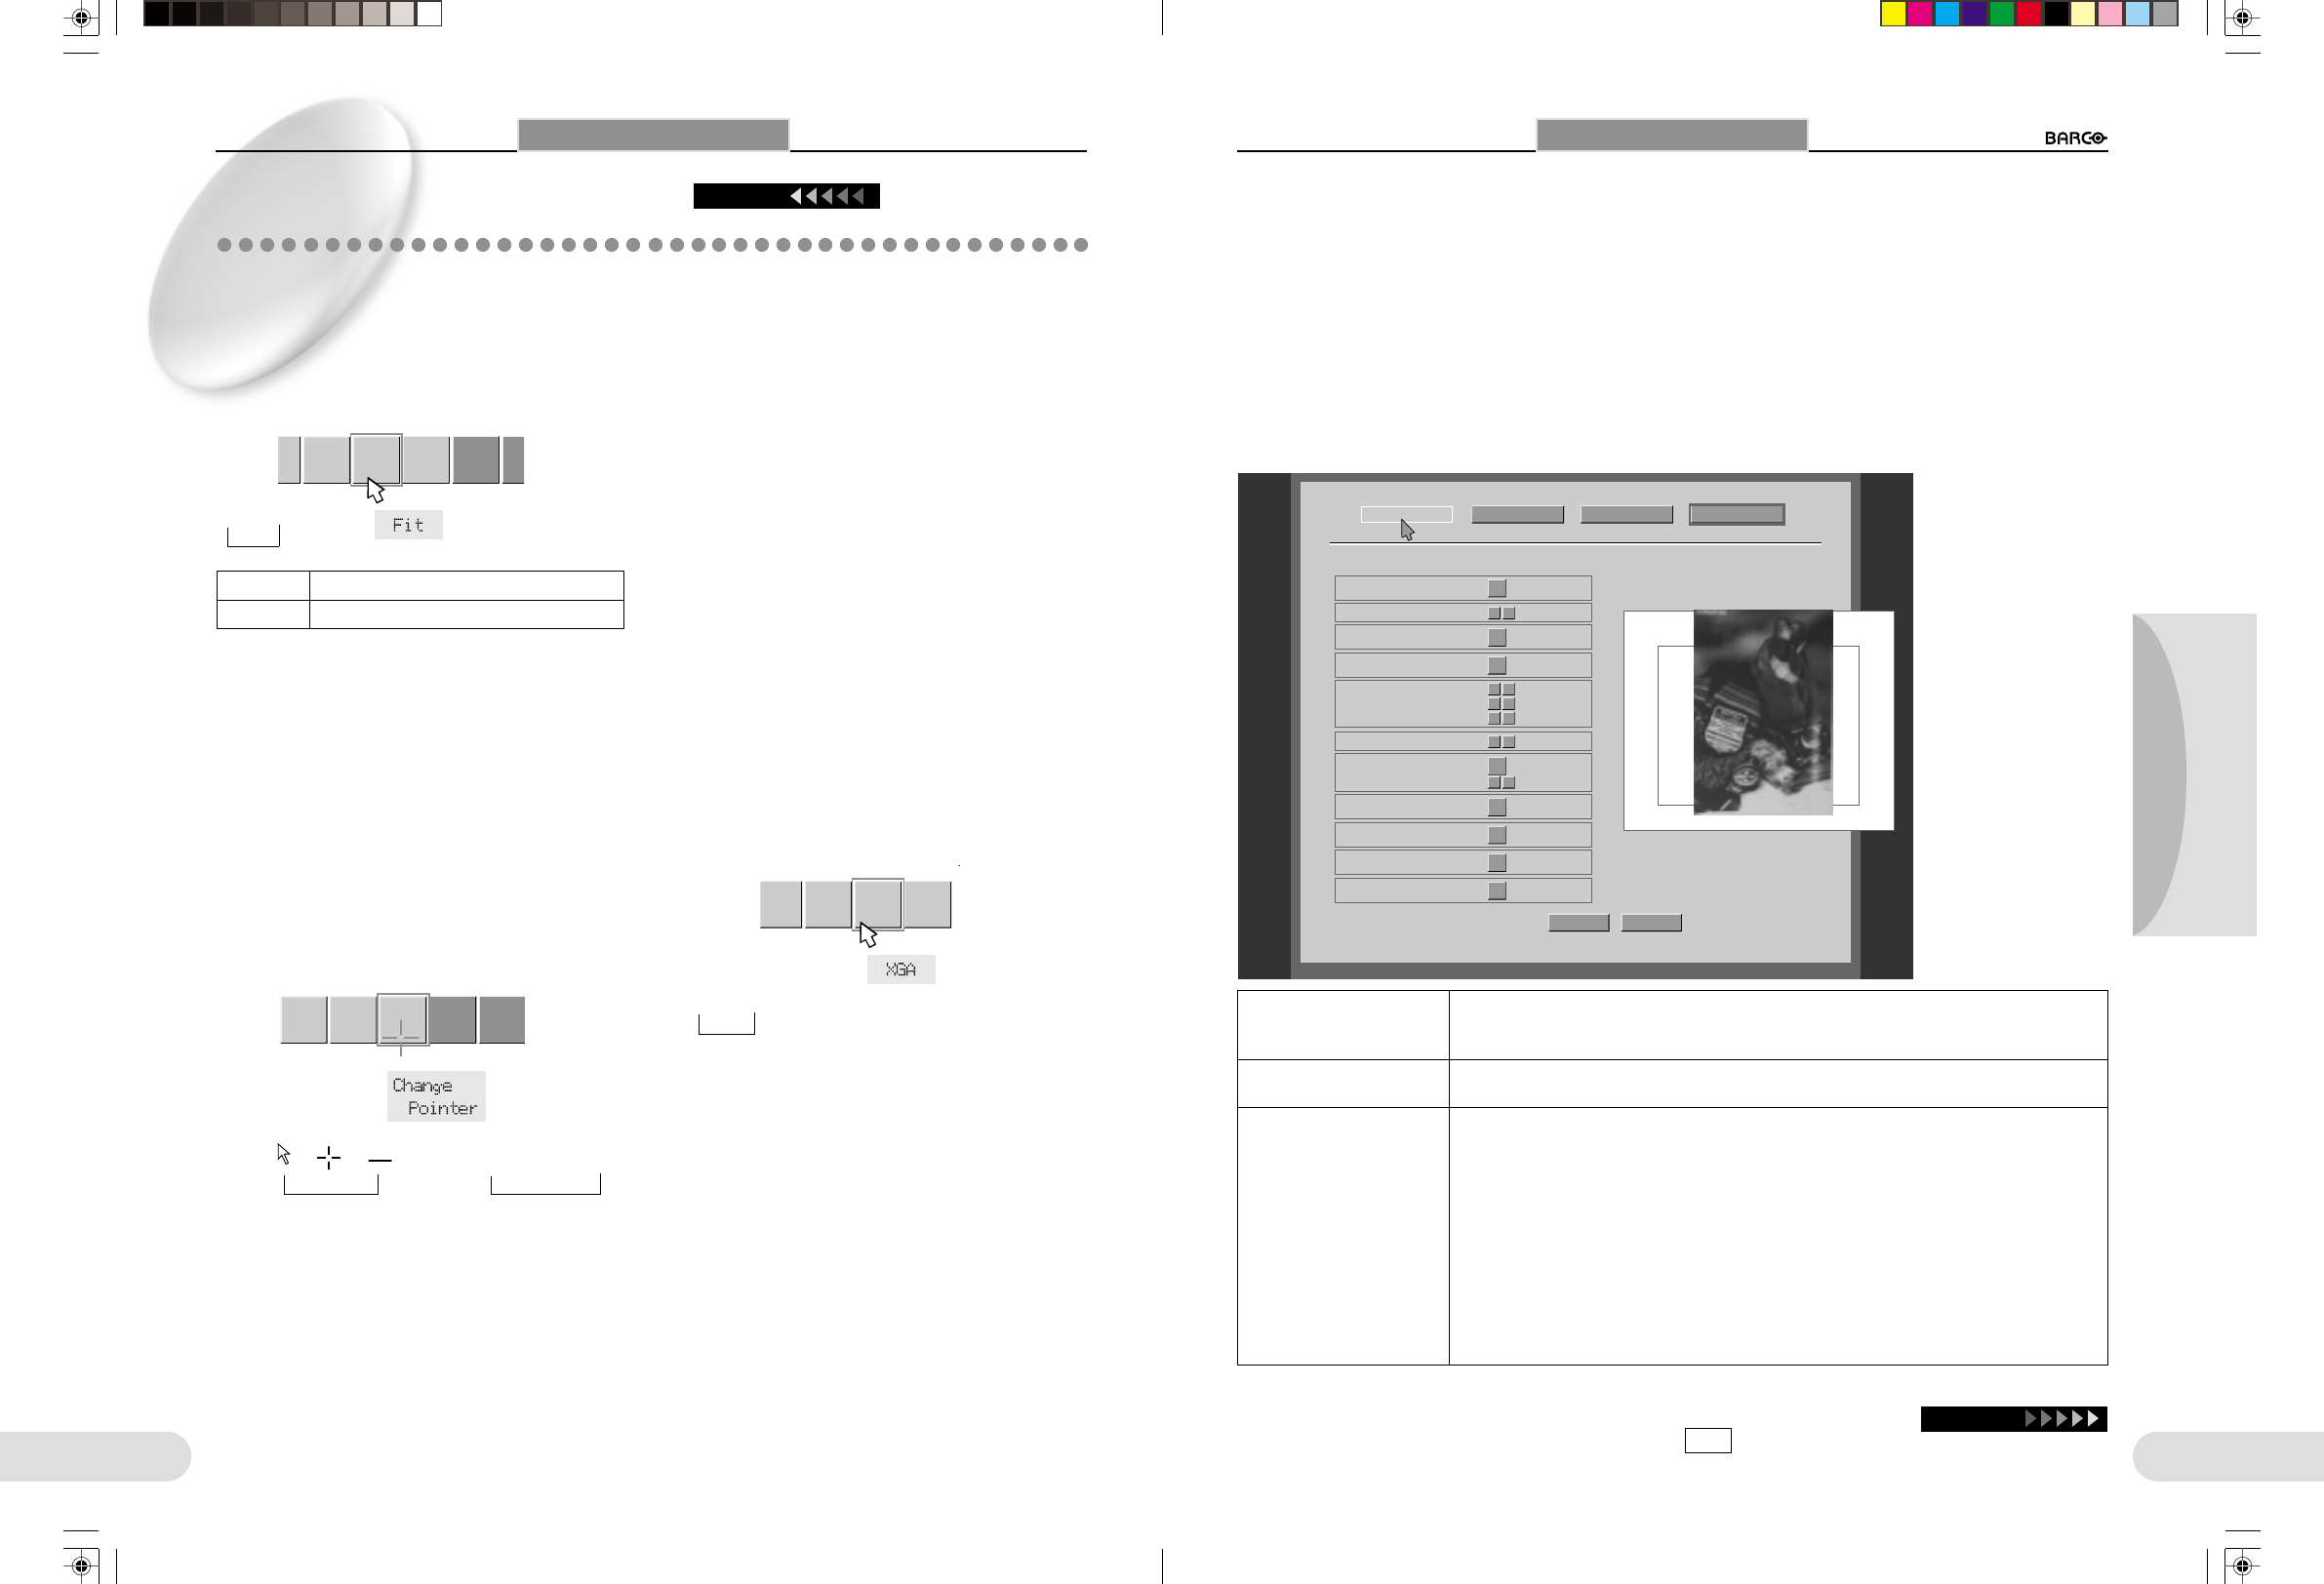
[Power ON Setting] ---------------Set the startup status.
PowerOn Setting
SAVE Default
NetWork Setting
PowerOn Setting
Timer... Setting
Light OffLight
White Balance
100
100
100
R_GAIN
G_GAIN
B_GAIN
Color Balance
DocumentTone (Gamma)
XGASXGA/XGA
AE ONAE (Auto Exposure)
100Gain
0Sharpness
-3
Iris
Return to Window
NTSCTV out (NTSC, PAL, OFF)
FINE (1/4)JPEG Quality
On MainMenu (Main, Sub [TV])
TV out (NTSC, PAL, OFF)
JPEG Quality
Menu (Main, Sub (TV))
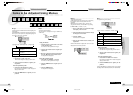
To adjust the color format of video signals supplied from this Imager according to that of the
connected monitor or projector.
If you select “OFF,” no video signal is supplied.
To set the picture quality when saving a JPEG image file. The value in parentheses indicates the
approximate size of an image file after compression.
When a submonitor for monitoring and operating at hand is connected in addition to the main
monitor or projector, you can display the menus on the submonitor.
Main: To display the menus on the monitor or projector connected via the RGB connector.
The Setup menu is displayed.
Sub (TV): To display the menus on the submonitor connected via the VIDEO or S-VIDEO con-
nector. The Setup menu is not displayed.
To return to the “Main” setting
To return to the setting to display the menus on the monitor or projector connected via the RGB
connector when the menus are displayed on a submonitor connected via the VIDEO or S-VIDEO
connector, once turn off the power, then turn it on after 10 seconds or more. As the menus are
displayed on the monitor or projector connected via the RGB connector upon first access of the
menus, select “Main” from the Setup menu.
Using Menus
Items to be Adjusted Using Menus
Continued
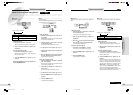
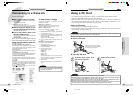
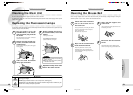
L Fit/Over ------------------------------------------------------------
To select the area to be displayed when displaying the im-
age from an XGA file.
Select either Full Screen (1280 x 960 pixels) or Center (only
1024 x 768 pixels of the center area).
The Fit/Over function does not operate in SXGA mode.
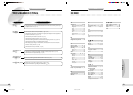
L Change Pointer -------------------------------------------------
To change the form and color of the pointer.
Fit → Over
Fit To display the full screen
Over To display the center area
Iris
A/M
Fit/
Over
Change
Pointer
Save to
card
Save to
Server
Using Menus
Form: → →
→
→
Color: Yellow→White→Blue
→
Using the mouse
1 Left-click the “Fit/Over” menu icon.
Each left click changes the setting as shown above.
2 Click the right mouse button to register your
adjustment.
From the operation panel
1 Press either the ZOOM W or T button.
Each press of the ZOOM W or T button changes the
setting as shown above.
2 Press the FREEZE button to register your ad-
justment.
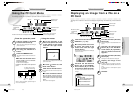
L SXGA/XGA -------------------------------------------------------
To switch the output mode.
Save to
card
Save to
Server
SXGA
/XGA
Setup
L Save to Card-----------------------------------------------------
To save image data on a PC card.
Set “File Type” using “Timer ... Setting” of the Setup menu in
advance. (☞ p.31)
Image files are stored under a directory named “CARDIBOX.”
If the CARDIBOX directory does not exist on the PC card, it
will automatically be created when you save an image file.
An image file is saved as “HITT0001.
***
”.
Do not try to memorize an image to PC card during transfer-
ring an image by Network such as FTP and HTTP. When
trying to memorize an image to PC card, disconnect the net-
work or make sure that an image is not being transferred.
L Save to Server --------------------------------------------------
To save image data in an FTP server.
Set “File Type” using “Timer ... Setting” of the Setup menu in
advance. (☞ p.31)
The setting for the FTP server connection using “NetWork
Setting” of the Setup menu is also required. (☞ p.30)
For information on the FTP server, ask the administrator of
your network.
An image file is saved as “HITP0001.
***
”.
SXGA→ XGA
→
Using the mouse
1 Left-click the “Change Pointer” menu icon.
Each left click changes the setting as shown above.
2 Click the right mouse button to register your
adjustment.
From the operation panel
1 Press either the ZOOM W or T button.
Each press of the ZOOM W or T button changes the
setting as shown above.
2 Press the FREEZE button to register your ad-
justment.
Using the mouse
1 Left-click the “SXGA/XGA” menu icon.
Each left click changes the setting as shown above.
2 Click the right mouse button to register your
adjustment.
From the operation panel
1 Press either the ZOOM W or T button.
Each press of the ZOOM W or T button changes the
setting as shown above.
2 Press the FREEZE button to register your ad-
justment.
For other items, see pages 24 to 28.
The setting values for the picture being displayed on the right side of the Setup menu are displayed.
When the settings of the necessary items are completed, left-click SAVE .
Continue
**BARCO 018-037(E) 2000.7.18, 8:19 PM28-29