33
Preparations
Others
Operation
32
Using a PC Card
• You can display images from files stored on a PC card, or shoot documents and store them on a PC card.
• Image files of JPEG or BMP (bitmap) format can be read with this unit.
• Set the compression rate to save a JPEG image file using “JPEG Quality” of the Power on Setting menu.
You can select the file type and size for storage by using “File Type” of “Timer - Setting” in the Setup menu. (☞ p.31)
• You can exchange data with other equipment or PCs using PC cards.
Notes on PC cards
• Use PC cards equivalent to PCMCIA ATA Type II flash cards.
• This unit does not have the function to format PC cards. Always use cards that have been formatted. If a PC card
is to be formatted, use PC-DOS (VFAT12. 16).
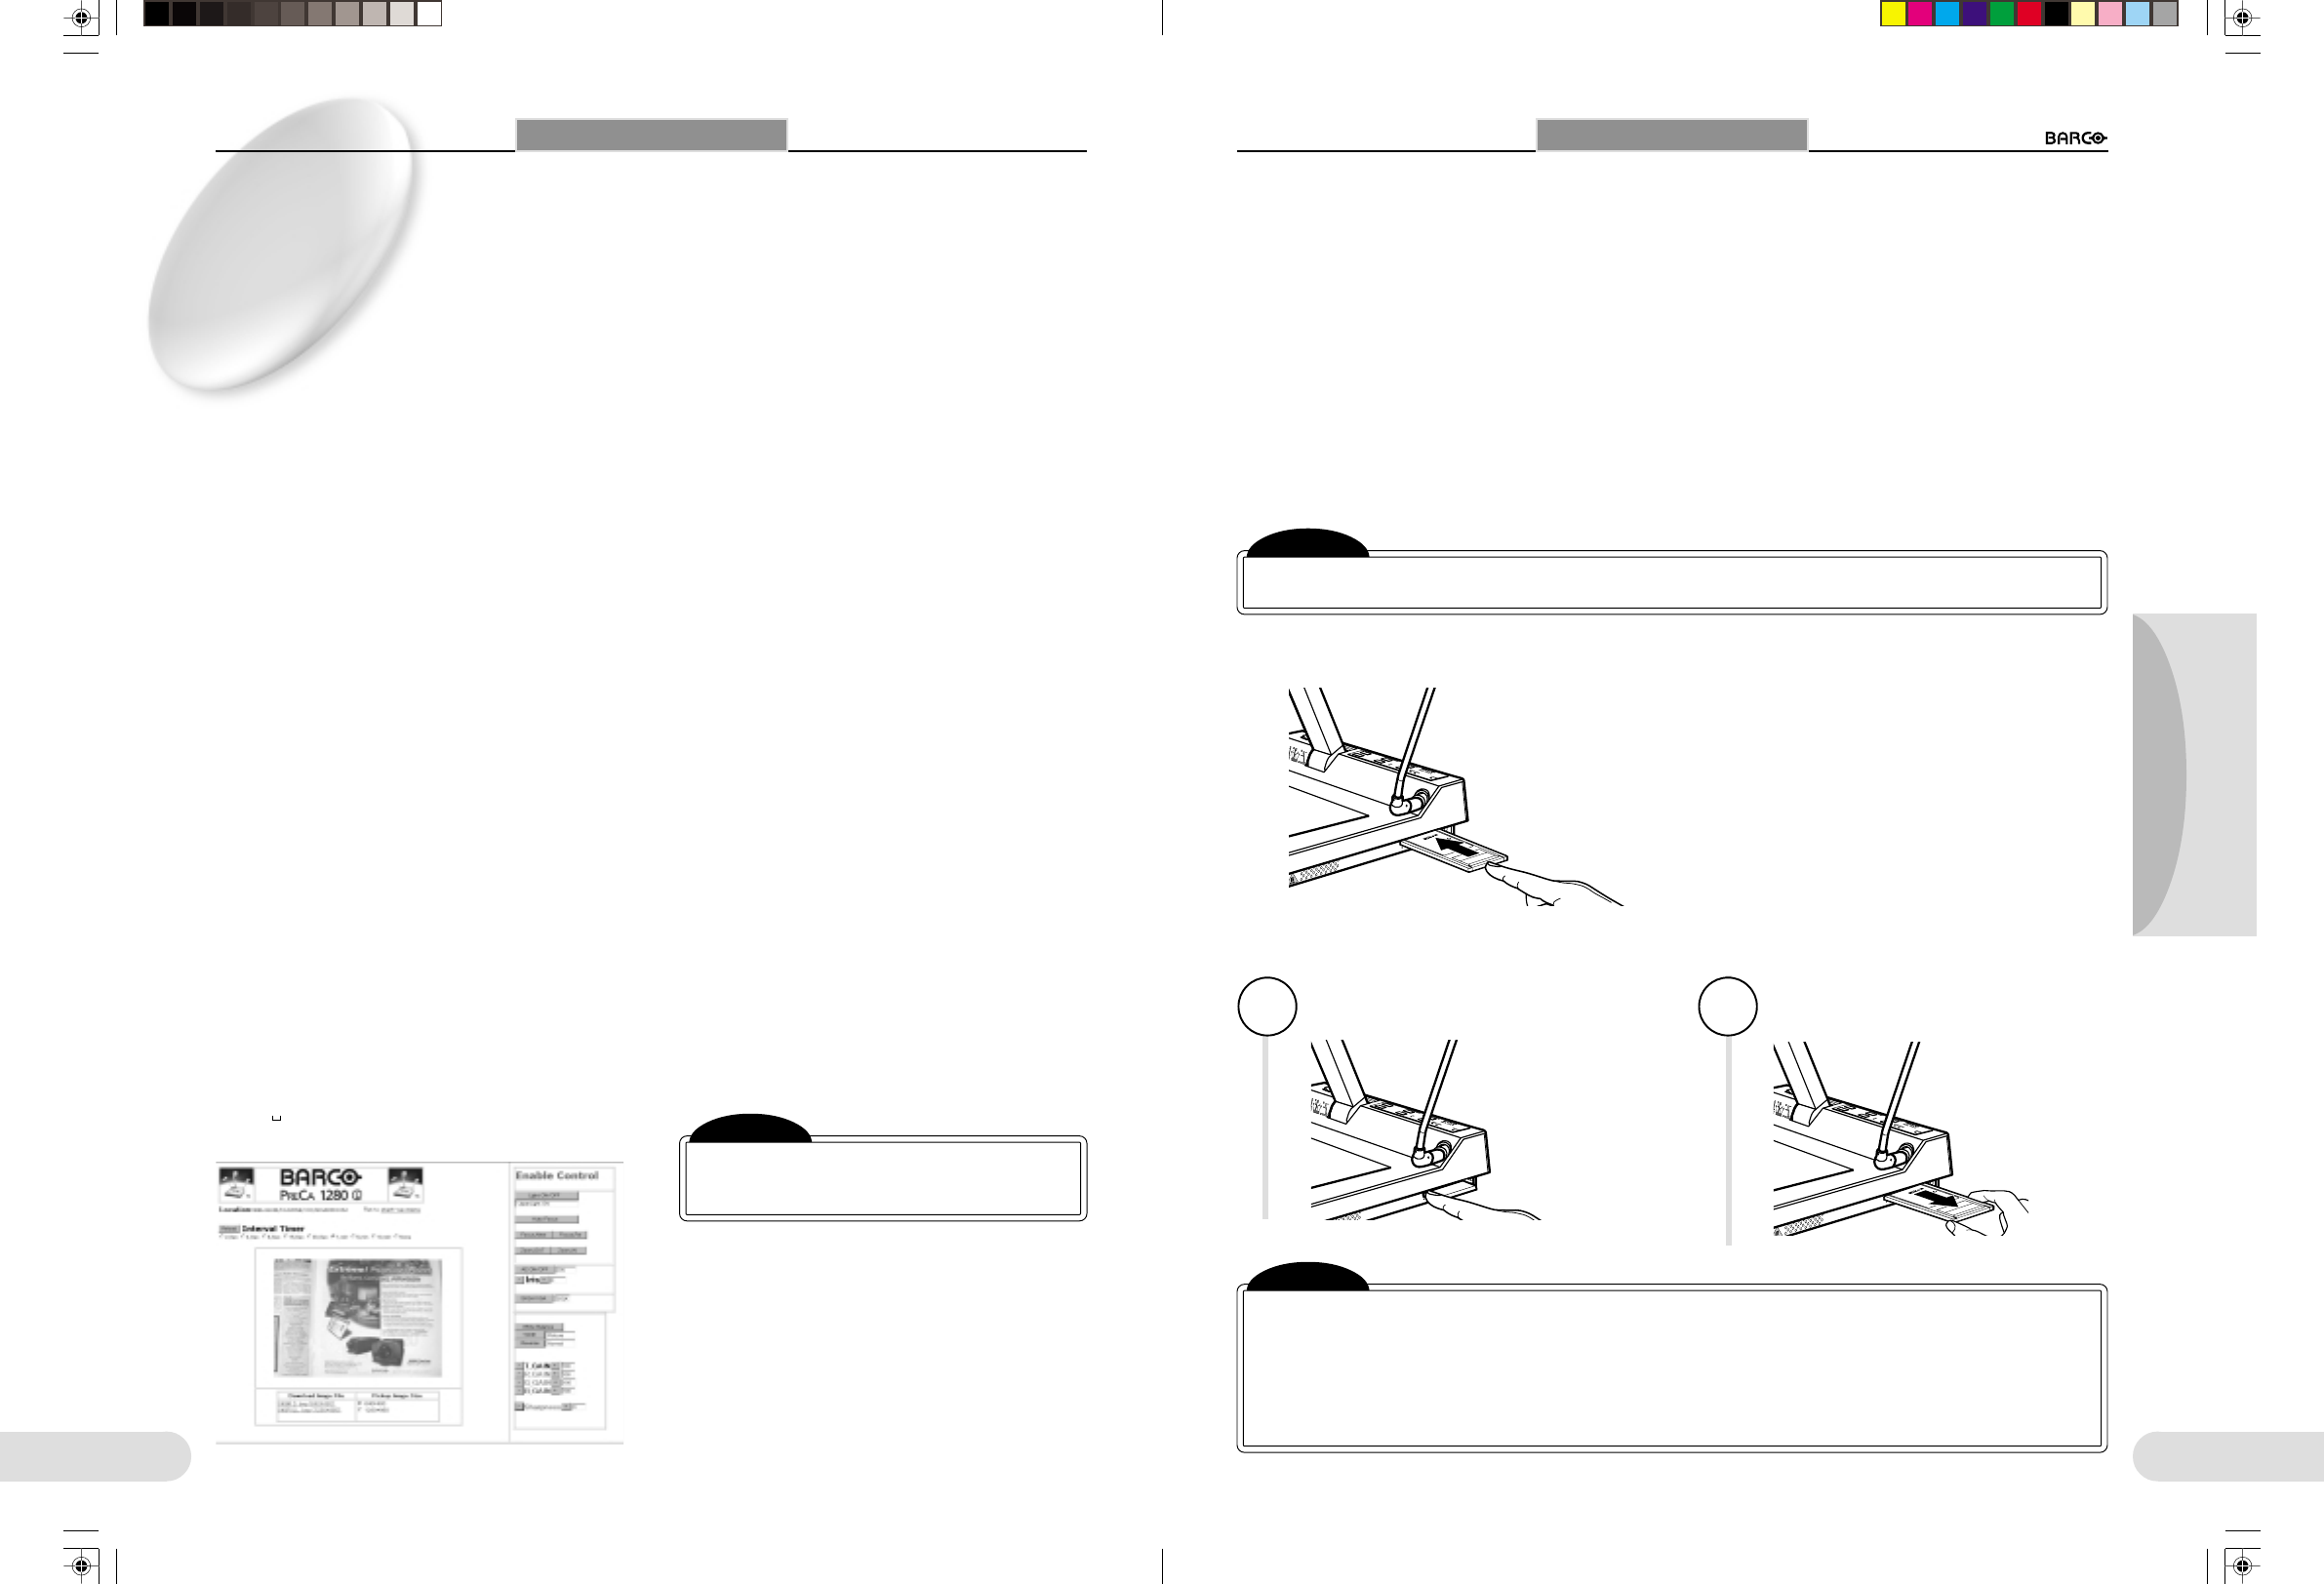
To insert a PC card
PC Card Adapter
C
o
m
p
a
c
k
t
F
l
a
s
h
T
M
E
C
-
A
D
1
Note
[When using a compact flash card, do NOT touch the card while writing/reading image data files.
Static electricity may disturb proper data writing/reading.
To eject the PC card
C
o
m
p
a
c
k
t
F
l
a
s
h
T
M
E
C
-
A
D
1
1
Press the eject button until
the card is released.
2
Remove the PC card.
Note
[Before using a PC card, read the instructions supplied with the card.
[When inserting a PC card, observe the direction or angle for the card. If the card is forcibly inserted in
a wrong direction, the PC CARD slot or the card may be damaged.
[When inserting a PC card, turn on the power to the unit and check that the PC CARD indicator is dark.
[Be careful when ejecting the PC card, as it may have become hot during use.
[While the PC card is being accessed (the PC CARD indicator is lit in green), do NOT eject it, and do NOT
turn off the power. This may cause a damage to the recorded data or the PC card.
Using a PC Card
Observing the arrow mark on the card,
insert a PC card in the PC CARD slot
until a clicking sound is heard.
Connecting to a Network
Connecting to a Network
Make the following settings:
To download an image
Images can be downloaded via a network by any of the
following three methods.
L Saving in an FTP server
Prepare an FTP server. Use the Save to Server menu.
The time and date must be set in advance. (☞ p.31)
L From an HTTP Web site
Data can be obtained by connecting to “http:// ______
______ ______ _____” using a browser.
1)
When the user ID is not “anonymous,” specify the User
ID and Password. (☞ p.30)
2)
Click the button for downloading image files which is
displayed in the upper portion of the screen when the
network is connected.
The Web camera display appears.
3)
Click the download button in the lower portion of the
screen.
L Getting with an FTP command
You can obtain a file using FTP Get.
1)
Issue the Is command.
The RAMIBOX and CARDIBOX appear.
2)
Execute cd RAMIBOX.
3)
Issue the Is command again.
Four files virtually appear.
IMGMID.bmp
IMGMID.jpg
IMGFULL.bmp
IMGFULL.jpg
The time for these files is 0 hour 0 minute in this stage.
The time of files that are actually obtained will be that
when the GET command is issued.
4)
Get the image.
The image is downloaded when the Get command is
issued.
LHTTP (connect using a browser)
Install the Netscape Navigator ver.4.5 or Internet Explorer
ver.5 or higher.
Set the IP address for the URL.
Example: http://192. 168. 1. 2.
When the unit is located inside a proxy, set the IP ad-
dress (as shown above) for this unit without using the proxy.
LConnect using the FTP server (en-
ter at the Windows DOS prompt.).
Example: FTP 192. 168. 1. 2.
LConnect using Telnet. (Enter at the
Windows DOS prompt.)
For information of commands to control this unit with Telnet,
consult your dealer.
Example: Telnet 192. 168. 1. 2.
When you set the IP address using the Network
menu, once turn off the Imager and turn it on again.
Network application software
Accessible commands:
1. Single or Multiple Viewing Windows
Choice between two viewing configurations, one displaying
a single captured image and the other displaying multiple
images captured at different intervals.
2. Interval Timer
Allows programmable image capture between 2 seconds to
10 minutes.
3. Remote Monitoring and saving
Allows you to view the image captured over the LAN and save
it to your PC or directly to the LAN in JPEG or BMP format.
4. Remote Control Settings
Similar settings to the control panels of the PreCa allows you
to remotely control the settings and check status information
over the LAN.
5. Location
Shows where the currently linked PreCa is located. Send
location name to the PreCa by telnet commands as follow.
If the PRECA is in a meeting roomB of a company, send as
W_LCA COMPANY/ROOMB
The name is acceptable up to 32 letters. If no name is sent,
there is a blank in location area.
Single window system
Note
[The web software's function may be limited
in case of the combination of operating soft-
ware and web browser.
**BARCO 018-037(E) 2000.7.19, 8:59 AM32-33


