560424 BARCO Quick (E)
Using Menus
Further detailed adjustments and settings can be made using the menus.
There are two methods for menu operations; using the operation panel and using a mouse.
The method using a mouse is discussed here.
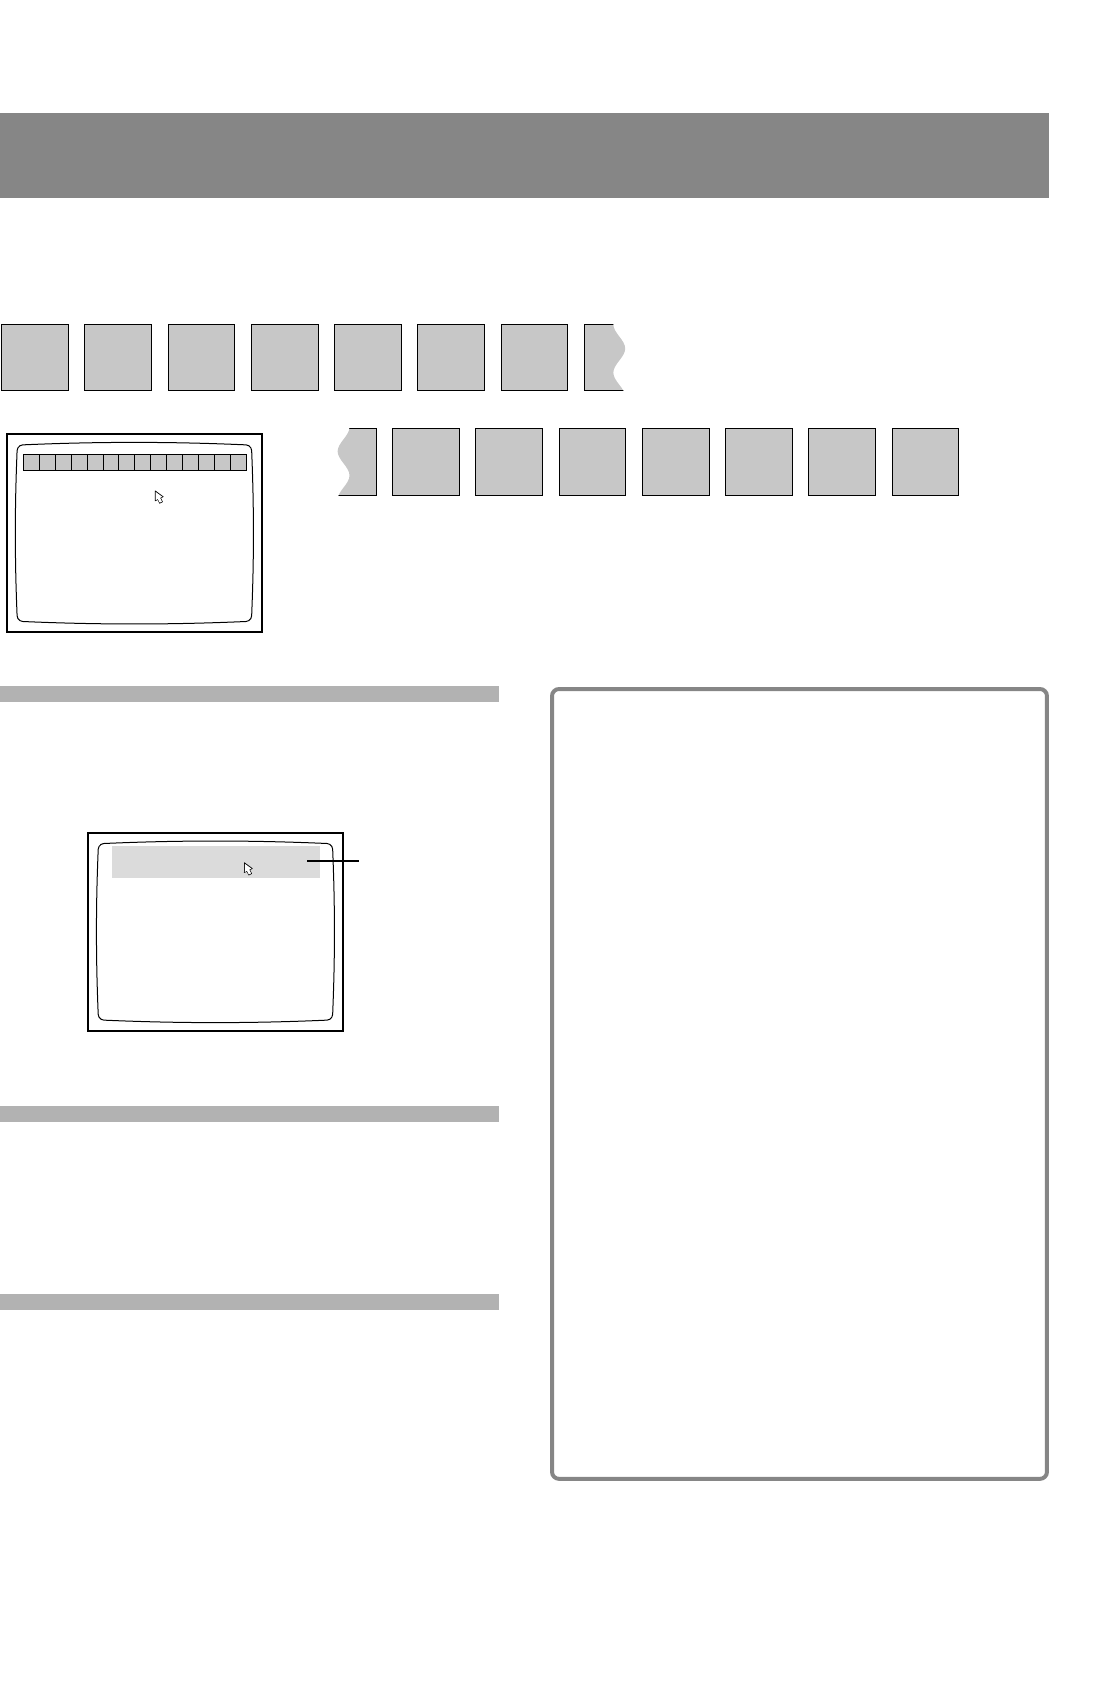
1 Display menus.
Right-click on the area in the upper one-fifth of the screen.
2 Select the menu icon.
Move the pointer onto the menu icon to be selected.
The status (settings of the menu items, etc.) of the menu
is displayed beneath the icon.
3 Execute the selection.
Click the left mouse button.
You can now change setting values on the selected menu.
• For details on each menu setting, refer to pages 24 to 31
of the User’s Manual.
Major menu icons
L Tone
To adjust the picture tone.
• Natural: For ordinary documents
• Linear1: To output an image as-is without
compensation
• Document: For documents with fine characters
• Linear2: For glossy documents (the brightness will
be decreased.)
• Picture: For photos and colour printed matters
L Sharpness
To adjust the image contours, which can be adjusted
in 6 steps.
L Iris A/M
To alternately select automatic and manual iris
adjustments for the camera. Normally select Auto.
• Auto Exp. ON: To activate the Auto Iris function
• Auto Exp. OFF: To deactivate the Auto Iris function
Use the BRIGHTNESS +/- buttons on the operation
panel 2 when adjusting the brightness.
L Save to Card
To save image data on a PC card.
Set “File Type” of “Timer ... Setting” of the Setup menu
in advance.
L SXGA/XGA
To switch the output mode.
Lights Gain WBset Tone Reverse Color
Sharp-
ness
Iris
A/M
Iris
A/M
Fit/
Over
Change
Pointer
Save to
Card
Save to
Server
SXGA
/XGA
Setup
arp-
ness
Lights Gain WBset Tone Reverse Color
Sharp-
ness
Iris
A/M
Fit/
Over
Change
Poin ter
Save to
card
Save to
Server
SXGA
/XGA
Tes t
Right-click
on this area.
Screen of the connected monitor
or projector
**BARCO Quick(E) 1
