21
Preparations
Others
Operation
20
Shooting a Document
8
Adjust the focus by pressing
the FOCUS 8 and 9 buttons
simultaneously.
The focus is adjusted automatically.
For fine adjustment, use either the FOCUS 8 or
9 button.
Each time you lightly tap the button, fine adjust-
ment is performed. Repeat until correct focus is
obtained.
9
Adjust the brightness by
pressing the BRIGHTNESS +
or – button.
FOCUS
AF
+–
BRIGHTNESS
FOCUS 8/9
buttons
The image
becomes dark.
When changing the material (Freeze function)
Use the Freeze function to smoothly change the material. When the Freeze function is active, the image remains on the screen even
if you remove the material from the document stage. While the Freeze function is active, the freeze mark is displayed at the
upper left corner of the screen. The Freeze function is enabled only when a monitor or a projector is connected to the RGB connector.
The Freeze function is invalid for the VIDEO and S-VIDEO outputs.
Press the TONE button. The contrast of
the image is emphasized, making the
image clear.
For a clear image
Change the material.
The original image stays on the screen.
2
Press the FREEZE button again.
The Freeze function is deactivated, and the image of the new material appears on the screen.
3
Press the FREEZE button.
Press the button before removing the material. The image will be frozen on the screen.
1
You can draw lines on the screen using
a mouse for smooth presentations.
(
☞
p.33)
To use the Pen function
Shooting a Document
Continued
Using Menus
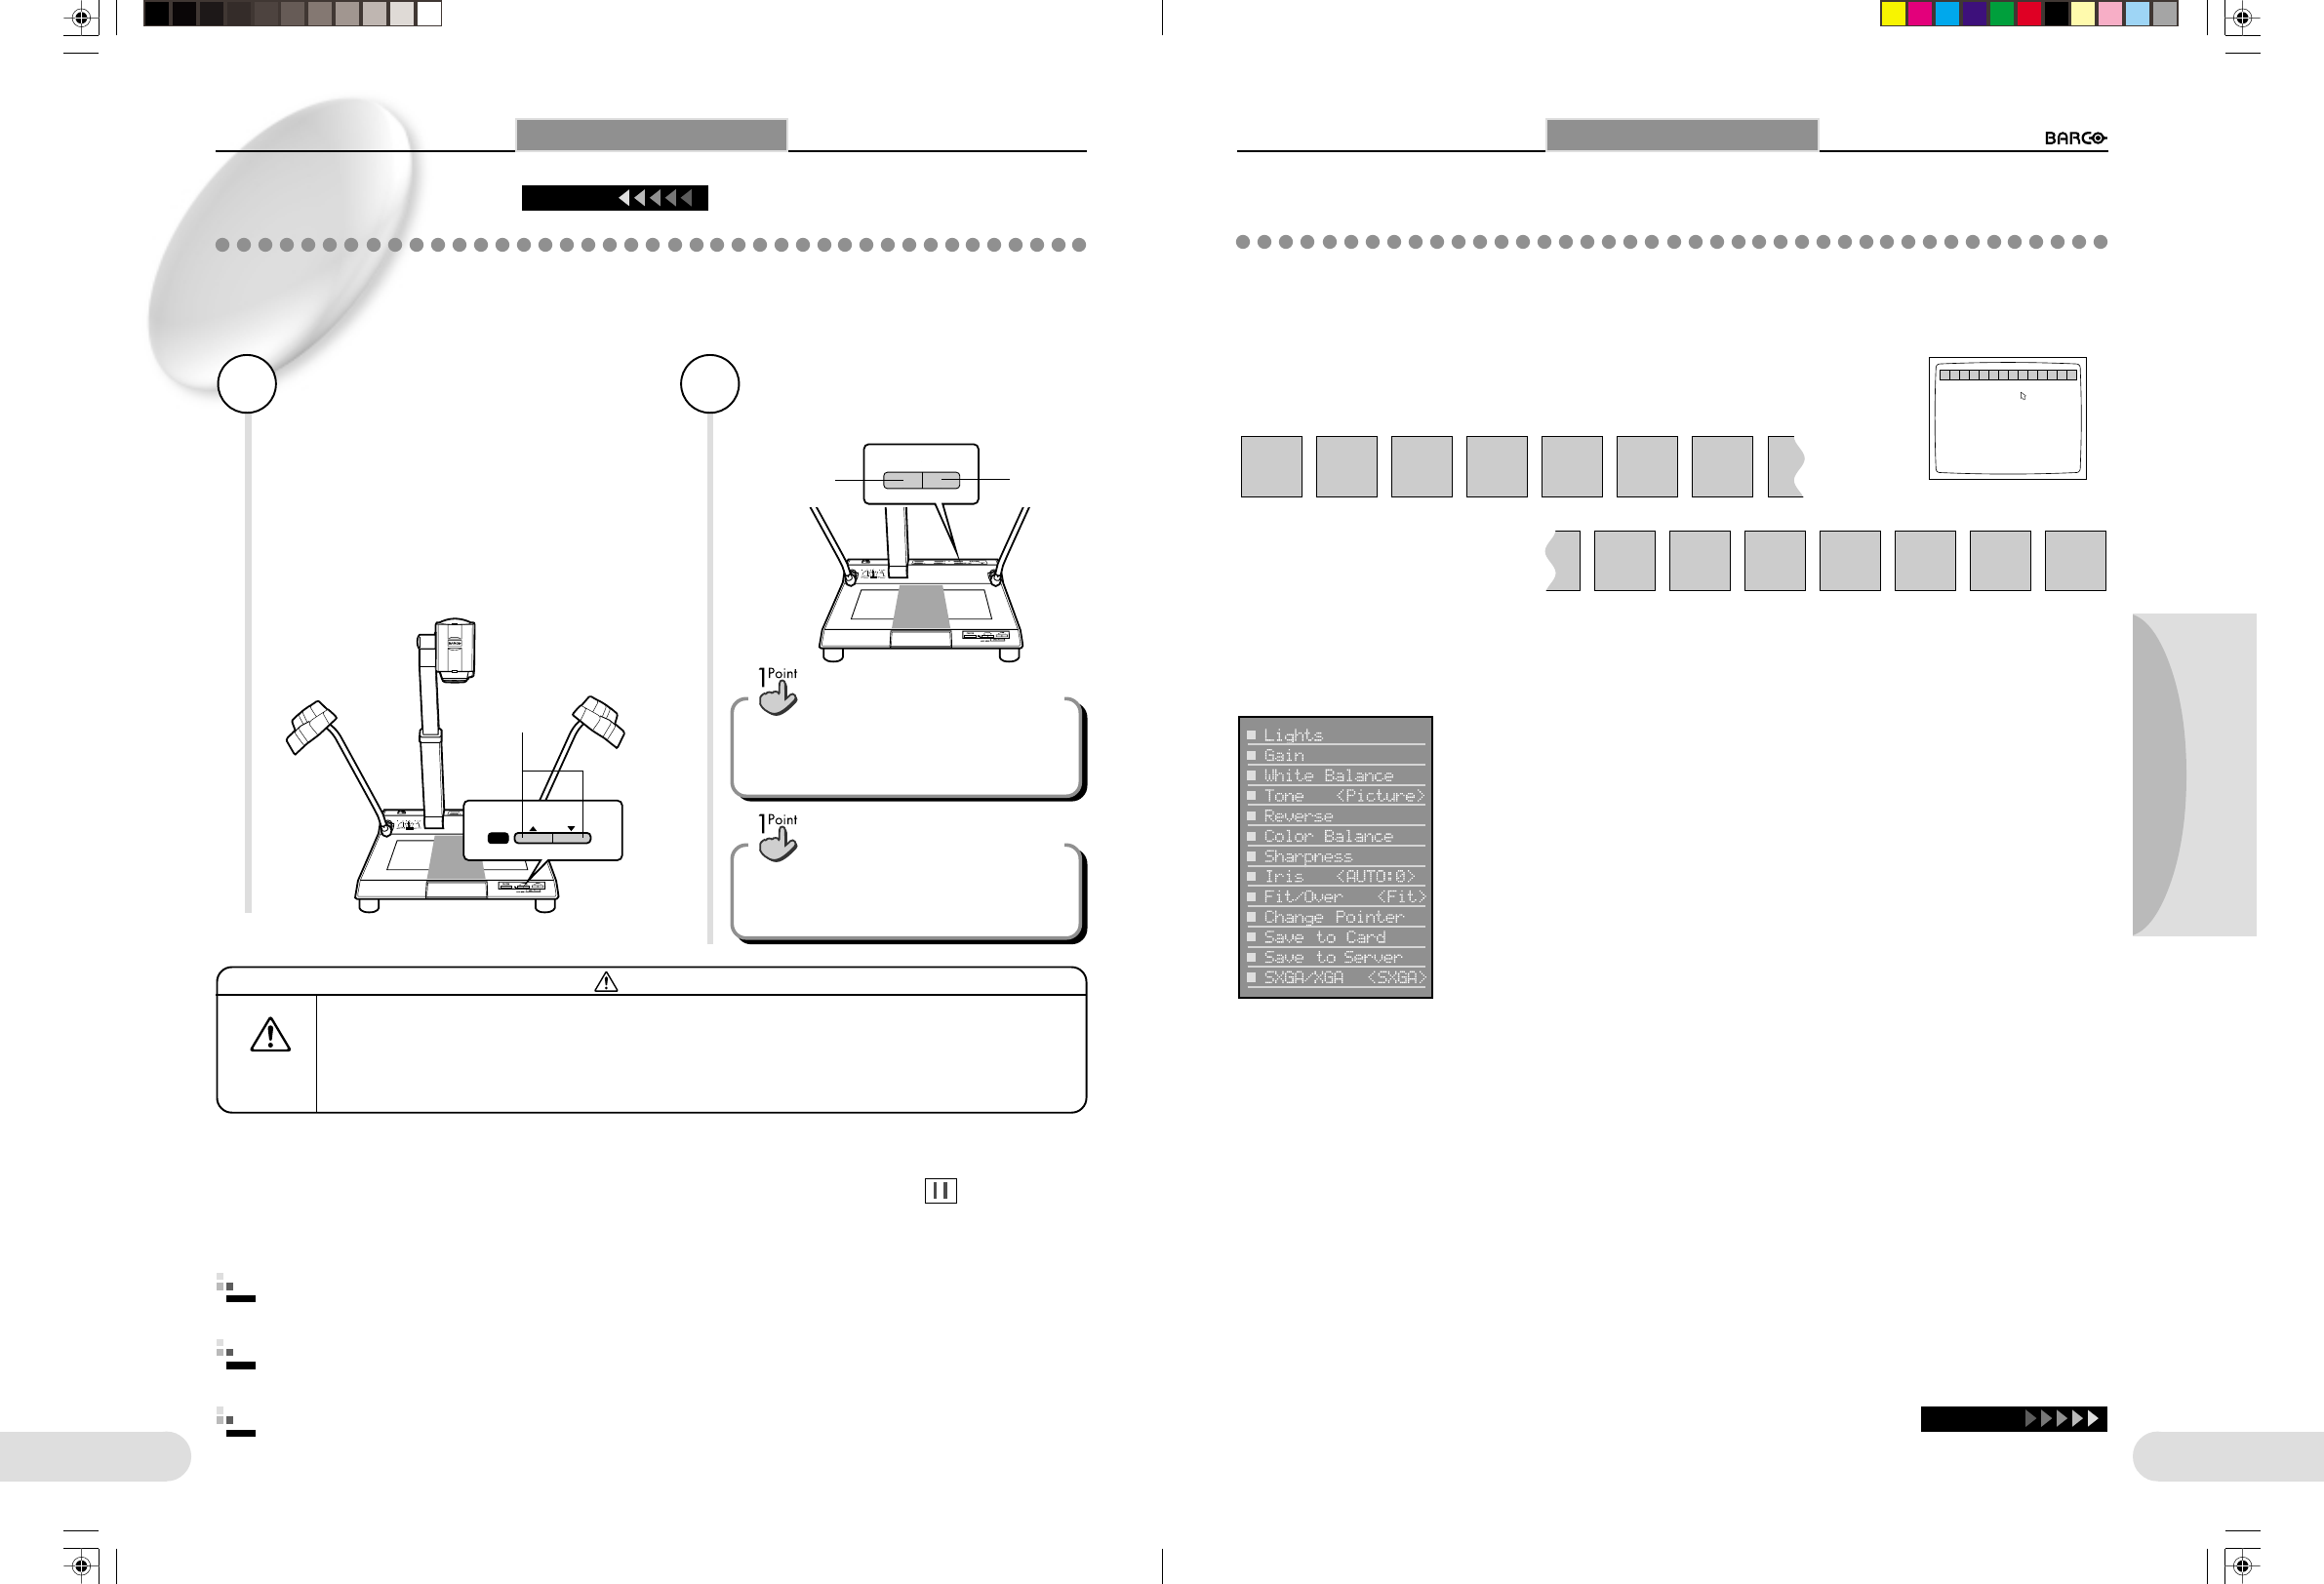
For efficient use of this unit, the following 14 menu icons are provided.
There are two methods for displaying and operating the menu icons; using the operation panel and using a mouse.
For details, see
☞
pp.22~23.
Lights Gain WBset Tone Reverse Color
Sharp-
ness
Iris
A/M
Iris
A/M
Fit/
Over
Change
Pointer
Save to
Card
Save to
Server
SXGA
/XGA
Setup
arp-
ness
Using Menus
Lights Gain WBset ToneReverseColor
Sharp-
ness
Iris
A/M
Fit/
Over
Change
Pointe r
Save to
card
Save to
Server
SXGA
/XGA
Test
The monitor for displaying the menus can be specified using the Setup menu. (
☞
p.29)
Continue
When displaying the menus on a submonitor:
The menu display on a submonitor connected to the VIDEO or S-VIDEO monitor is as follows:
The image
becomes
bright.
[ The base of this unit may become hot during usage.
[ Do NOT block the ventilation holes on the right side and bottom of the unit. The tempera-
ture inside the unit may become extraordinarily high, causing fire.
[ Avoid any shock to the glass parts, such as the lens and fluorescent lamps, or the plastic
parts of the document stage. The glass or plastic may be broken, causing injury.
Caution
Operate
with care
**BARCO 018-037(E) 2000.7.18, 8:19 PM20-21
