5. Getting Started
6. Push the cursor key ↑ or ↓ to highlight Highlighted item color.
7. Press ENTER to toggle between red, green and yellow.
ADJUSTMENT MODE
Select a path from below :
RANDOM ACCESS
INSTALLATION
SERVICE
Select with ↑ or ↓
then <ENTER>
<EXIT> to return
Menu 5-5
INSTALLATION
INPUT SLOTS
800 PERIPHERAL
SOURCE SWITCHING
NO SIGNAL
CONTRAST ENHANCEMENT
CONVERGENCE
CONFIGURATION
LENS
QUICK ACCESS KEYS
OSD
INTERNAL PATTERNS
Select with ↑ or ↓
then <ENTER>
<EXIT> to return
Menu 5-6
OSD
HIGHLIGHT ITEM COLOR [red]
MENU POSITION [Default]
Select with ↑ or ↓
then <ENTER>
<EXIT> to return
Menu 5-7
5.5 Using the RCU
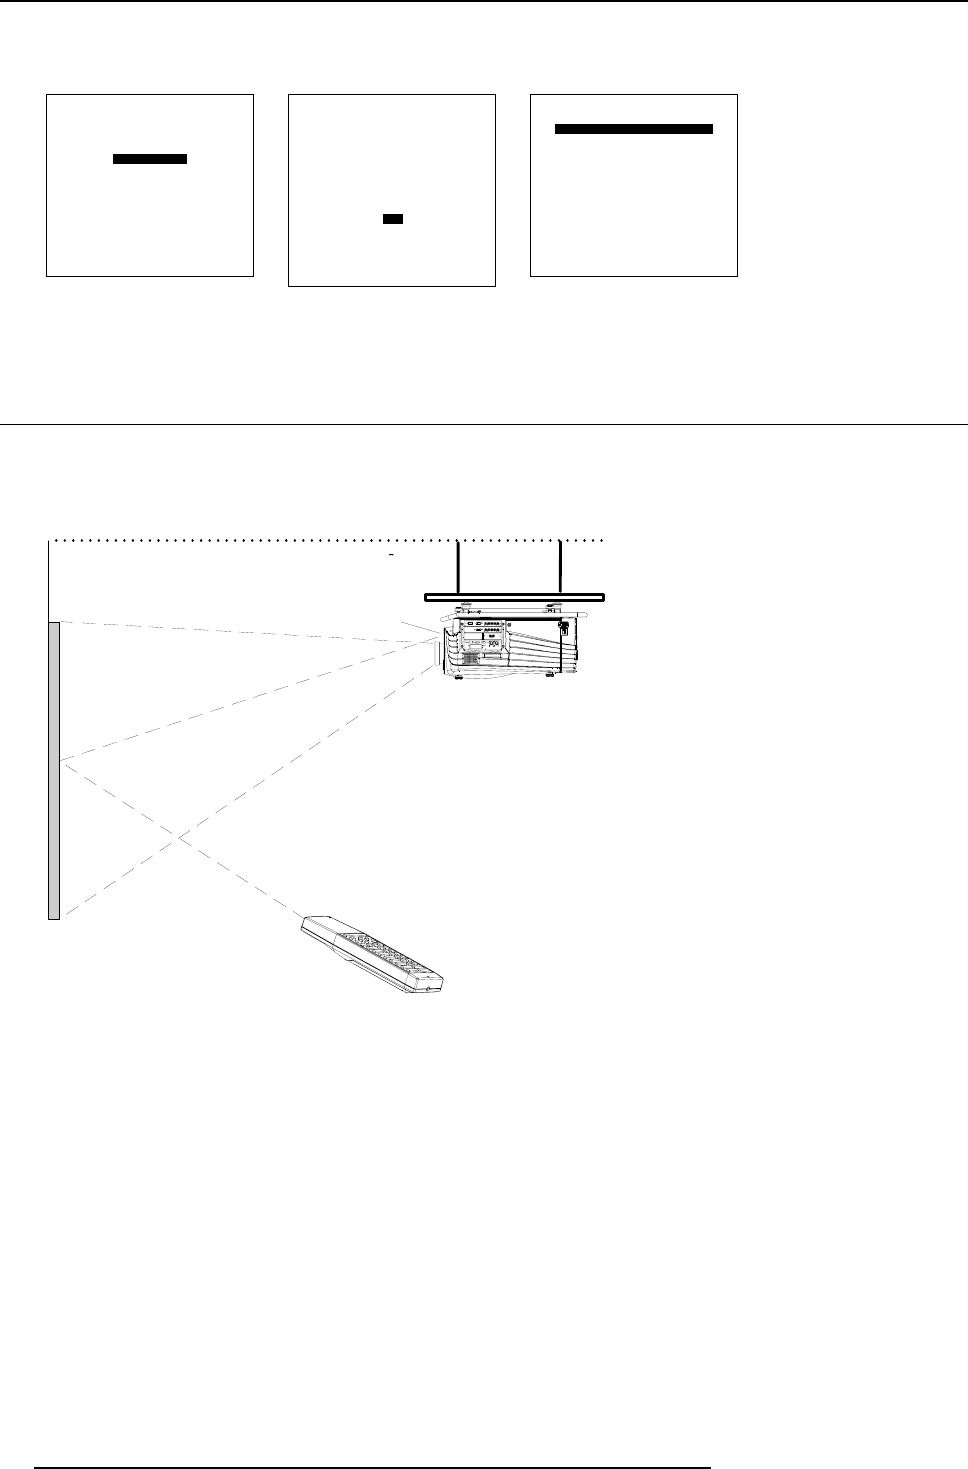
Pointing to the reflective screen
1. Point the front of the RCU to the reflective screen surface. (image 5-5)
Ceiling
Screen
IR sensor
RCU
Image 5-5
Hardwired Remote Input
1. Plug one end of the remote cable in the connector on the bottom of the RCU.
2. Plug the other end in the connector in the f
ront panel of the projector labelled RC. (image 5-6)
50
R5976801 SLM R9+ 20/10/2004


