


5. Physical installation
5.2 Mounting the SF-10V tile
Necessary tools
• 17 mm open-end wrench.
• 17 mm box-end wrench.
• 14 mm long allen key.
• Scaffold or Z-lift.
Necessary parts
• SF-10V tiles
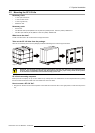
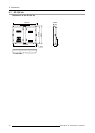
• Four M10x90 bolts per tile (DIN931 hex cap bolts and partially thread - steel zinc plated). Reference A.
• Four M10 plain washer per tile (DIN433 - steel zinc plated). Reference B.
What has to be done?
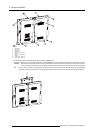
The SF-10V tiles have to be mounted onto the support structure.
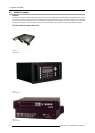
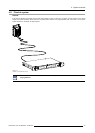
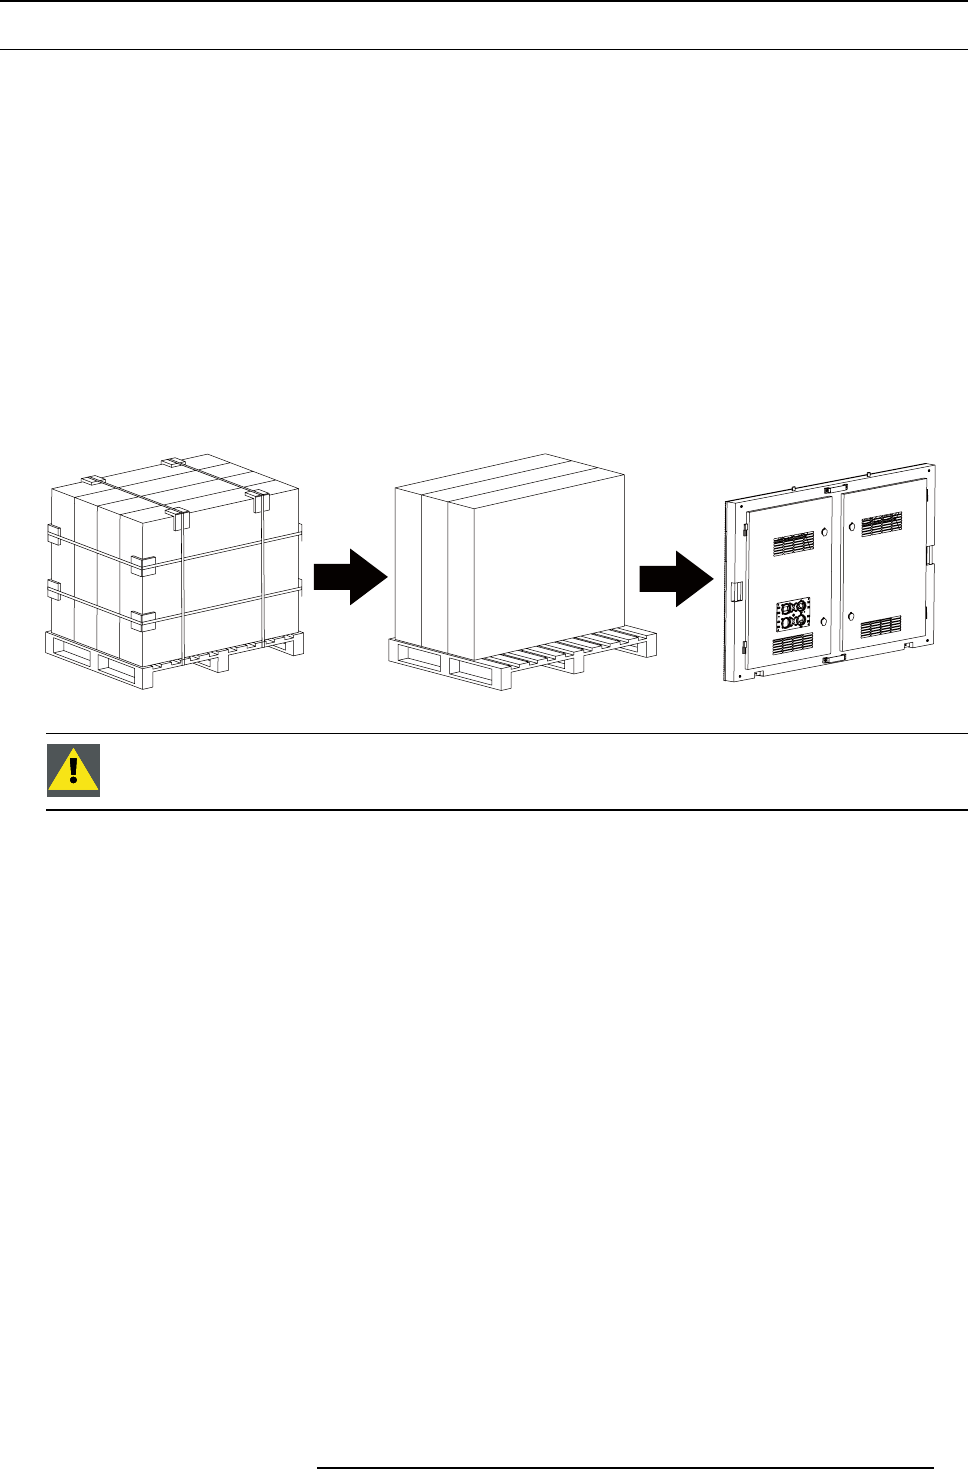
Take out the SF-10V tiles from the package.
Take out the necessary tiles from their package just before assembling them onto the support structure.
Image 5-2
CAUTION: The following procedure must be performed by minimum three authorized and q ualified technical
persons, which are thoroughly familiar with the product and all of the prop
er safety checks of this product.
To do otherw ise increases the risk of hazard and injury to the user.
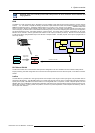
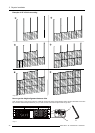
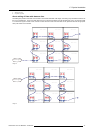
SF-10V tile mounting sequence
Build up the SF-10V display row by row from bottom to top. Always start in the middle of the row and complete the row by placing
the SF-10V tiles beside one another from the middle of the row to the sides.
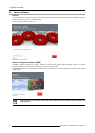
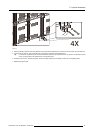
How to mount a SF-10V tile?
1. Bring the SF-10V tile in front of its final position on the LED-wall. Ensure the tile is in the right position, so with the hoist point on
top.
R59770542 SF-10V DISPLAY 10/02/2012 33