


5. Physical installation
1
2
3
5
4
4
6
7
8
10
9
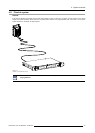
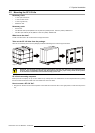
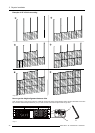
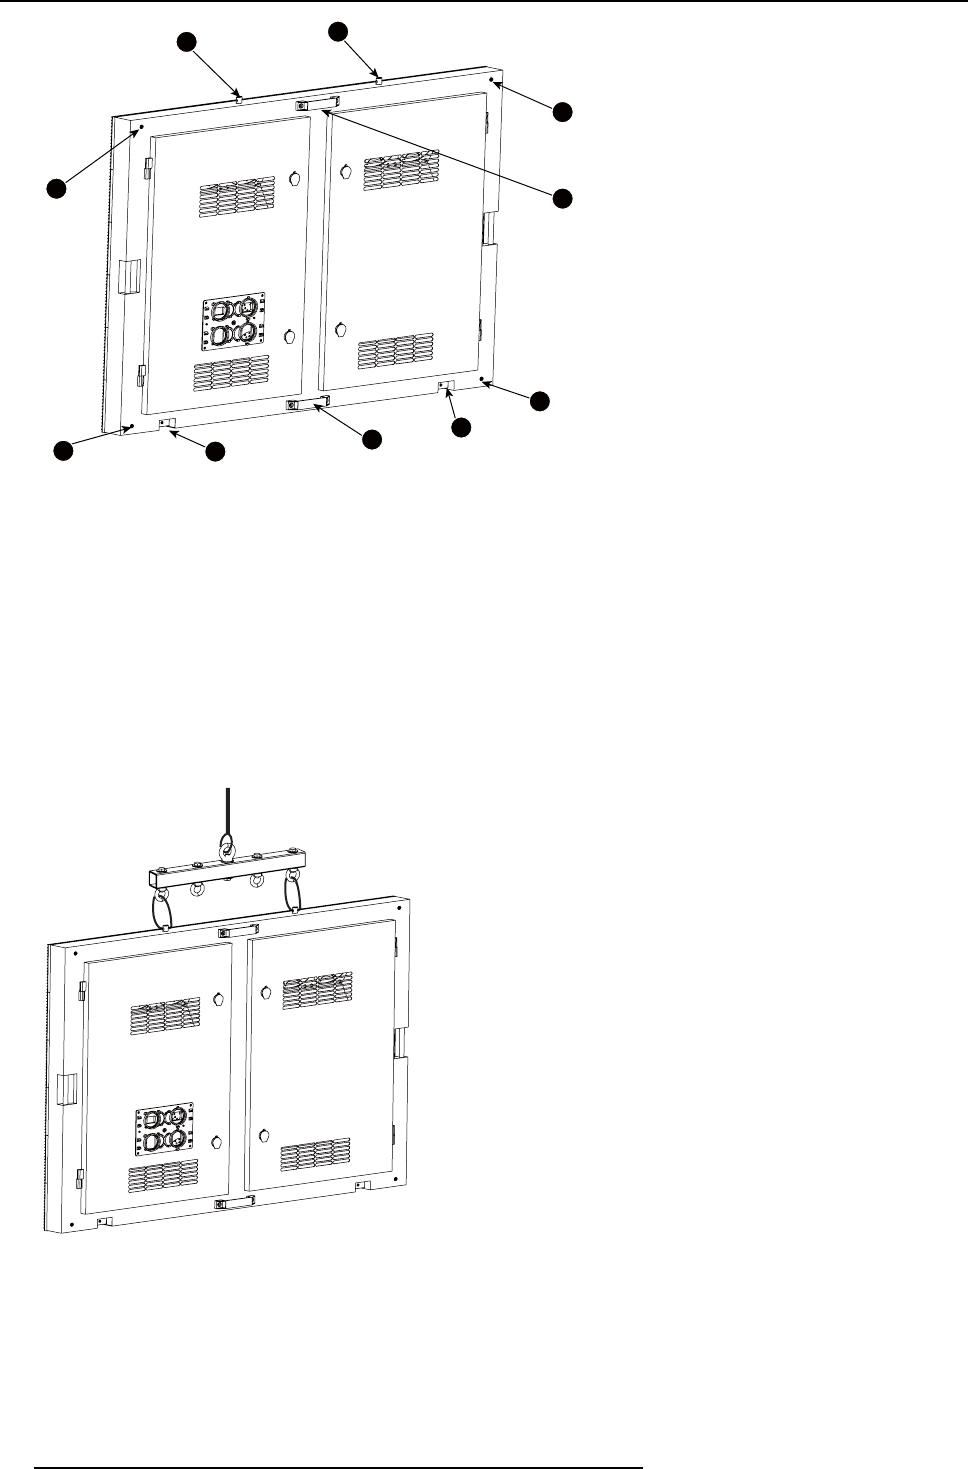
Image 5-3
1. Adjust block
2. Hoist point.
3. Hoist point.
4. Adjust block
5. Insert nuts for fixing tile
6 Handle
7. Insert nuts for fixing tile
8. Handle
9. Insert nuts for fixing tile
10. Insert nuts for fixing tile
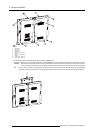
2. Insert the M10 plain washer (Reference B) into the bolt (Reference A)
3. Insert the bolts into the corresponding holes of the mounting plates and let the mounting plate attache to the support structure.
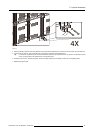
Caution: Two persons are required at the front of the LED-display to perform this action. Both hands must be free to insert a
tile in a LED-wall. Therefore the use of a ladder to insert a tile is forbidden. Only a solid scaffold or a Z-lift is allowed.
Tip: Use the hoist point hole on the top side to lift the SF-10V tile, using a crane and the hoist system to the desired height.
This hoist point have two functions, not only can lift the tile and also can located the two tiles when install the display.
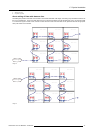
Image 5-4
34 R59770542 SF-10V DISPLAY 10/02/2012