85
APPENDIX E: Installing the 4-Port Expansion Board
Appendix E: Rackmounting the
ServSwitch
If you want to mount your -R4 ServSwitch in a 19", 23", or 24" rack, make sure you
get the right ServSwitch Rackmounting Kit: product code RMK19M, RMK23M, or
RMK24M respectively for the mini-chassis Switch models, RMK19B, RMK23B, or
RMK24B respectively for the slimline-chassis models, or RMK19C, RMK23C, or
RMK24C respectively for the full-size-chassis models. Each of these Kits consists of
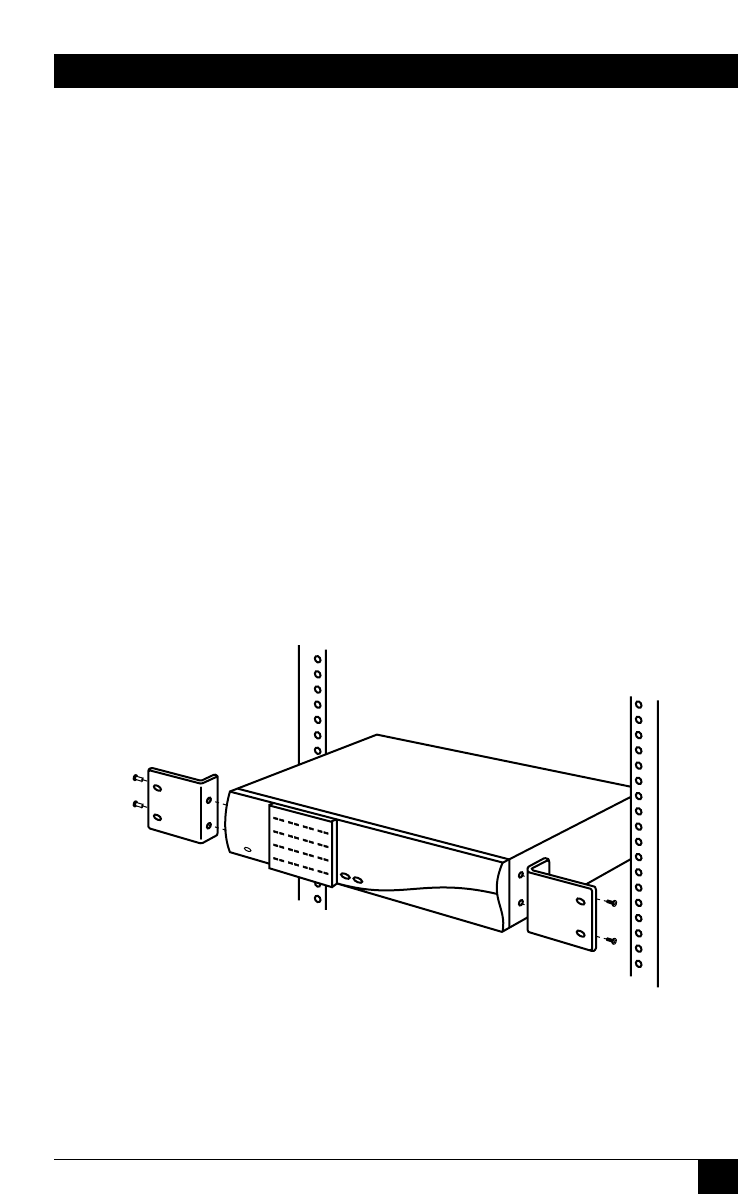
two rackmounting “ears” and four screws. To use a kit to mount a ServSwitch, take
these steps, referring to Figure G-1 below:
1. Match up the two holes in the “Switch end” of each Kit ear with the two empty
screwholes on the side of the Switch, then fasten the ear to the Switch with
two of the screws included with the Kit.
2. Once you’ve attached both ears, match the holes in the “rack end” of each ear
to an appropriate set of matching holes on your equipment rack, then screw
the Switch assembly to the rack using your own screws, bolts, or cage nuts (not
included).
Figure G-1. Rackmount assembly.


