Wireless configuration using the one-push wireless setting mode (For HL-2170W)
71
6
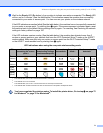
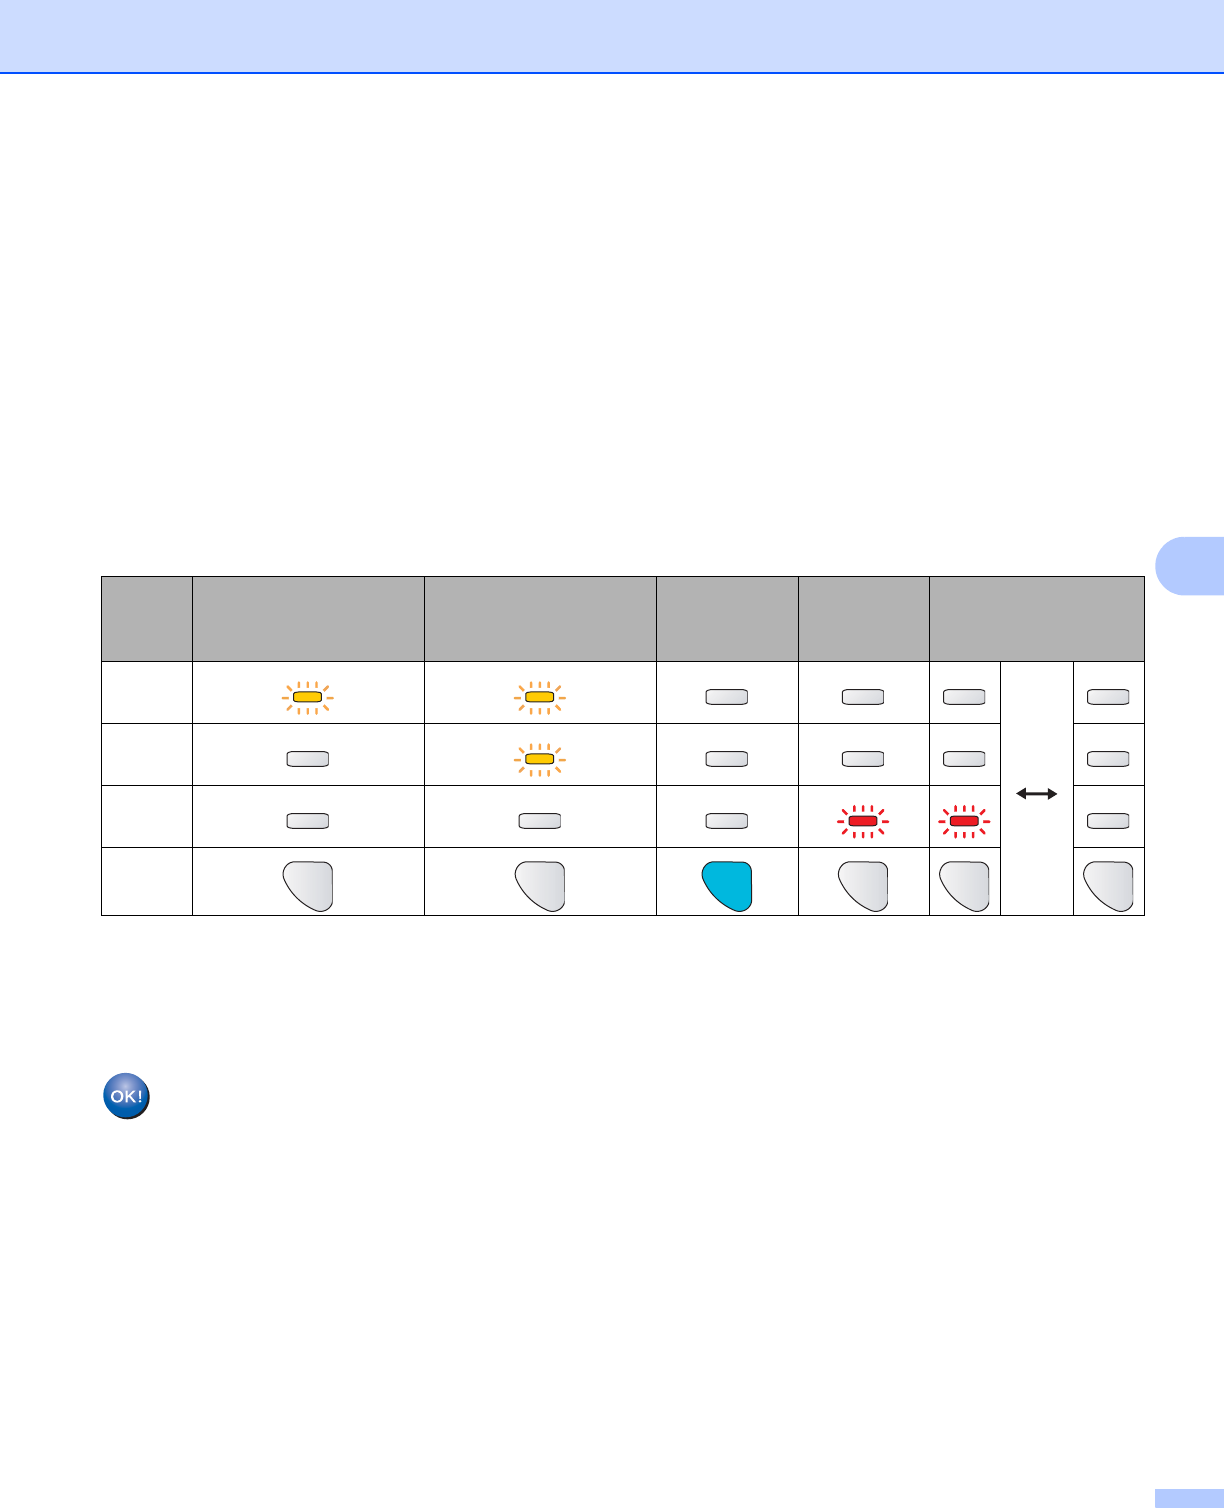
d Wait for the Ready LED (Go button) of your printer to indicate connection succeeded. The Ready LED
will turn on for 5 minutes. (See the table below) This indication means the machine has successfully
connected to your router or access point. You can now use your printer on the wireless network.
If the LED indicates connection failed (See the table below), the machine has not successfully connected
to your router or access point. Try starting from a again. If the same message is indicated again, reset
the machine back to the default factory settings and try again. For resetting, see Restoring the network
settings to factory default on page 100.
If the LED indicates session overlap (See the table below), the machine has detected more than 2
routers or access points on your network that have the Wi-Fi Protected Setup™ mode or the AOSS™
mode enabled. Make sure that only one router or access point has the Wi-Fi Protected Setup™ mode
or the AOSS™ mode enabled and try starting from a again.
1
The LED will blink (turn on for 0.2 seconds and off for 0.1 second).
2
The LED will turn on for 5 minutes.
3
The LED will blink (turn on for 0.1 second and off for 0.1 second) for 30 seconds.
4
The LED will flash 10 times and then turn OFF for half a second. This pattern will repeat 20 times.
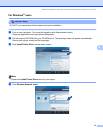
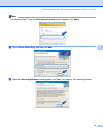
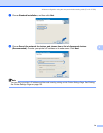
You have completed the wireless setup. To install the printer driver, Go to step a on page 72
for Windows
®
or page 76 for Macintosh
®
.
LED indications when using the one-push wireless setting mode
LEDs Searching or
accessing the access
point
1
Connecting and
downloading settings
from the access point
1
Connection
succeeded
2
Connection
failed
3
Session overlap is
detected
4
Toner
(Yellow)
Drum
(Yellow)
Error
(Red)
Ready
(Blue)


